Hey, dolls. Happy Holidays! I just can not believe it is this close to Christmas. Time is flying by so fast. I hope that I can part with my Christmas decor when it is time to put it up. It seems like I haven't had it up long enough. I just love my tree so much, that I feel like I won't want to put it up. Speaking of trees, I wanted to share with you how I used my old Christmas tree to make it fit the look I was going for this year without breaking my bank. Christmas trees can get pretty pricey, especially when you already have one, and can't justify to your husband that you "need" a new one.
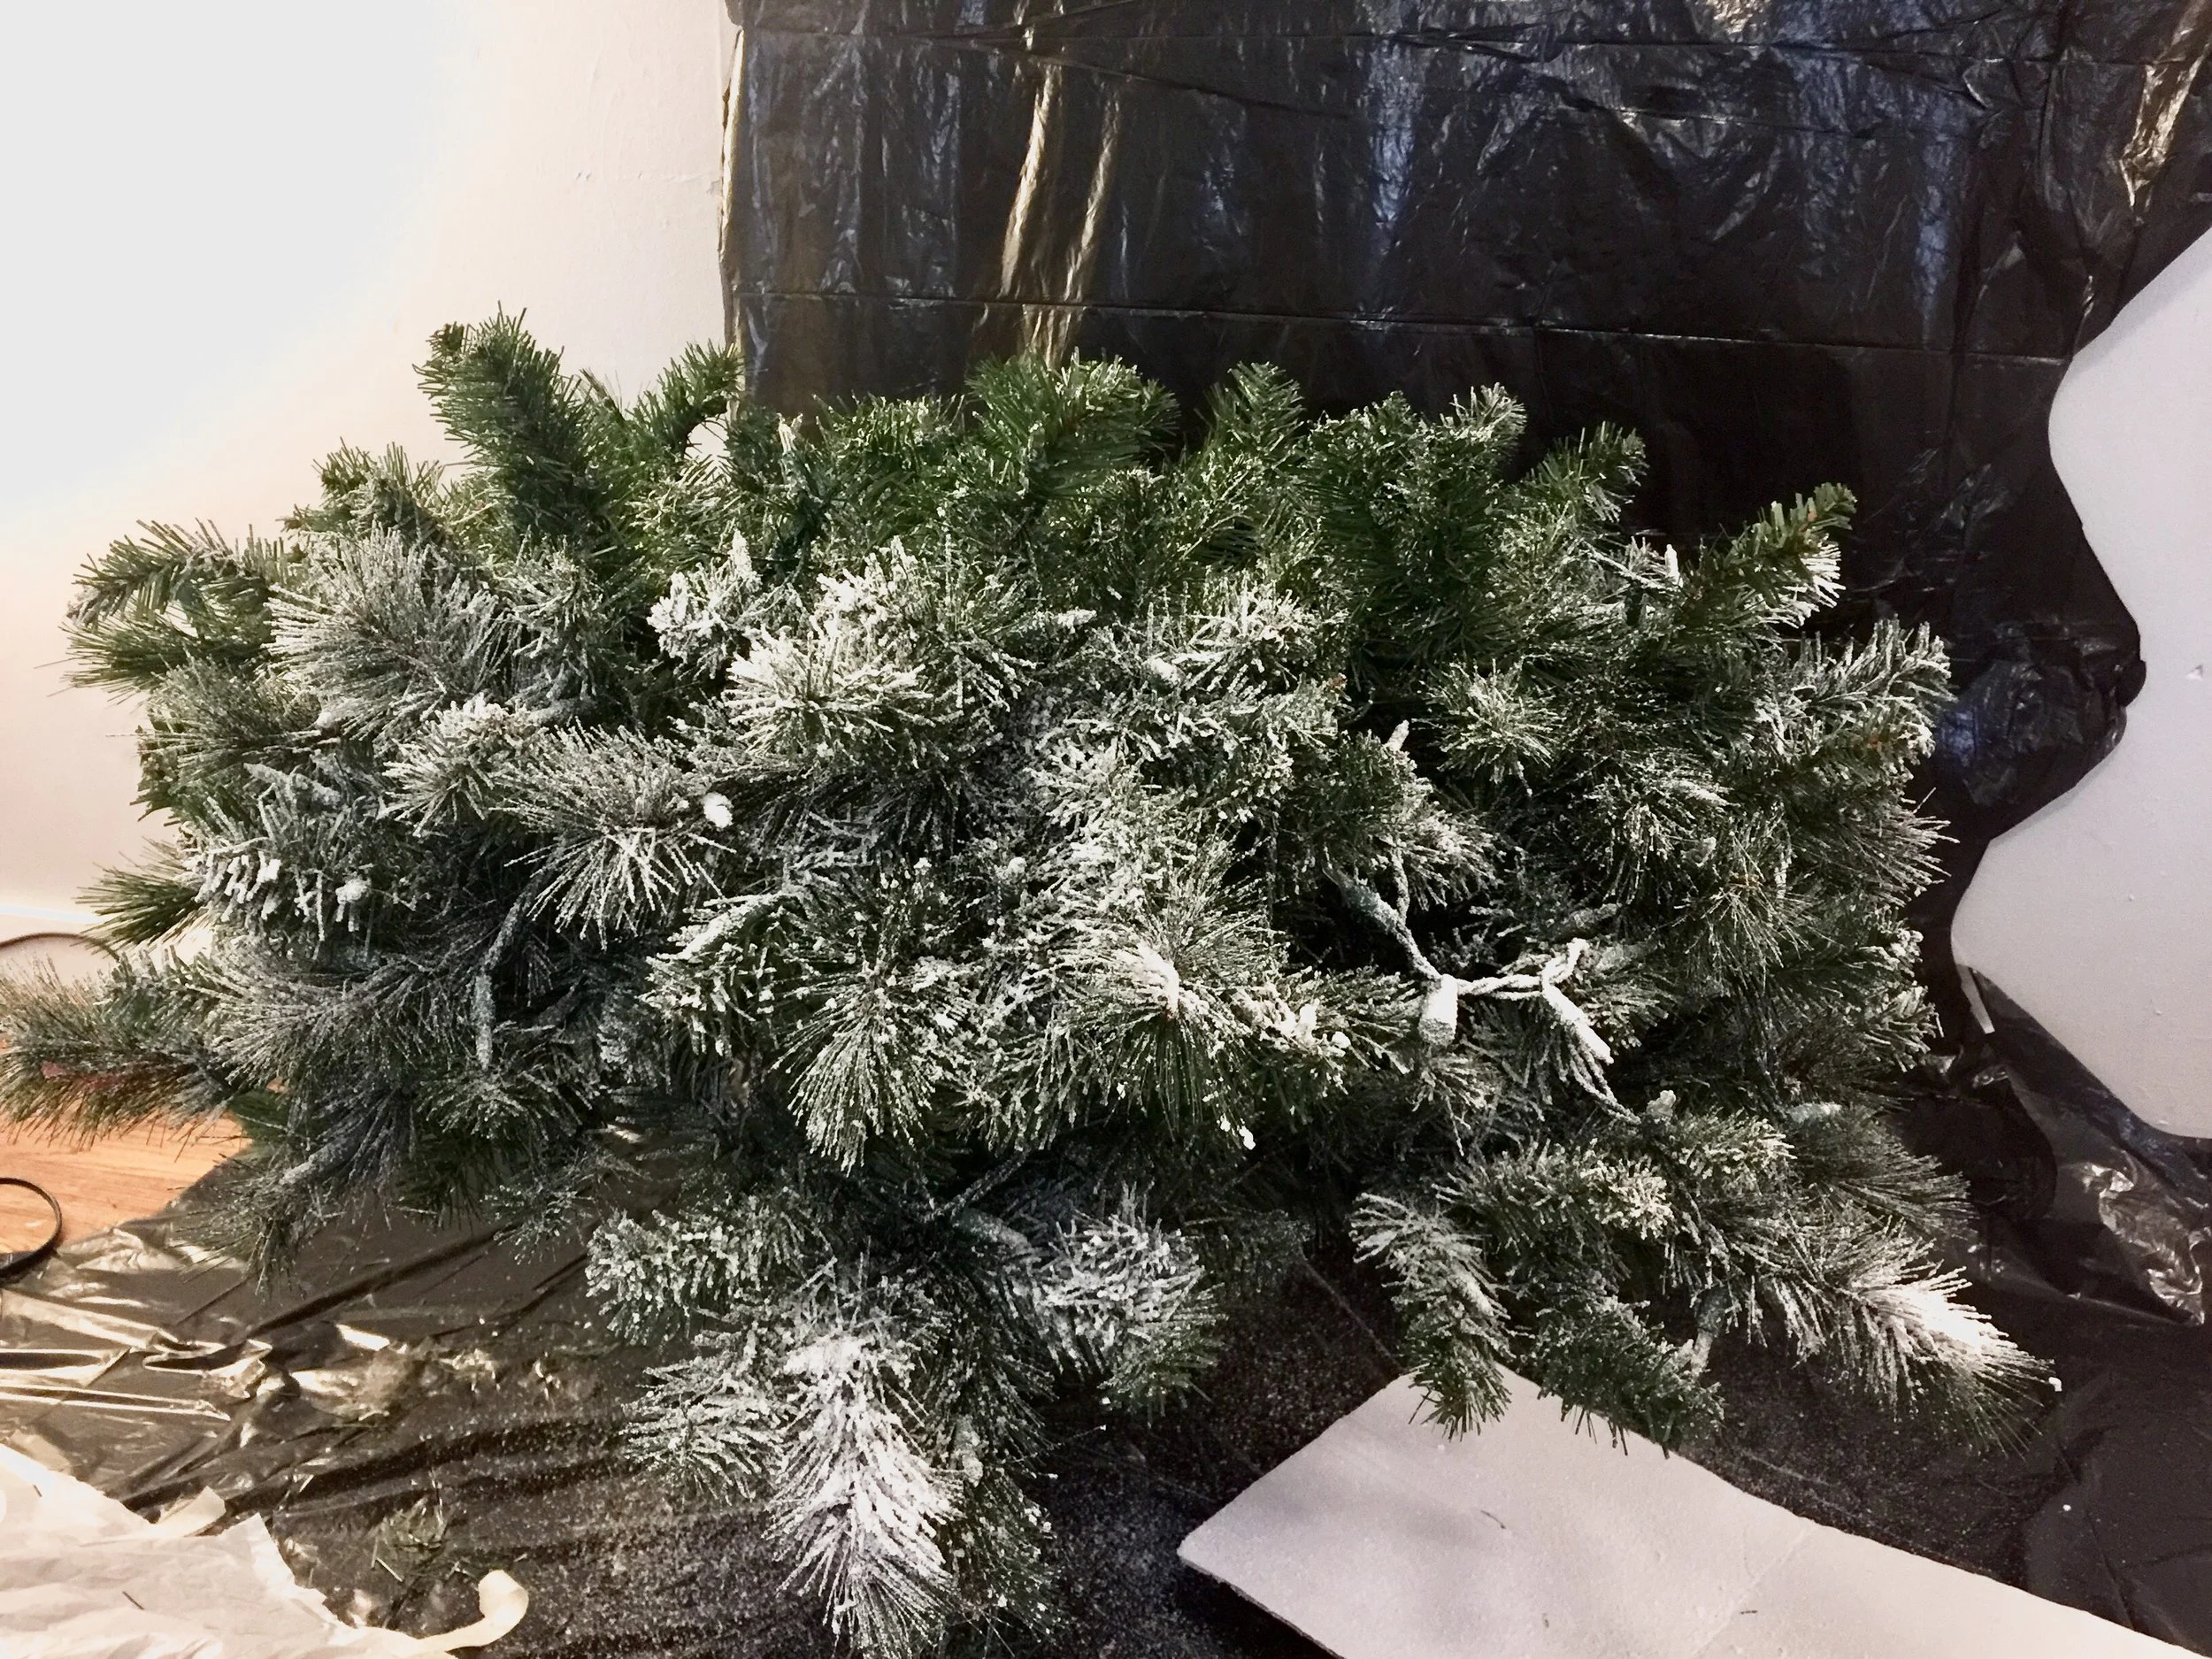
When I was deciding on what route I wanted to go with my tree this year, I turned to trusty old Pinterest to give me some inspiration. It turned out that every single tree that I loved or envisioned as my dream tree was flocked. Well, I don't know if you know this about me, but I always think that I can make everything on my own. Like no joke, it is a warped sense of self confidence. I know. I get myself into so many projects because "I can do that". Is anyone else like that? Can you see where I am going with this? Yea... I flocked my tree. (And five garlands too. What? They all had to match. Stop judging me.)
So many people were interested in knowing how it would turn out that I thought I would just go and share it. Maybe you don't want to spend a small fortune on a new tree too. This was the easiest and most cost efficient way that I found.
I used Design Master Sno Blast. (I found it cheapest at Walmart for $4.99 USD a can, but for some reason it wasn't online.) It took two cans to do my 6' tree.
Disclaimer: I recommend doing this project outside in a place where you can leave it overnight to dry. But, as you can see, I did mine inside. It was raining the whole week that I needed to do it or else I would have done this outside. This is a messy project. It will probablly be a messy cleanup too, but what flocked tree isn't?
I tackled this project section by section. I also placed the strands of lights on each section too so that the strands would blend better once the tree was finished. I taped each plug end so that the snow wouldn't get onto those.
I started the first section by holding the can about a foot away and misting it like I would a spray paint can, however it wasn't creating a look that I liked. In the pictures of the tree complete you can actually tell where I changed my technique. Once the tree was decorated you couldn't really tell though, so it doesn't bother me too much.
I then decided I liked it much better when I would hold the can about two inches away from the branch. I "dribbled" the snow into little mounds on the tips of each branch. Then, I would lightly mist the middle of the branch and fade it to nothing towards the center of the tree. (See below.)
Tip: Spraying down onto the tree, focusing the small mounds on the tips gives it a more natural realistic look.
Here is the completed look. If you decide to try to tackle this project, please let me know or tag me in pictures. Thank you so much for stopping by and I hope you found this helpful. Be on the lookout, because I will be dedicating an entire post to my Christmas decor. Also for your viewing pleasure, here is my tree form last year. Go ahead and giggle if you want. I did.
“18 Now the birth of Jesus Christ was on this wise: When as his mother Mary was espoused to Joseph, before* they came together, she was found with child** of the Holy Ghost. 19 Then Joseph her husband, being a just man, and not willing to make her a publick example, was minded to put her away privily. 20 But while he thought on these things, behold, the angel of the Lord appeared unto him in a dream, saying, Joseph, thou son of David, fear not to take unto thee Mary thy wife: for that which is conceived in her is of the Holy Ghost. 21 And she shall bring forth a son, and thou shalt call his name JESUS: for he shall save his people from their sins. 22 Now all this was done, that it might be fulfilled which was spoken of the Lord by the prophet, saying, 23 Behold, a virgin shall be with child**, and shall bring forth a son, and they shall call his name Emmanuel, which being interpreted is, God with us. 24 Then Joseph being raised from sleep did as the angel of the Lord had bidden him, and took unto him his wife: 25 And knew her not till she had brought forth her firstborn son: and he called his name JESUS.”


