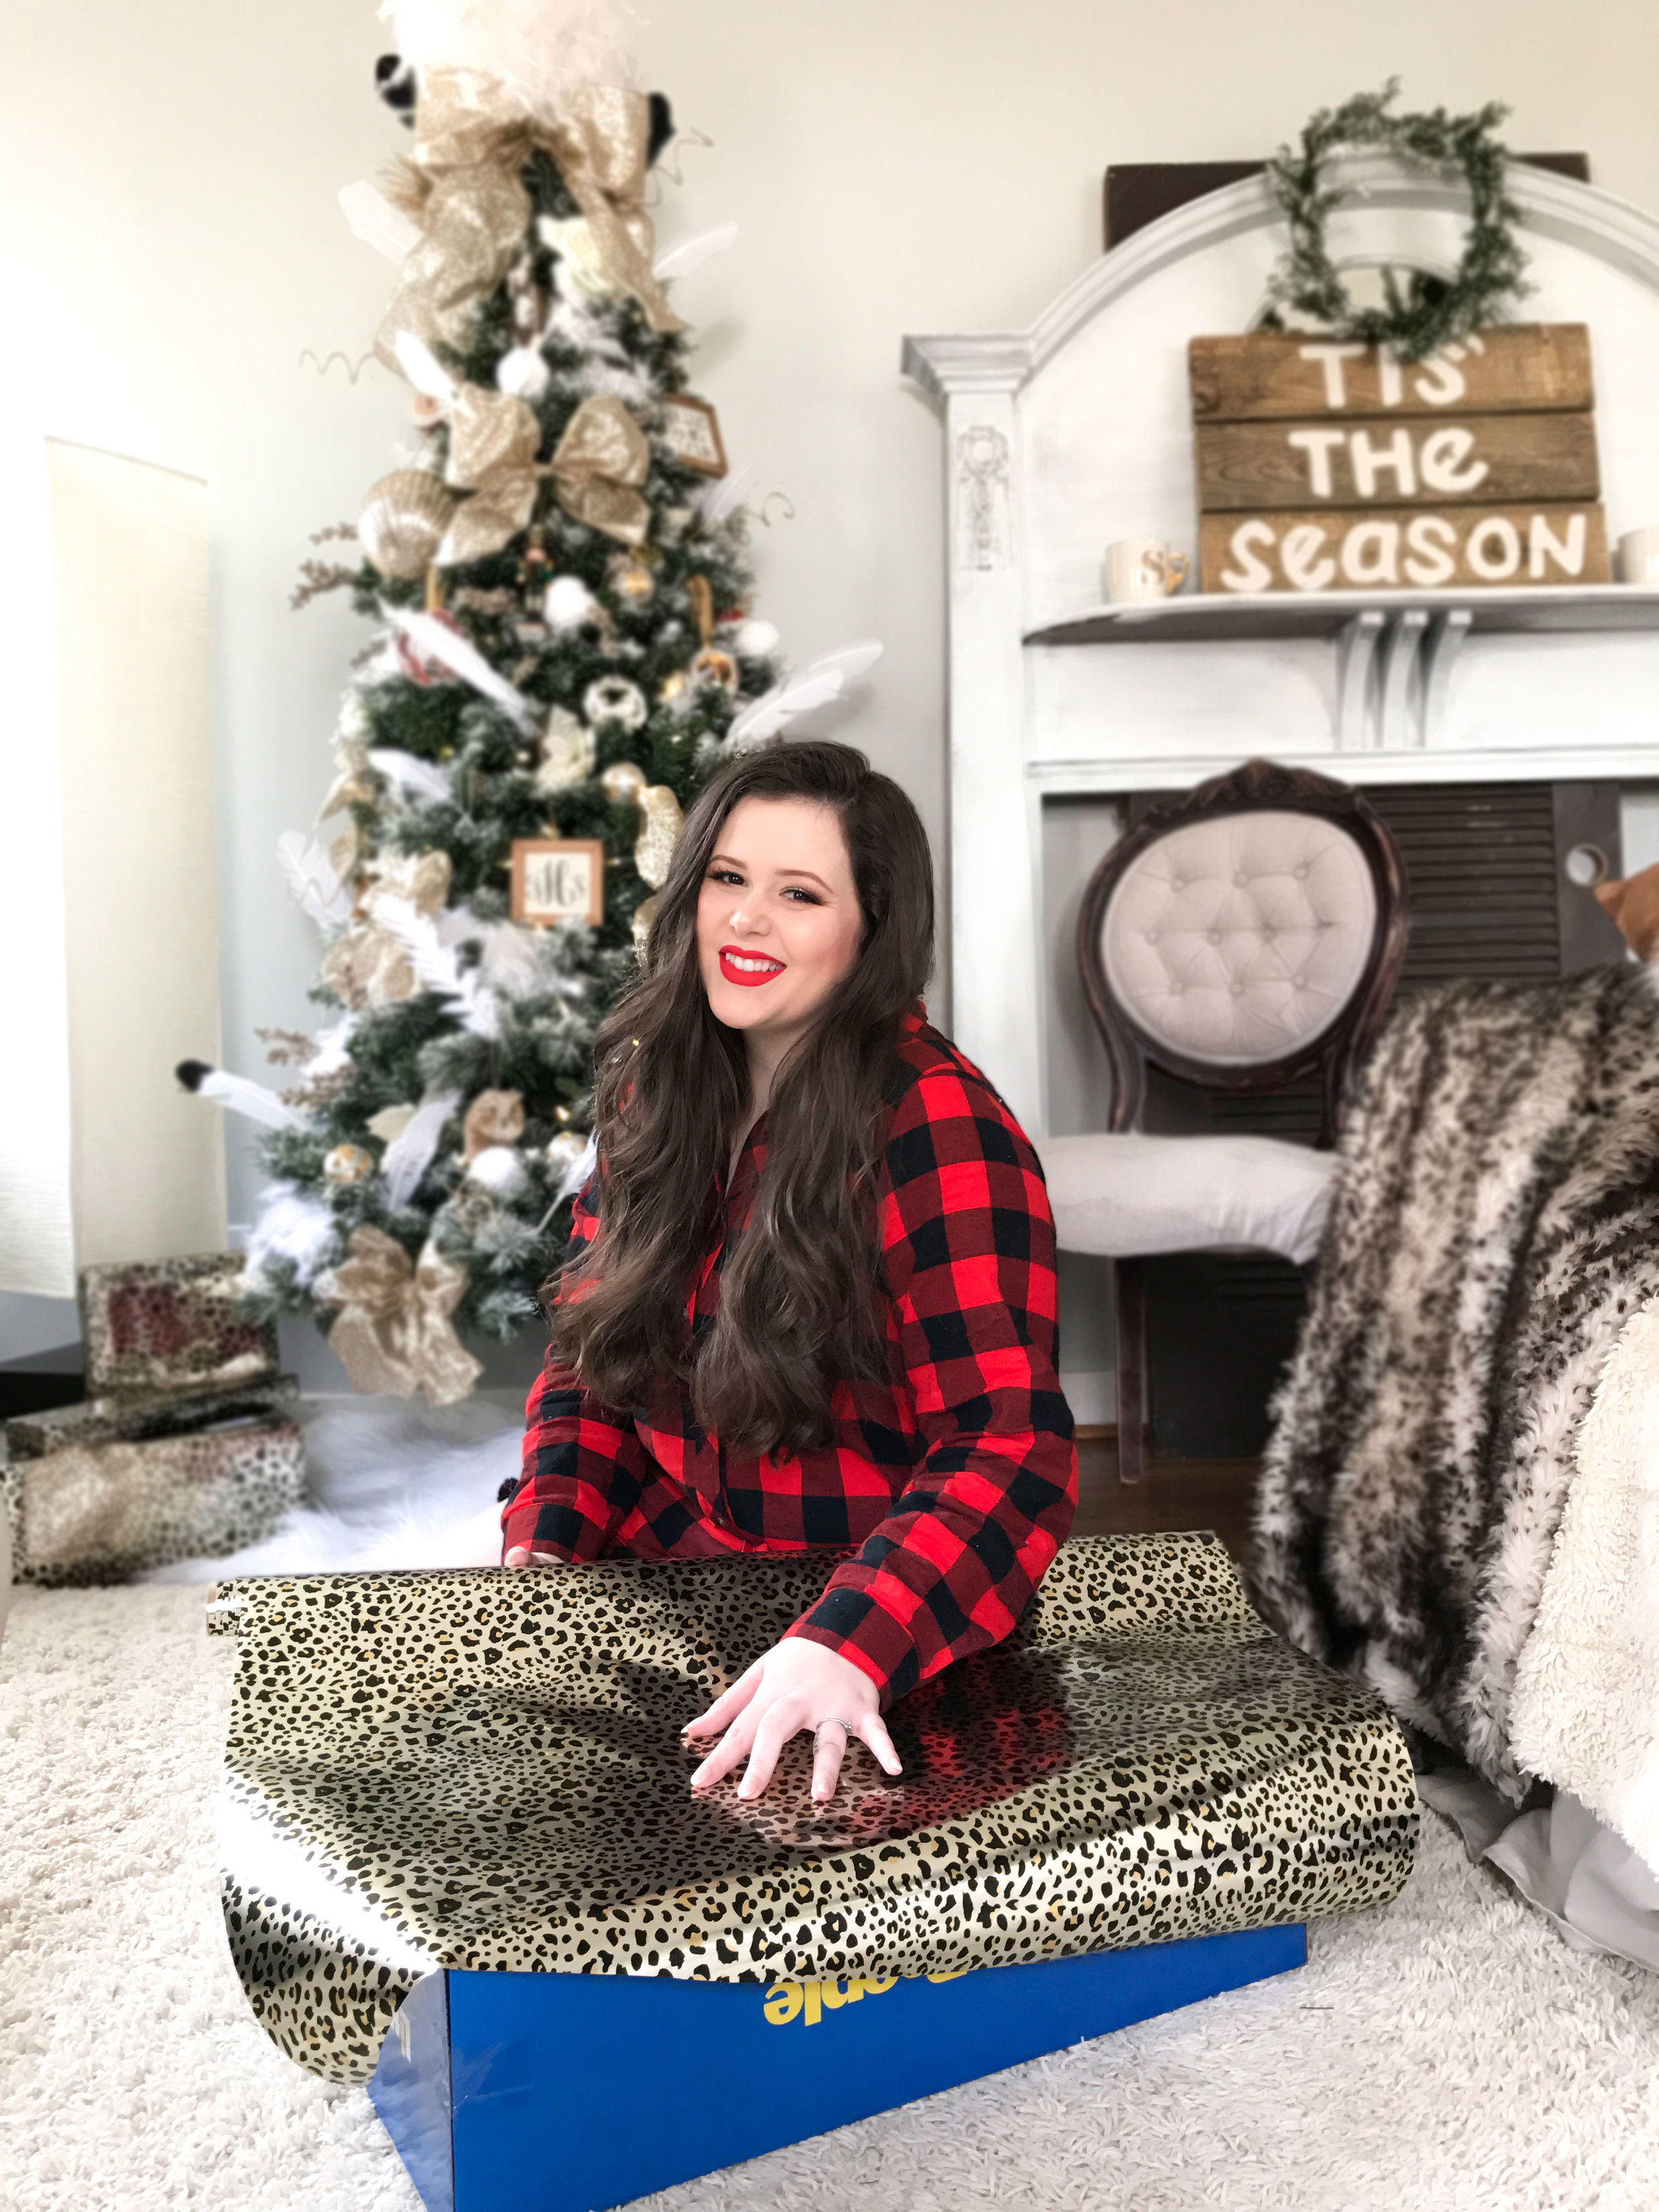
Hello, loves. Merry (late) Christmas and Happy New Year. I hope you had a fabulous one. As promised, I now present to you my Christmas decor. I know I mentioned that I would give you details on my tree. Well, get ready, because this is going to be a long one and I am sharing so much more than just my tree. I so wanted to get this up before Christmas, however, I had a tiny issue. My living room was housing a very large gift for my mother-in-law. Jereme and I and my brother and sister-in-law went in together to get her an antique Mantle, and rather than just wait until it was gone, I decided to incorporate it into my decor. Hence the reason I had to wait until Christmas to post this. It fit right into my house though and to be honest it was super hard to let it go.
This year I was going for a more neutral Christmas. I wanted everything to be whites and greens and to have a soft fluffy feel to it. I also wanted to blend my Christmas decor into my everyday decor. I wanted everything to just mesh together, and I must say that I am happy with the way it turned out.
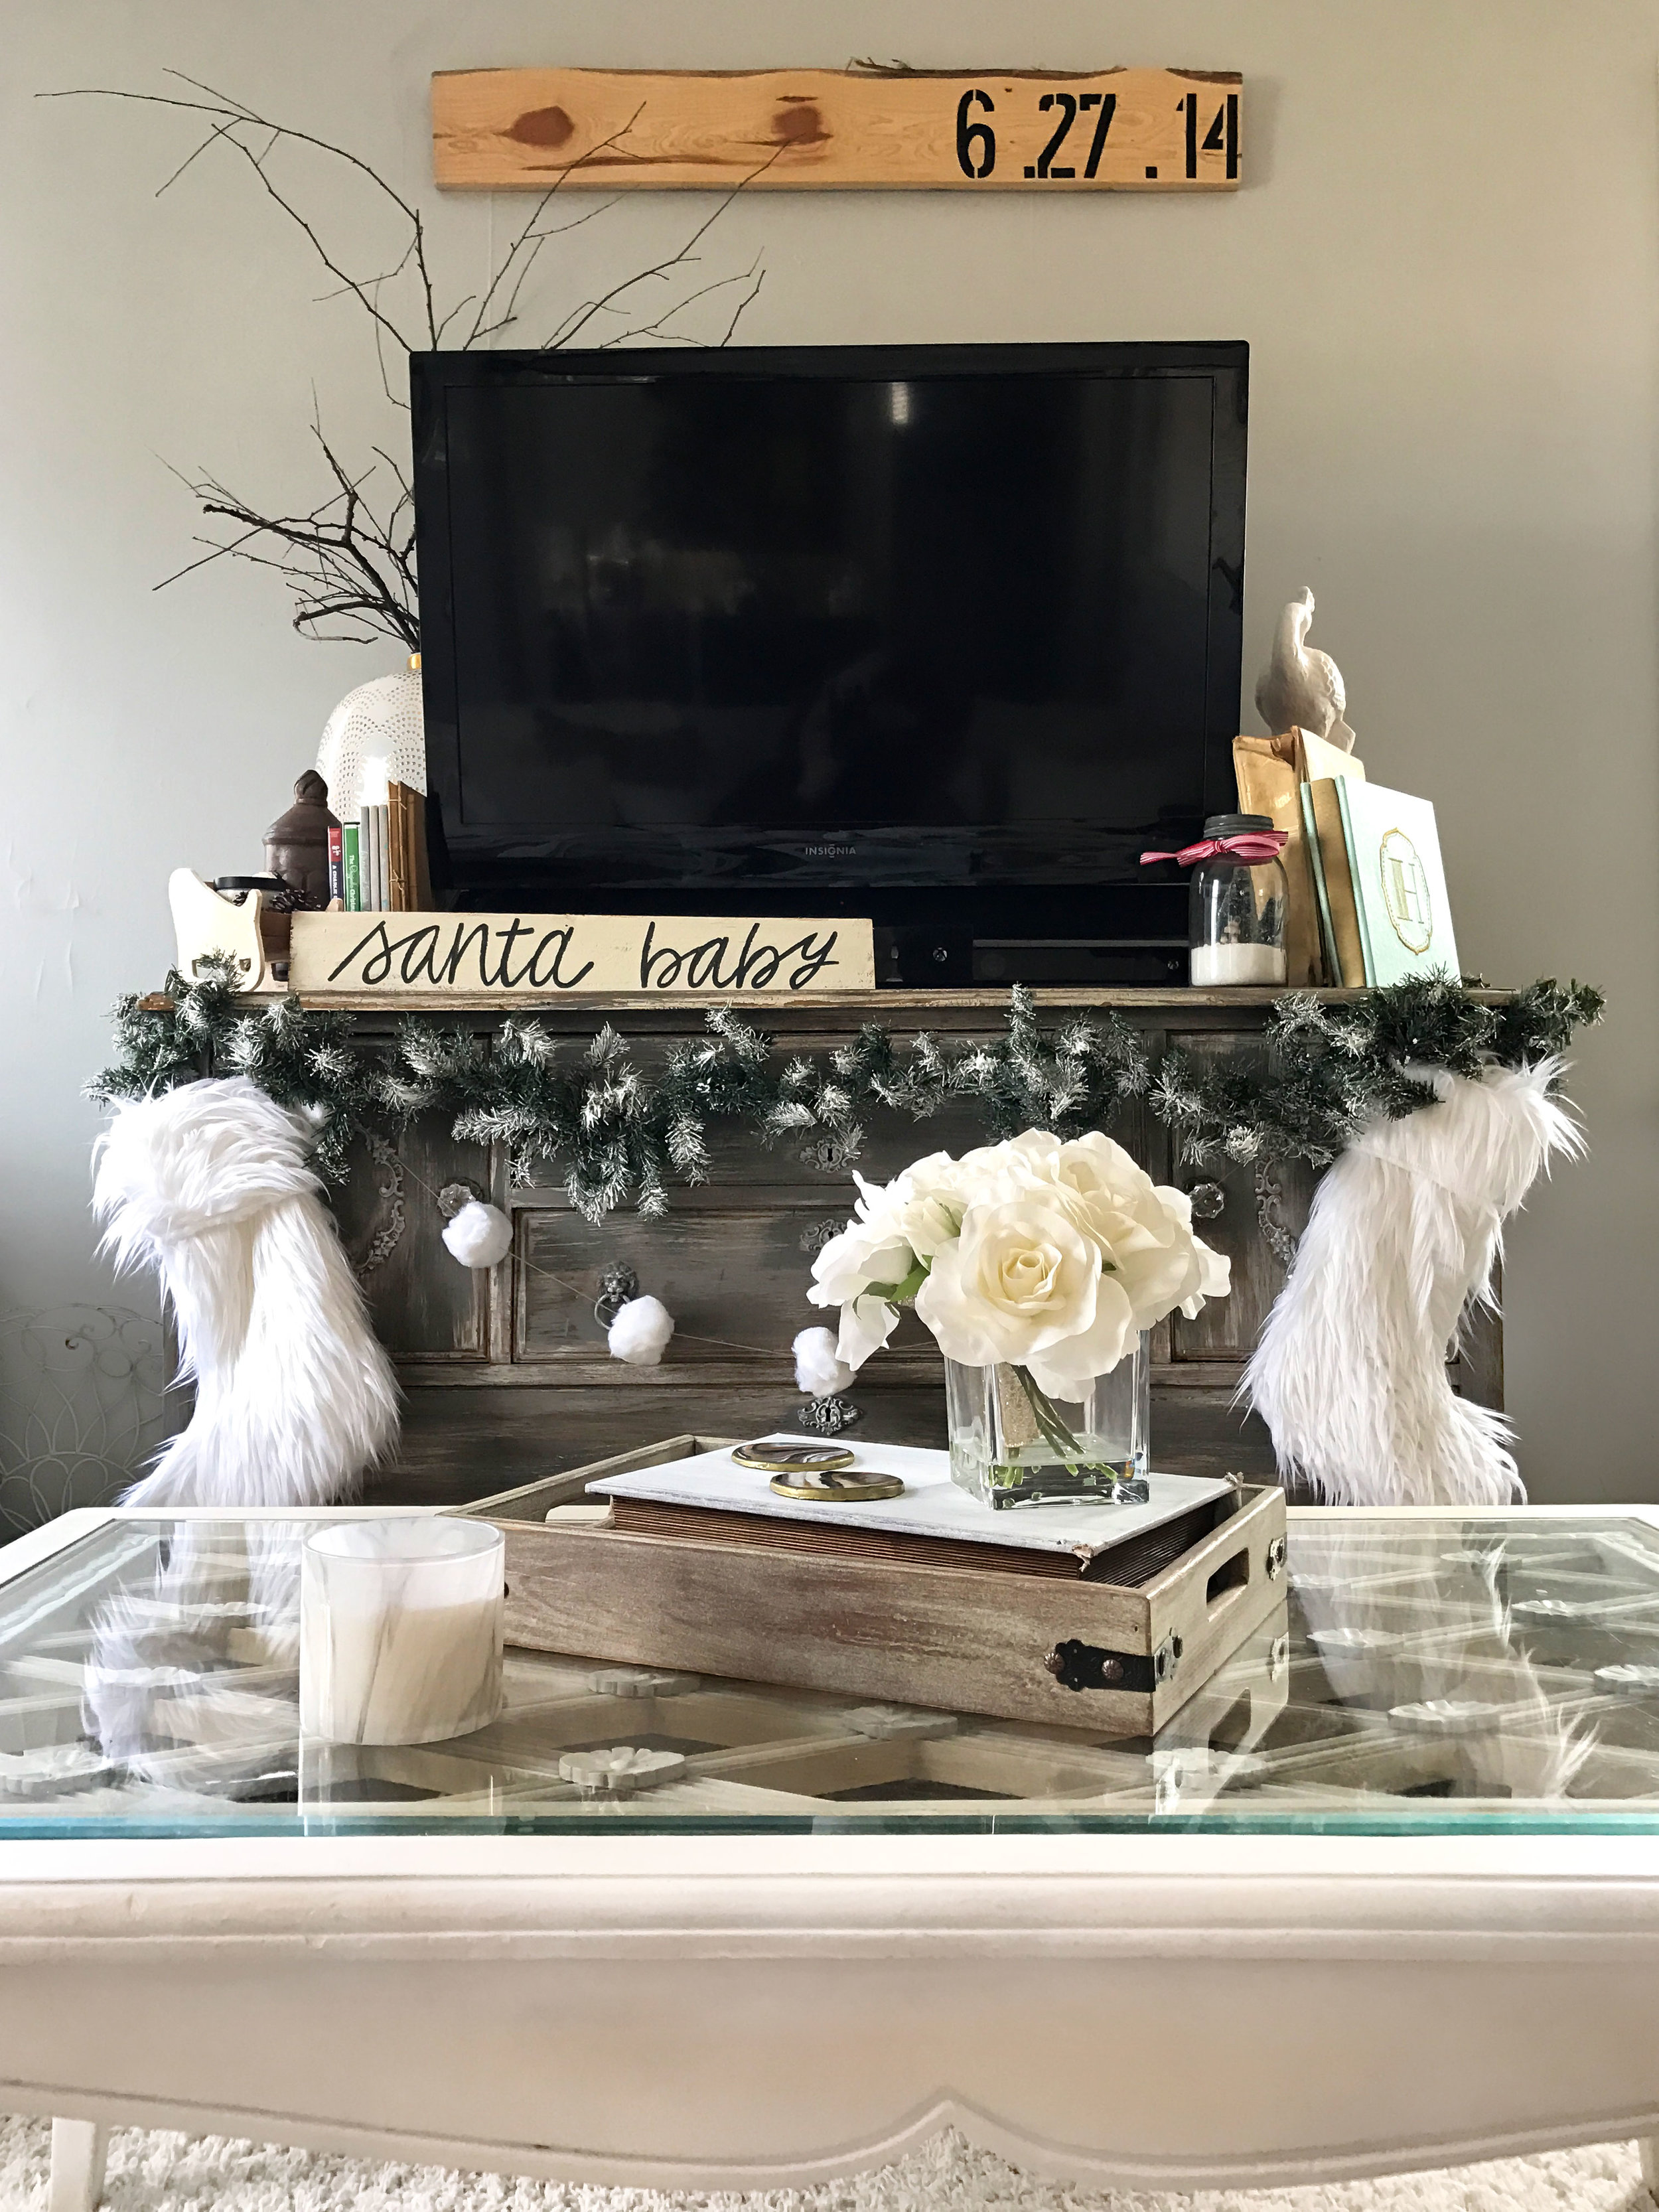
Now I know that some of my decorating junkies are going to scold me for not removing J's electronics. I know, that is a decorating do not,but honestly, we DO live here and we have functional decor. We have a t.v. and cable boxes, and you can see them in my pics. Gasp. Can you tell I am being sarcastic? I think things can get a little too out of hand when it comes to staging pictures. I see so many beautiful rooms, but I know that they aren't real life functioning. So that is why, what you see is what you get at my place and in my pictures.
I linked the poms at the bottom of this post that I used to make the pom strands all around the house. I also placed them on the tree as well. I hand made the Santa Baby and the Tis' the Season wooden signs as well
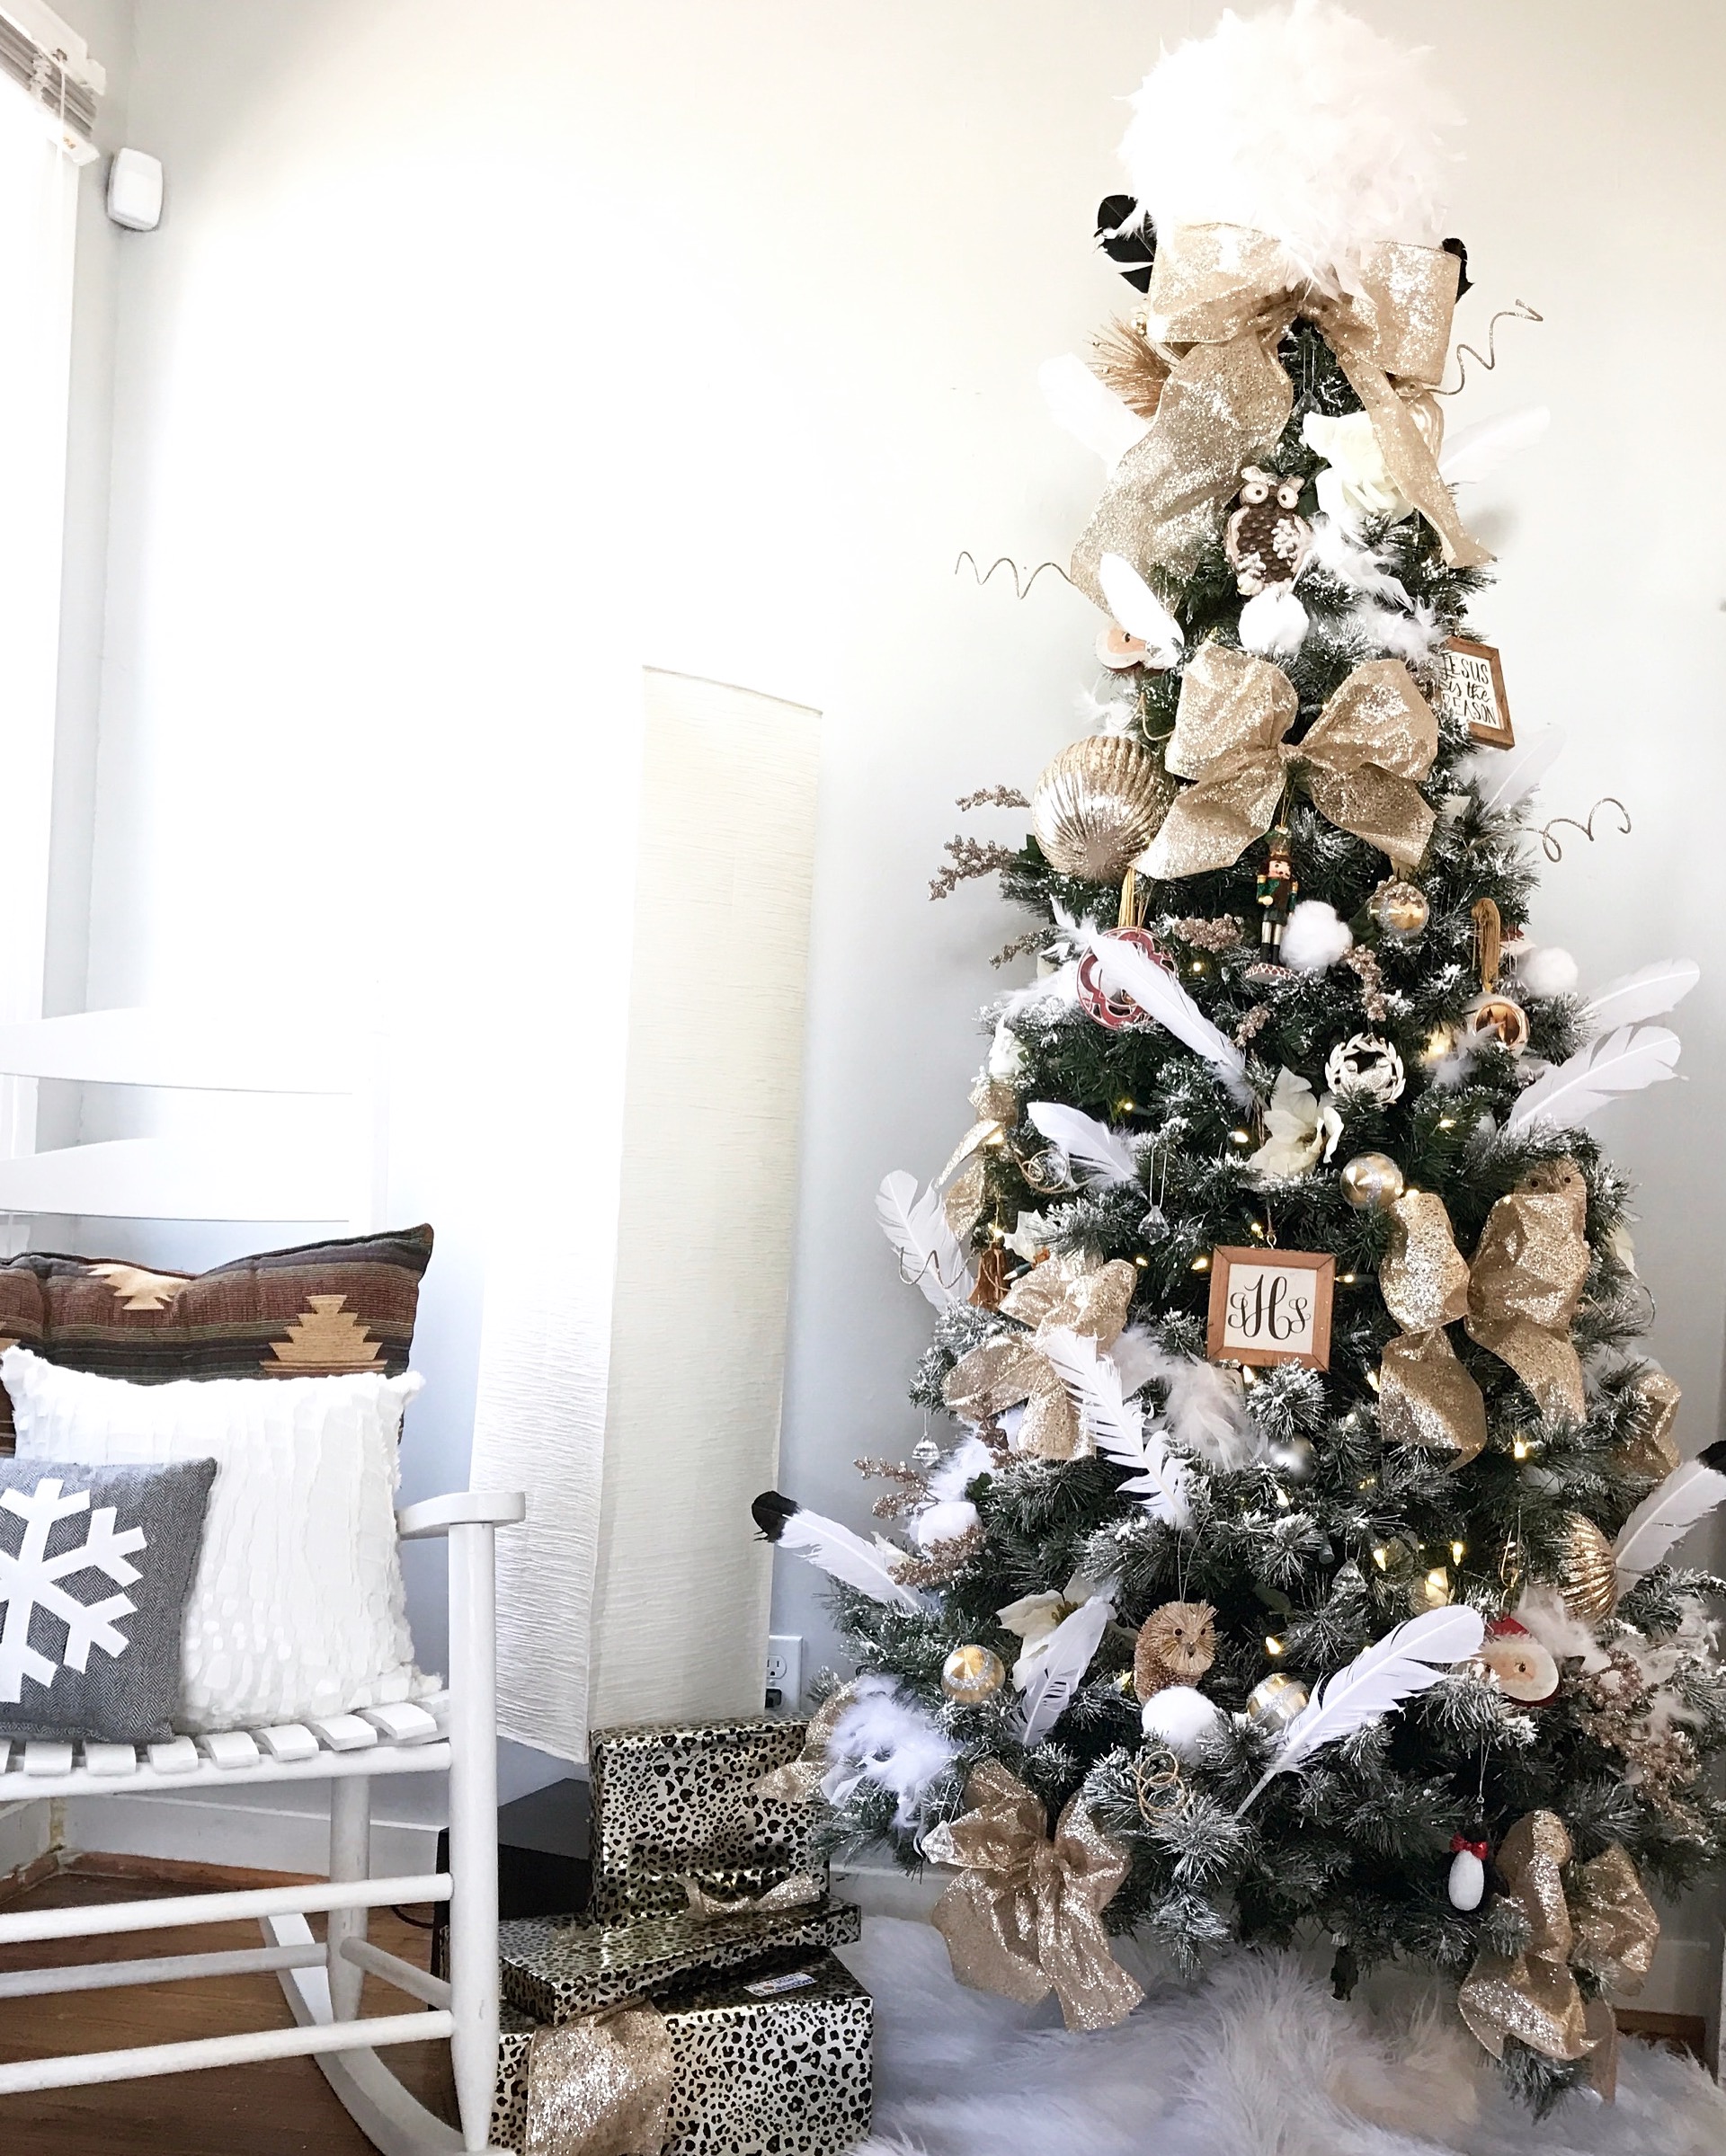
This year I so desperately wanted a flocked, feathery tree. It wasn't in my budget this year to buy a flocked tree, so I did that myself. (You can read about how I flocked all of my greenery HERE.) While I was at it, I pretty much flocked everything that I had.
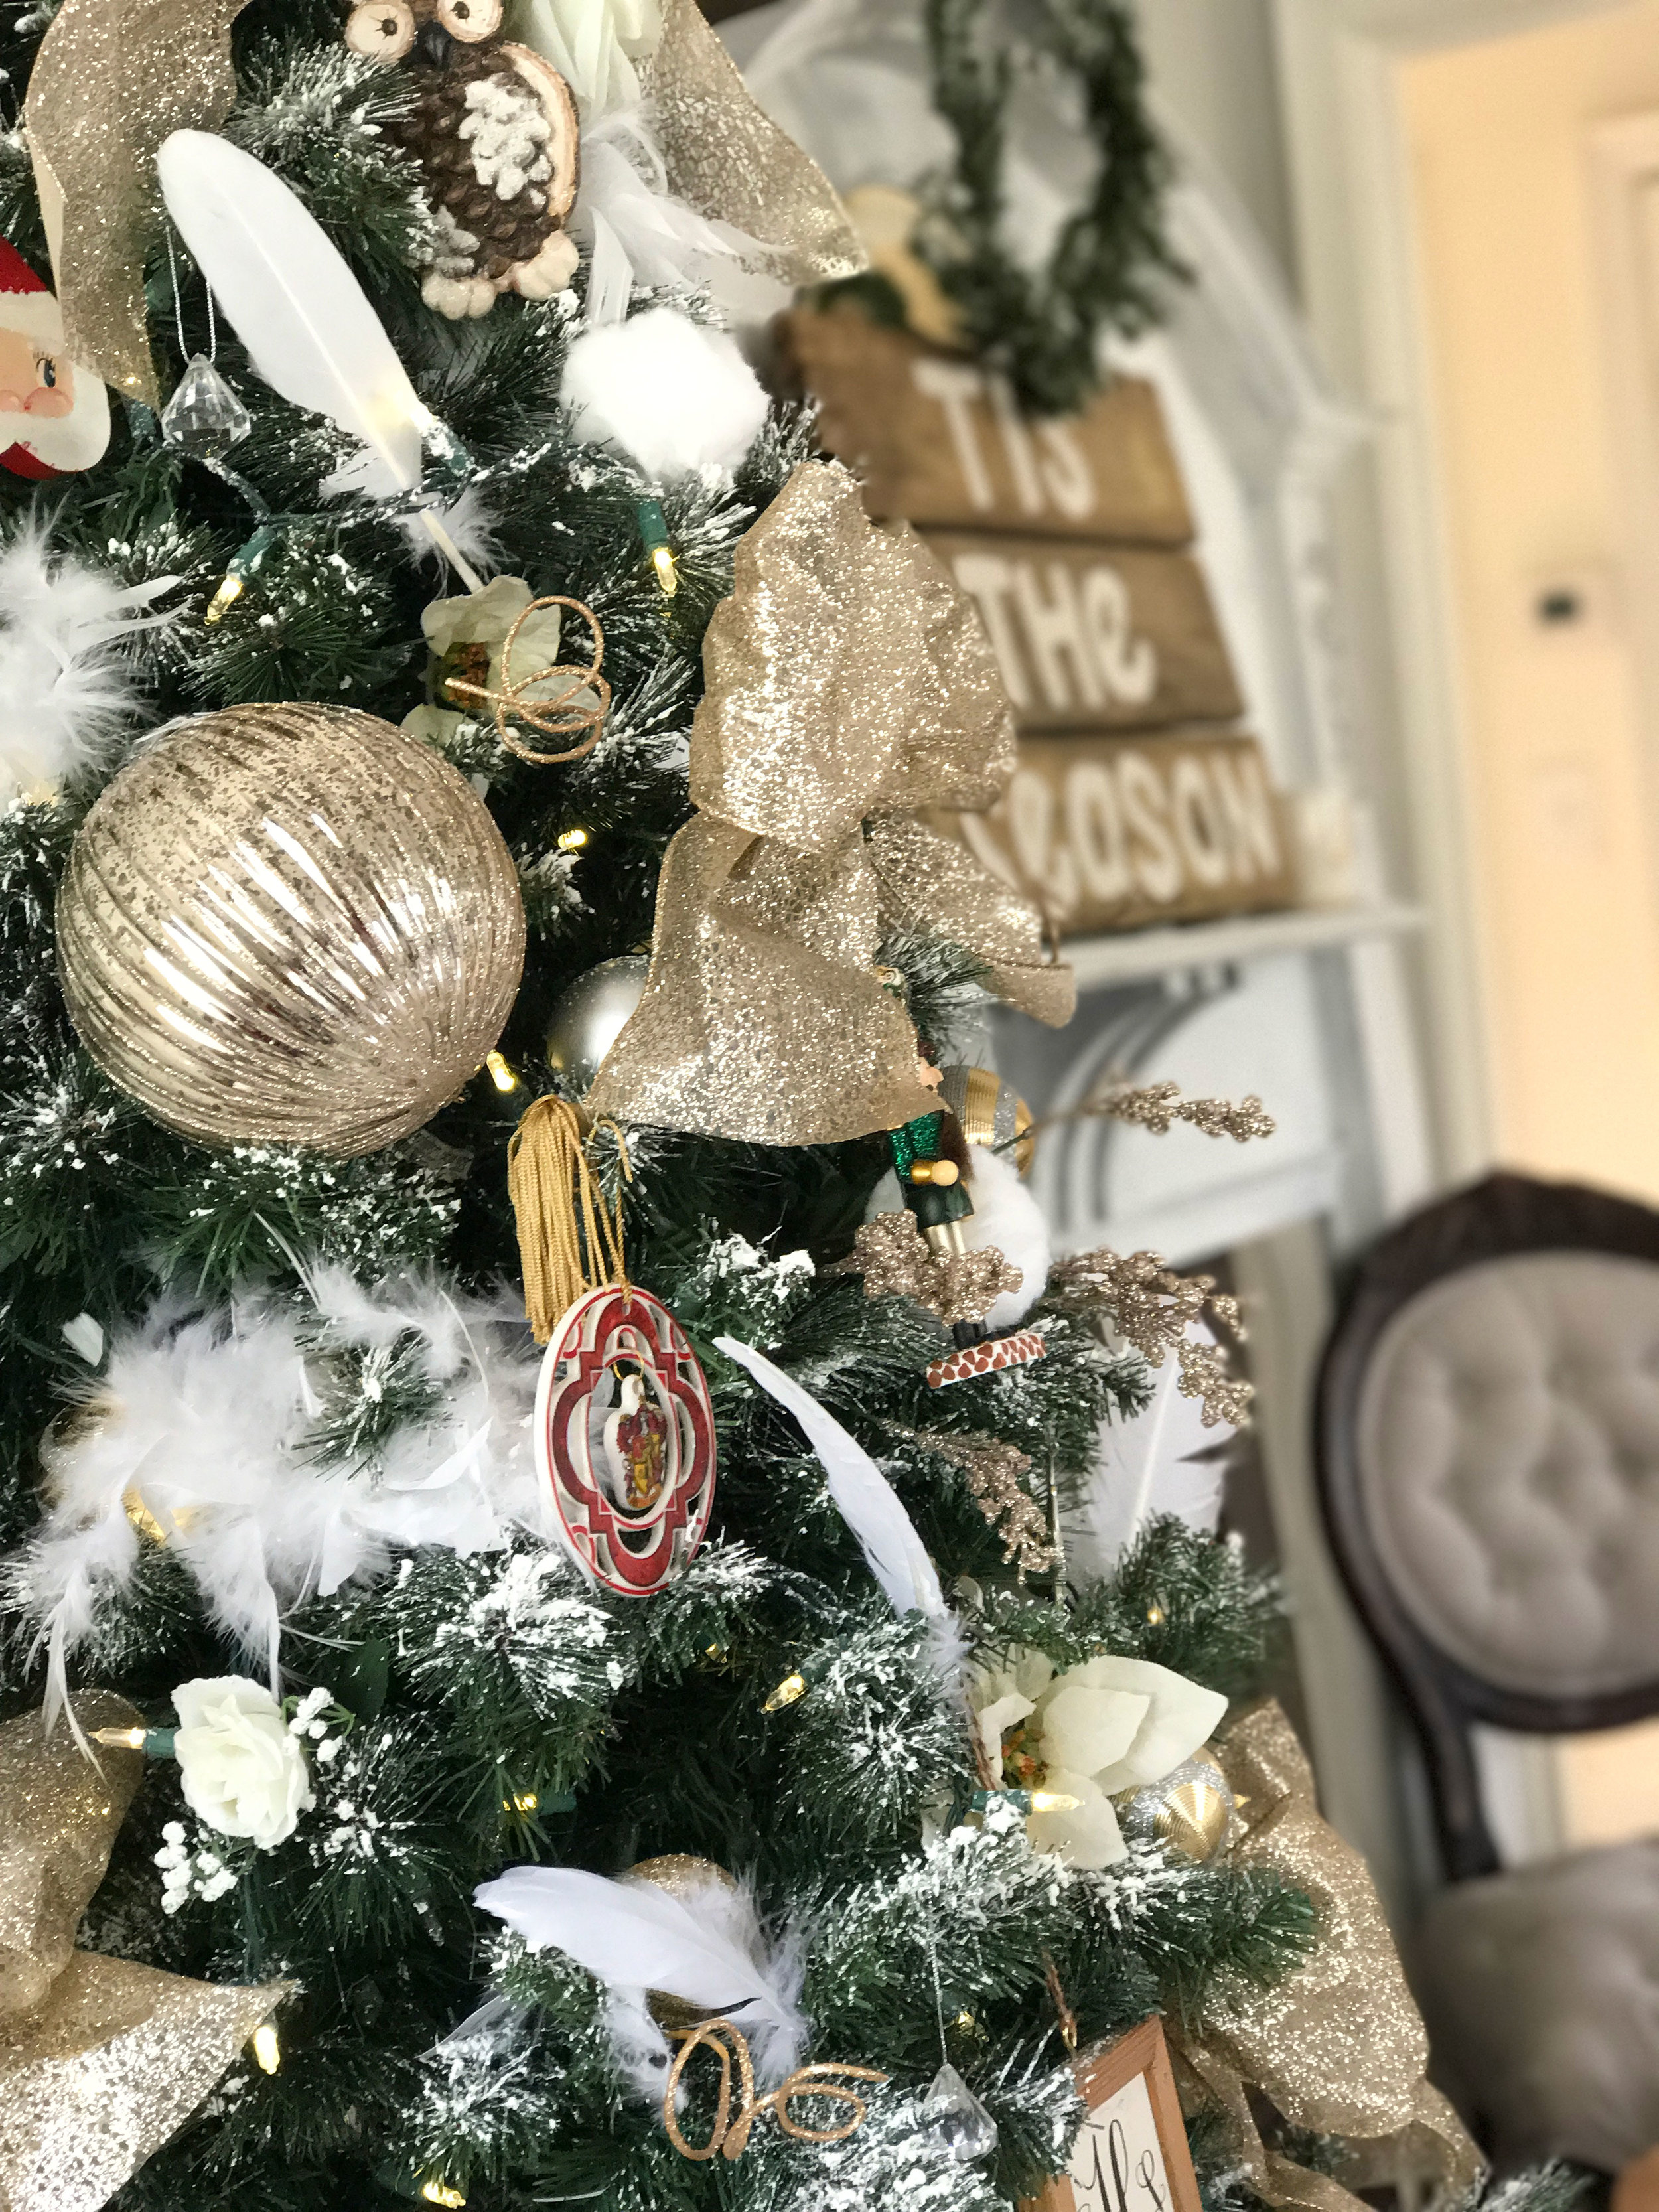
As you can see, my tree is pretty much a mixture of collected and handmade items. I always use our special ornaments no matter what look I am going for. Jereme and I like to collect ornaments when we go on trips. It is our special little thing. I know that decorations can be very pricey and I would love to be able to spend more on my tree. Sometimes though, you have to make do with what you have and get crafty. I hope this budget friendly crafts will inspire you to think outside of the box. Decor doesn't have to be traditional. It just has to be you.
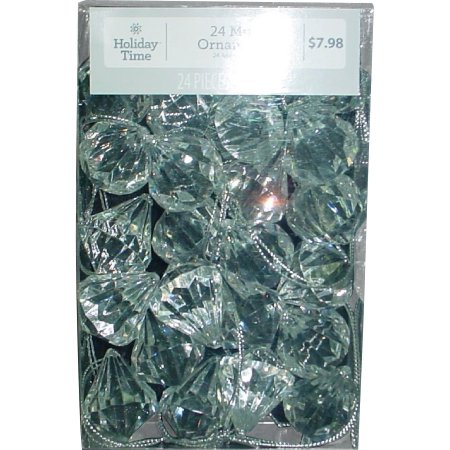
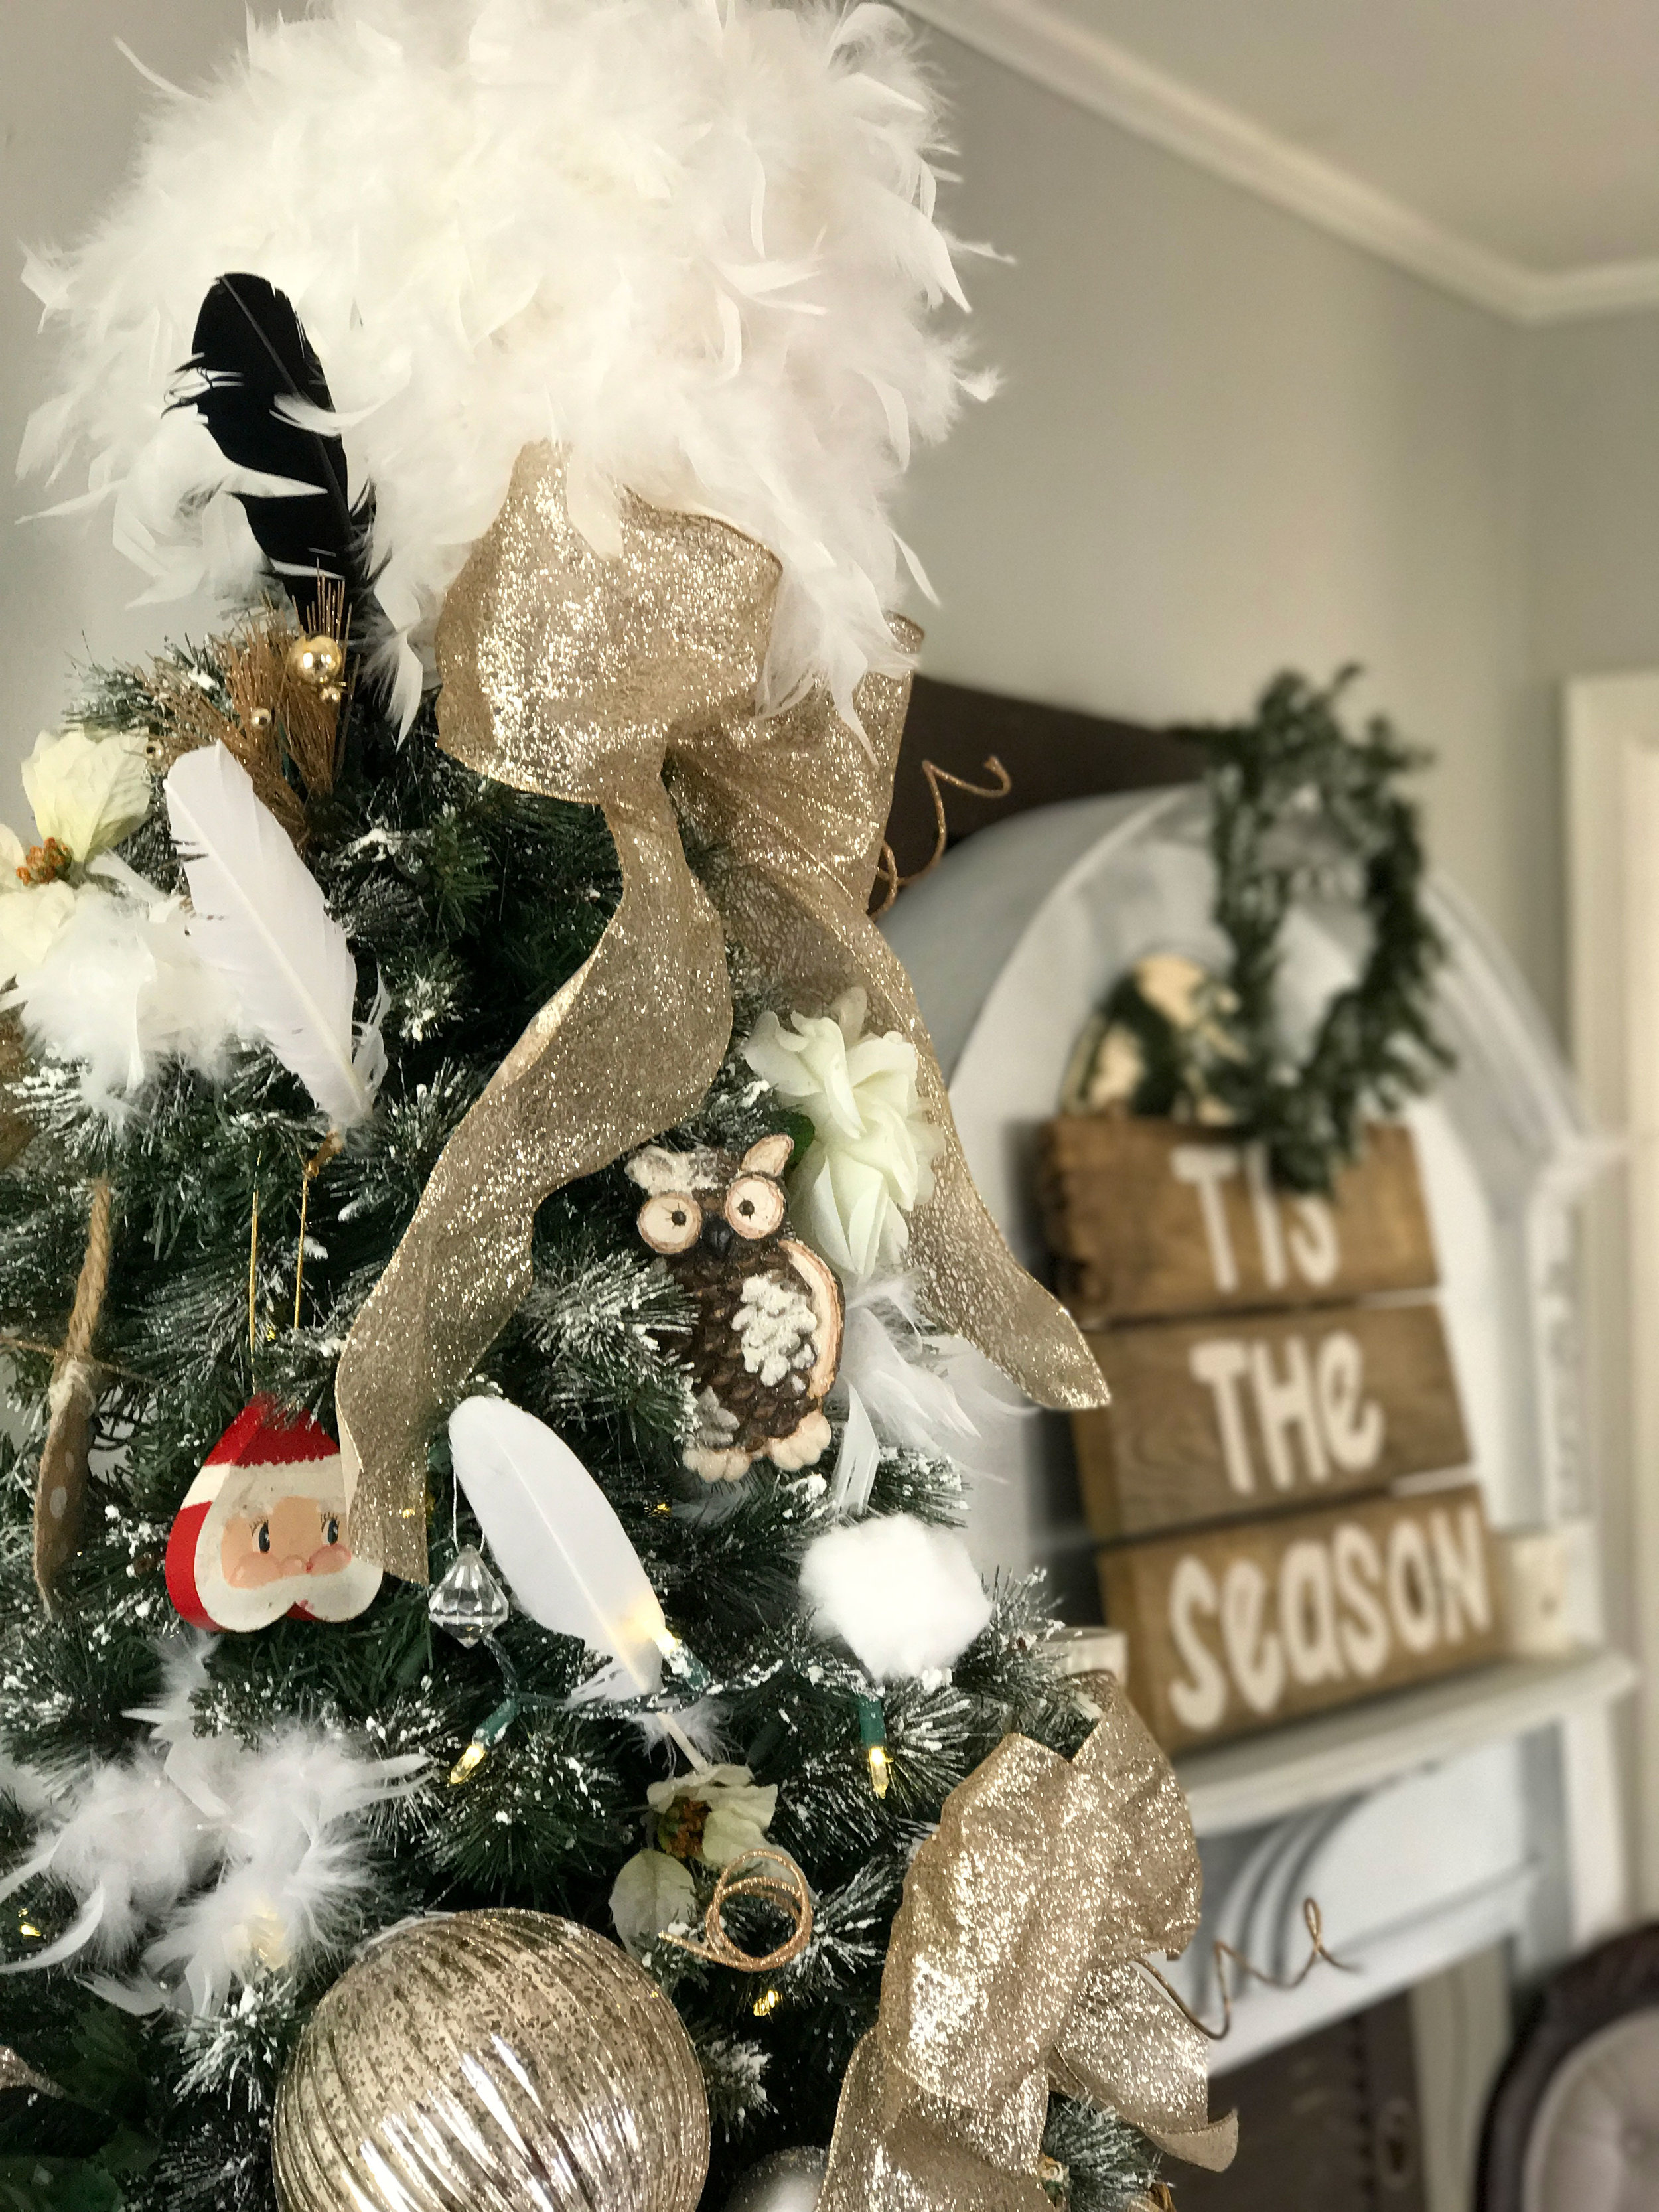
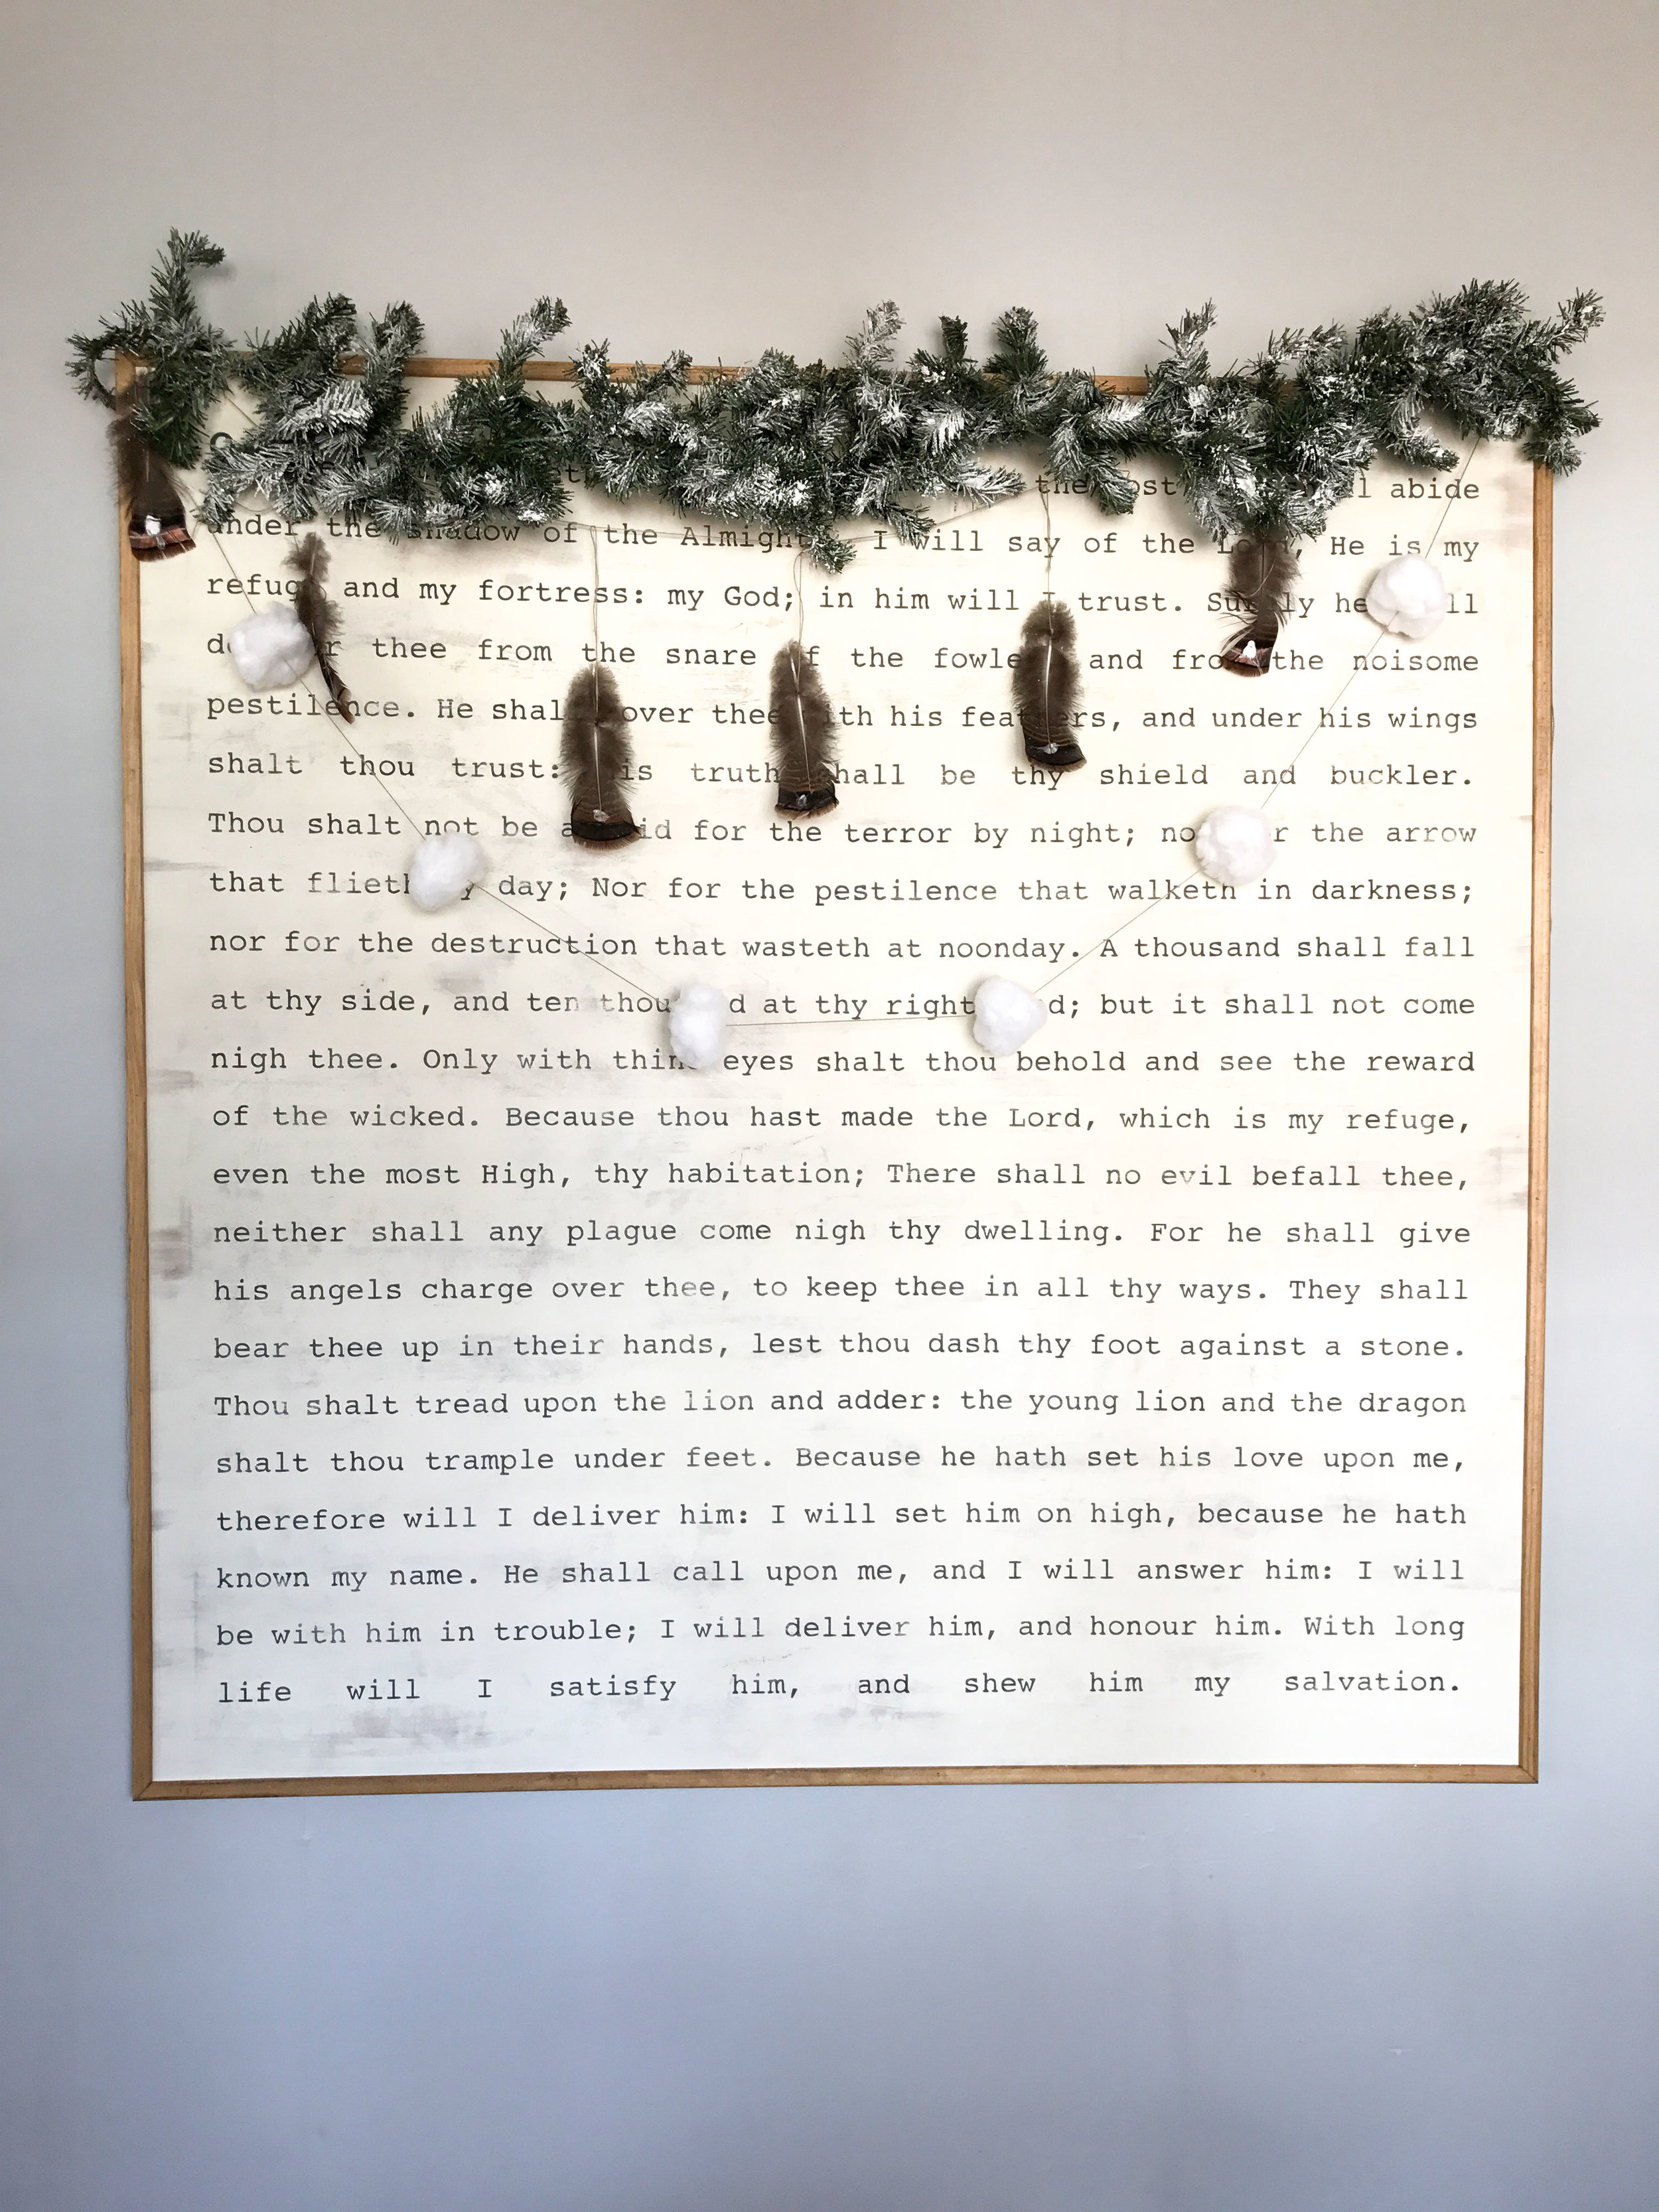
In years past I have always used deco mesh. This year I swapped it out for extra wide glittery wire ribbon. I made huge bows for the tree and I think it really stepped up the look. I got the ribbon from Sams Club and it was bout seven dollars. (Here is the exact ribbon from a seller on Amazon but I don't know why it is so much.) I stuffed white synthetic roses and poinsettias deep into the tree because I love floral. And, why not? I linked some similar extra large ornaments below that I used to take up room on the tree and add a huge statement. Everything on my tree had to be shatterproof. My cats have a streak of Christmas tree sabotaging and they can't be trusted. Ha. Most of the extra ornaments were (coincidentally and unintentionally) owl and bird themed, and that is how I came up with the idea to use feathers. I thought it really played up that theme.
The feathers I used were culls that I couldn't use for paintings. They would are also inexpensive, but make a huge statement. Here , Here, and Here are the exact feathers I used. Are you curious about my tree topper yet? I didn't exactly know what I wanted until the tree was decorated and as soon I saw it I envisioned a furry ball on top. I couldn't find exactly what I wanted so I got crafty. Get this. I hot glued THIS feather boa to large styrofoam ball. That is it. Then I plopped it on top.
To also give a feathery pop, I cut a feather boa into short strips and filled the bare spots. It went along with the theme perfectly. I got some of my glittery sticks and stems at Hobby Lobby and a few at Wal-Mart. I also used a multi pack of shatterproof balls from Hobby Lobby as fillers.
The small signs are a seasonal item that we make at Sings of Hope. You can use the tab above to learn more about what we do.
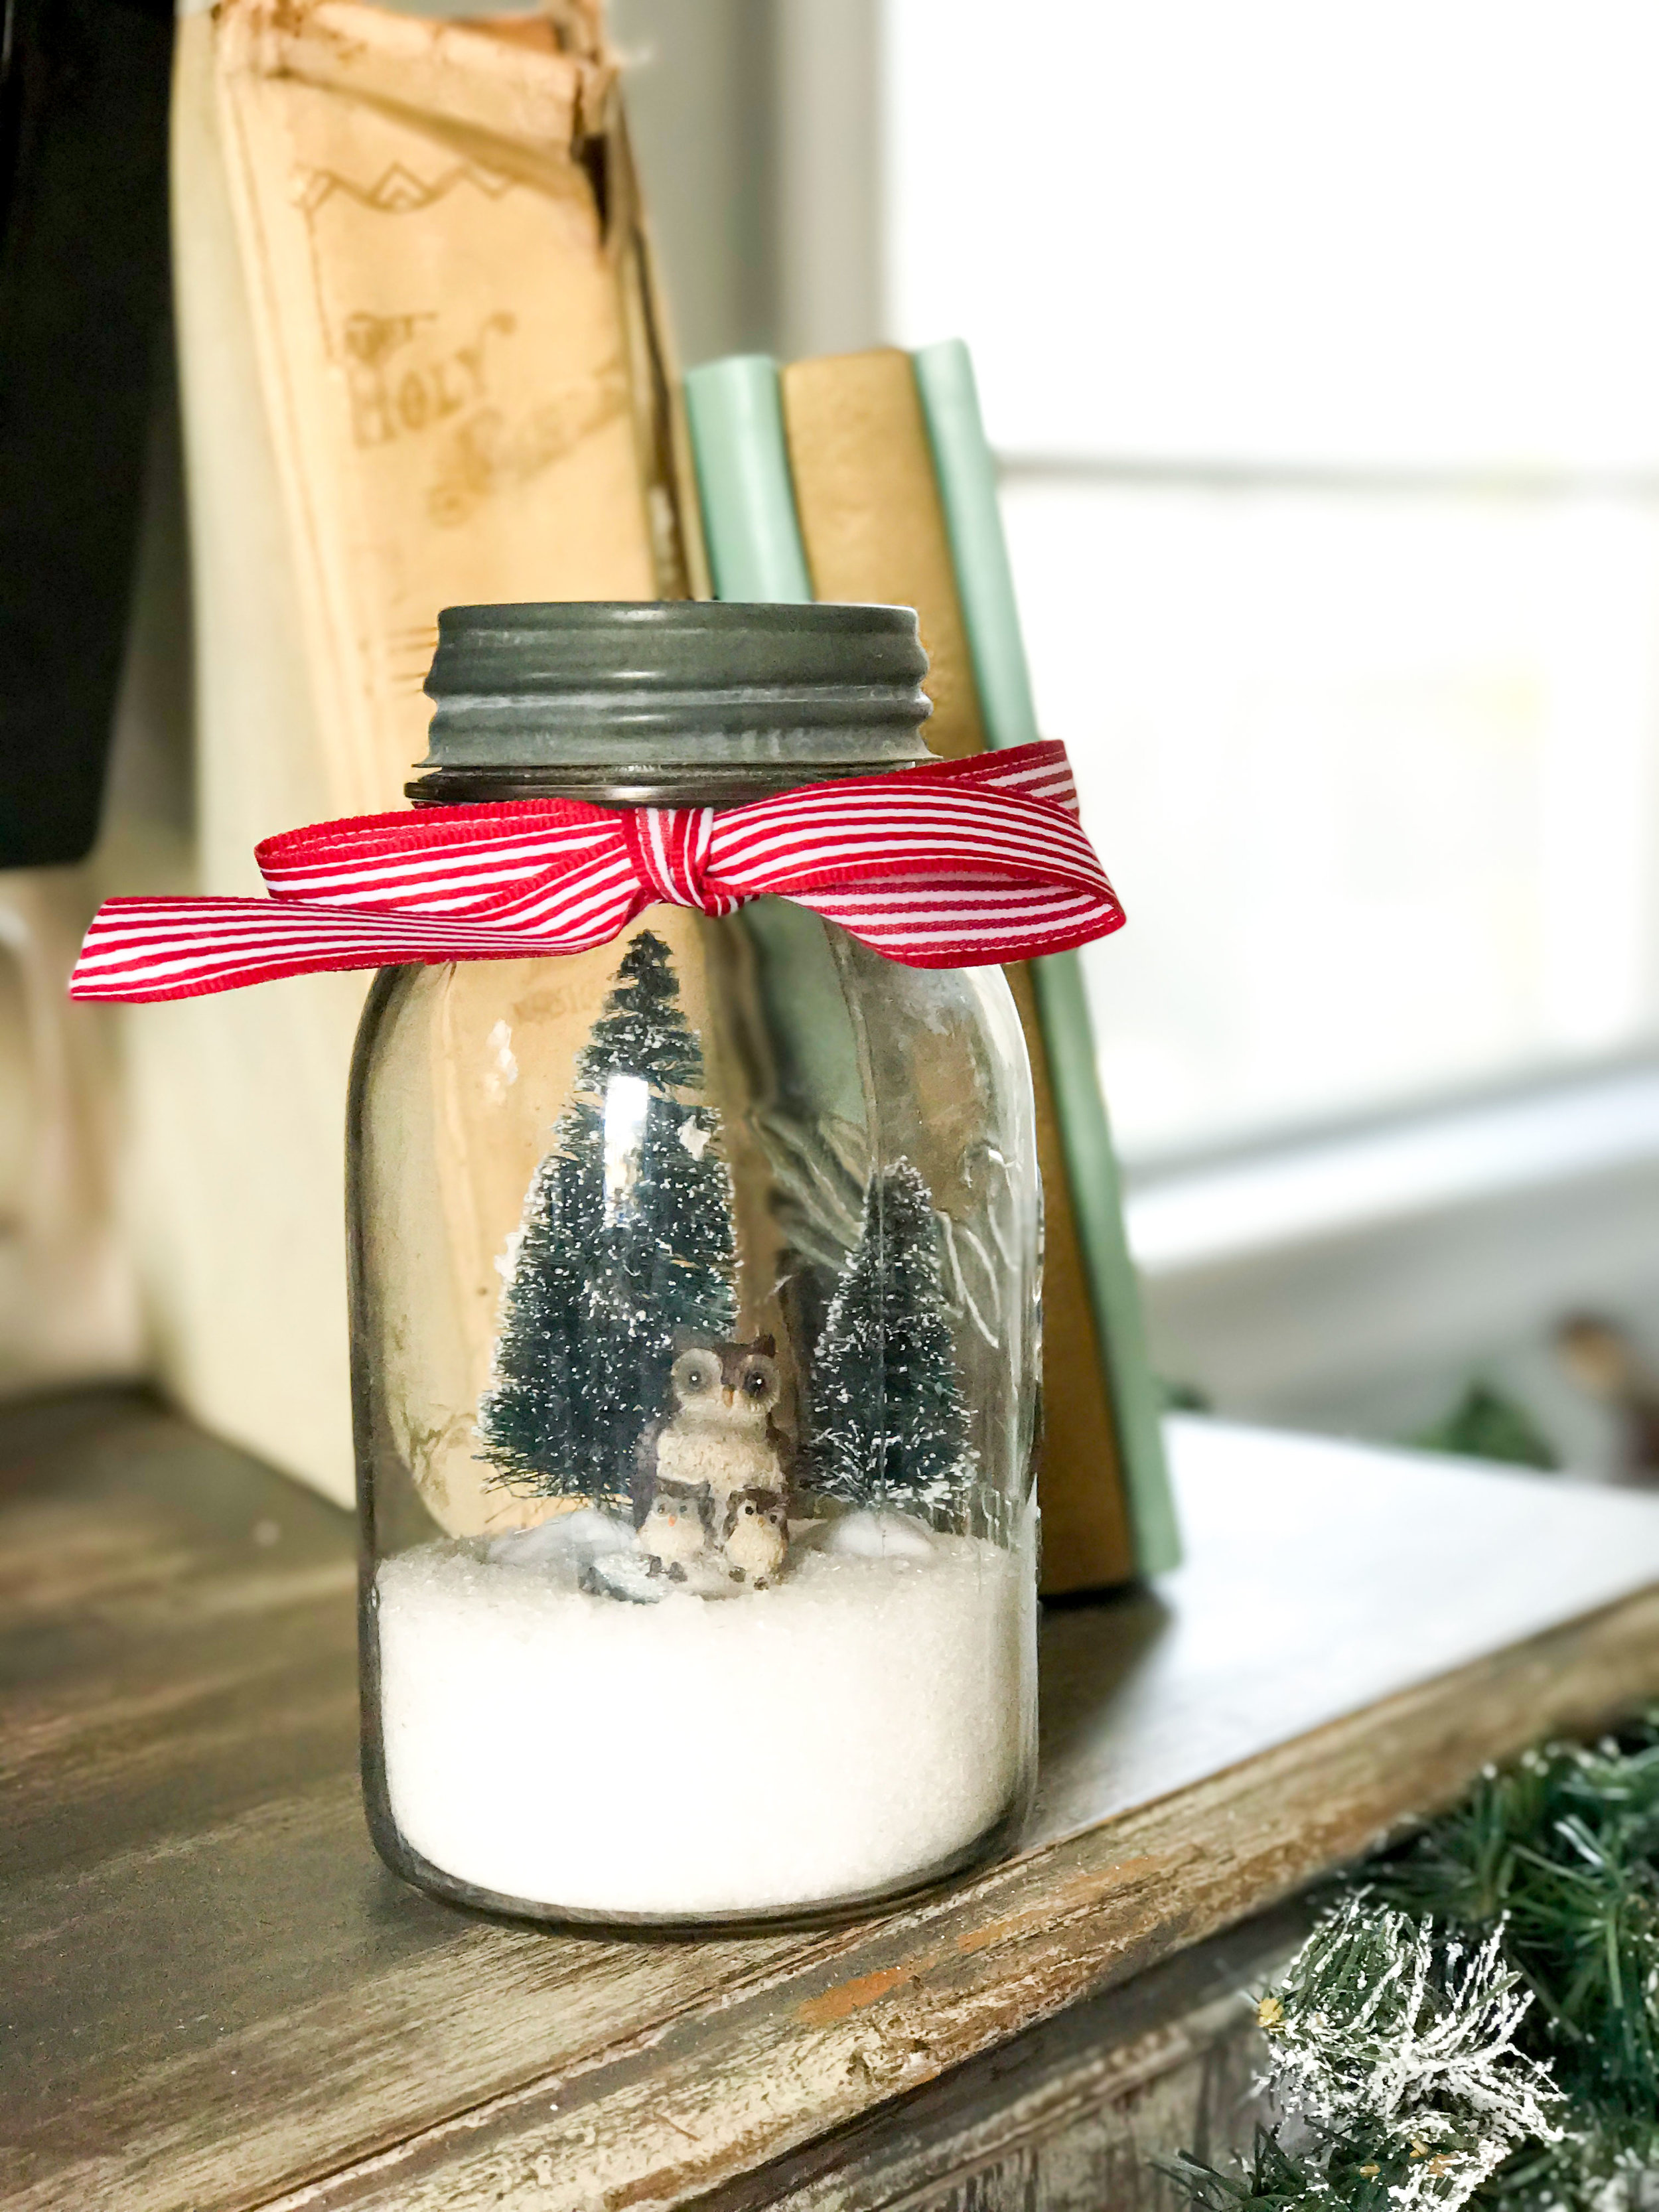
This little snow globe is a super easy fun project that you can recreate at home easily. All you need: small bottlebrush trees, fake snow and glitter, a mason jar, a small figurine of any kind, and a ribbon to top it off.
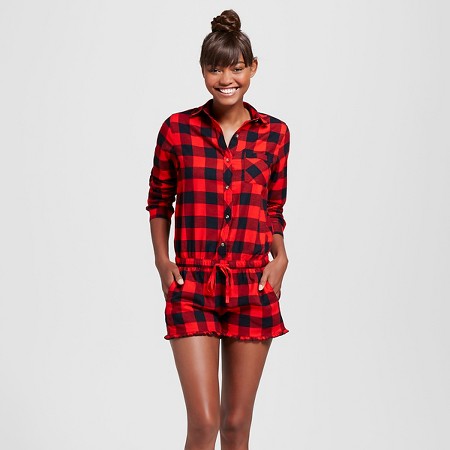
Here are the jammies I was wearing and the sweetest gift ever that I was wrapping in case you were wondering. If you made it this far, I congratulate you. I know it was a long one. I thank you from the bottom of my heart for reading and supporting me. I hope your 2017 is a wonderful year and that you are blessed beyond belief. May you seek God this year and He bless you for it. Again, thank you for stopping by.
All of my love, Sarah
“10 And the angel said unto them, Fear not: for, behold, I bring you good tidings of great joy, which shall be to all people.
11 For unto you is born this day in the city of David a Saviour, which is Christ the Lord.”











![869024[6].jpg](https://images.squarespace-cdn.com/content/v1/53b30b36e4b089f114712df7/1483304027176-XVG1MM9PW8RWGNVV52L8/869024%5B6%5D.jpg)
![1086420[6].jpg](https://images.squarespace-cdn.com/content/v1/53b30b36e4b089f114712df7/1483304195417-XQT6UAANZSXUSS1MR90H/1086420%5B6%5D.jpg)
![1086412[6].jpg](https://images.squarespace-cdn.com/content/v1/53b30b36e4b089f114712df7/1483304213140-5TAM5VKMIAYBAUX14Y97/1086412%5B6%5D.jpg)
![881433-0216z[6].jpg](https://images.squarespace-cdn.com/content/v1/53b30b36e4b089f114712df7/1483304436050-WULBWLKV6SPMUDB3JSRN/881433-0216z%5B6%5D.jpg)
![268128_1[6].jpg](https://images.squarespace-cdn.com/content/v1/53b30b36e4b089f114712df7/1483305407856-F9N5SCOHLHF6SMJ5W9SC/268128_1%5B6%5D.jpg)
![540419_1[6].jpg](https://images.squarespace-cdn.com/content/v1/53b30b36e4b089f114712df7/1483337287970-36BFH50HNGUHVE4KF8RQ/540419_1%5B6%5D.jpg)
![1085638[6].jpg](https://images.squarespace-cdn.com/content/v1/53b30b36e4b089f114712df7/1483337589048-MZI4NTEUNCN2HSF6XO1Y/1085638%5B6%5D.jpg)
