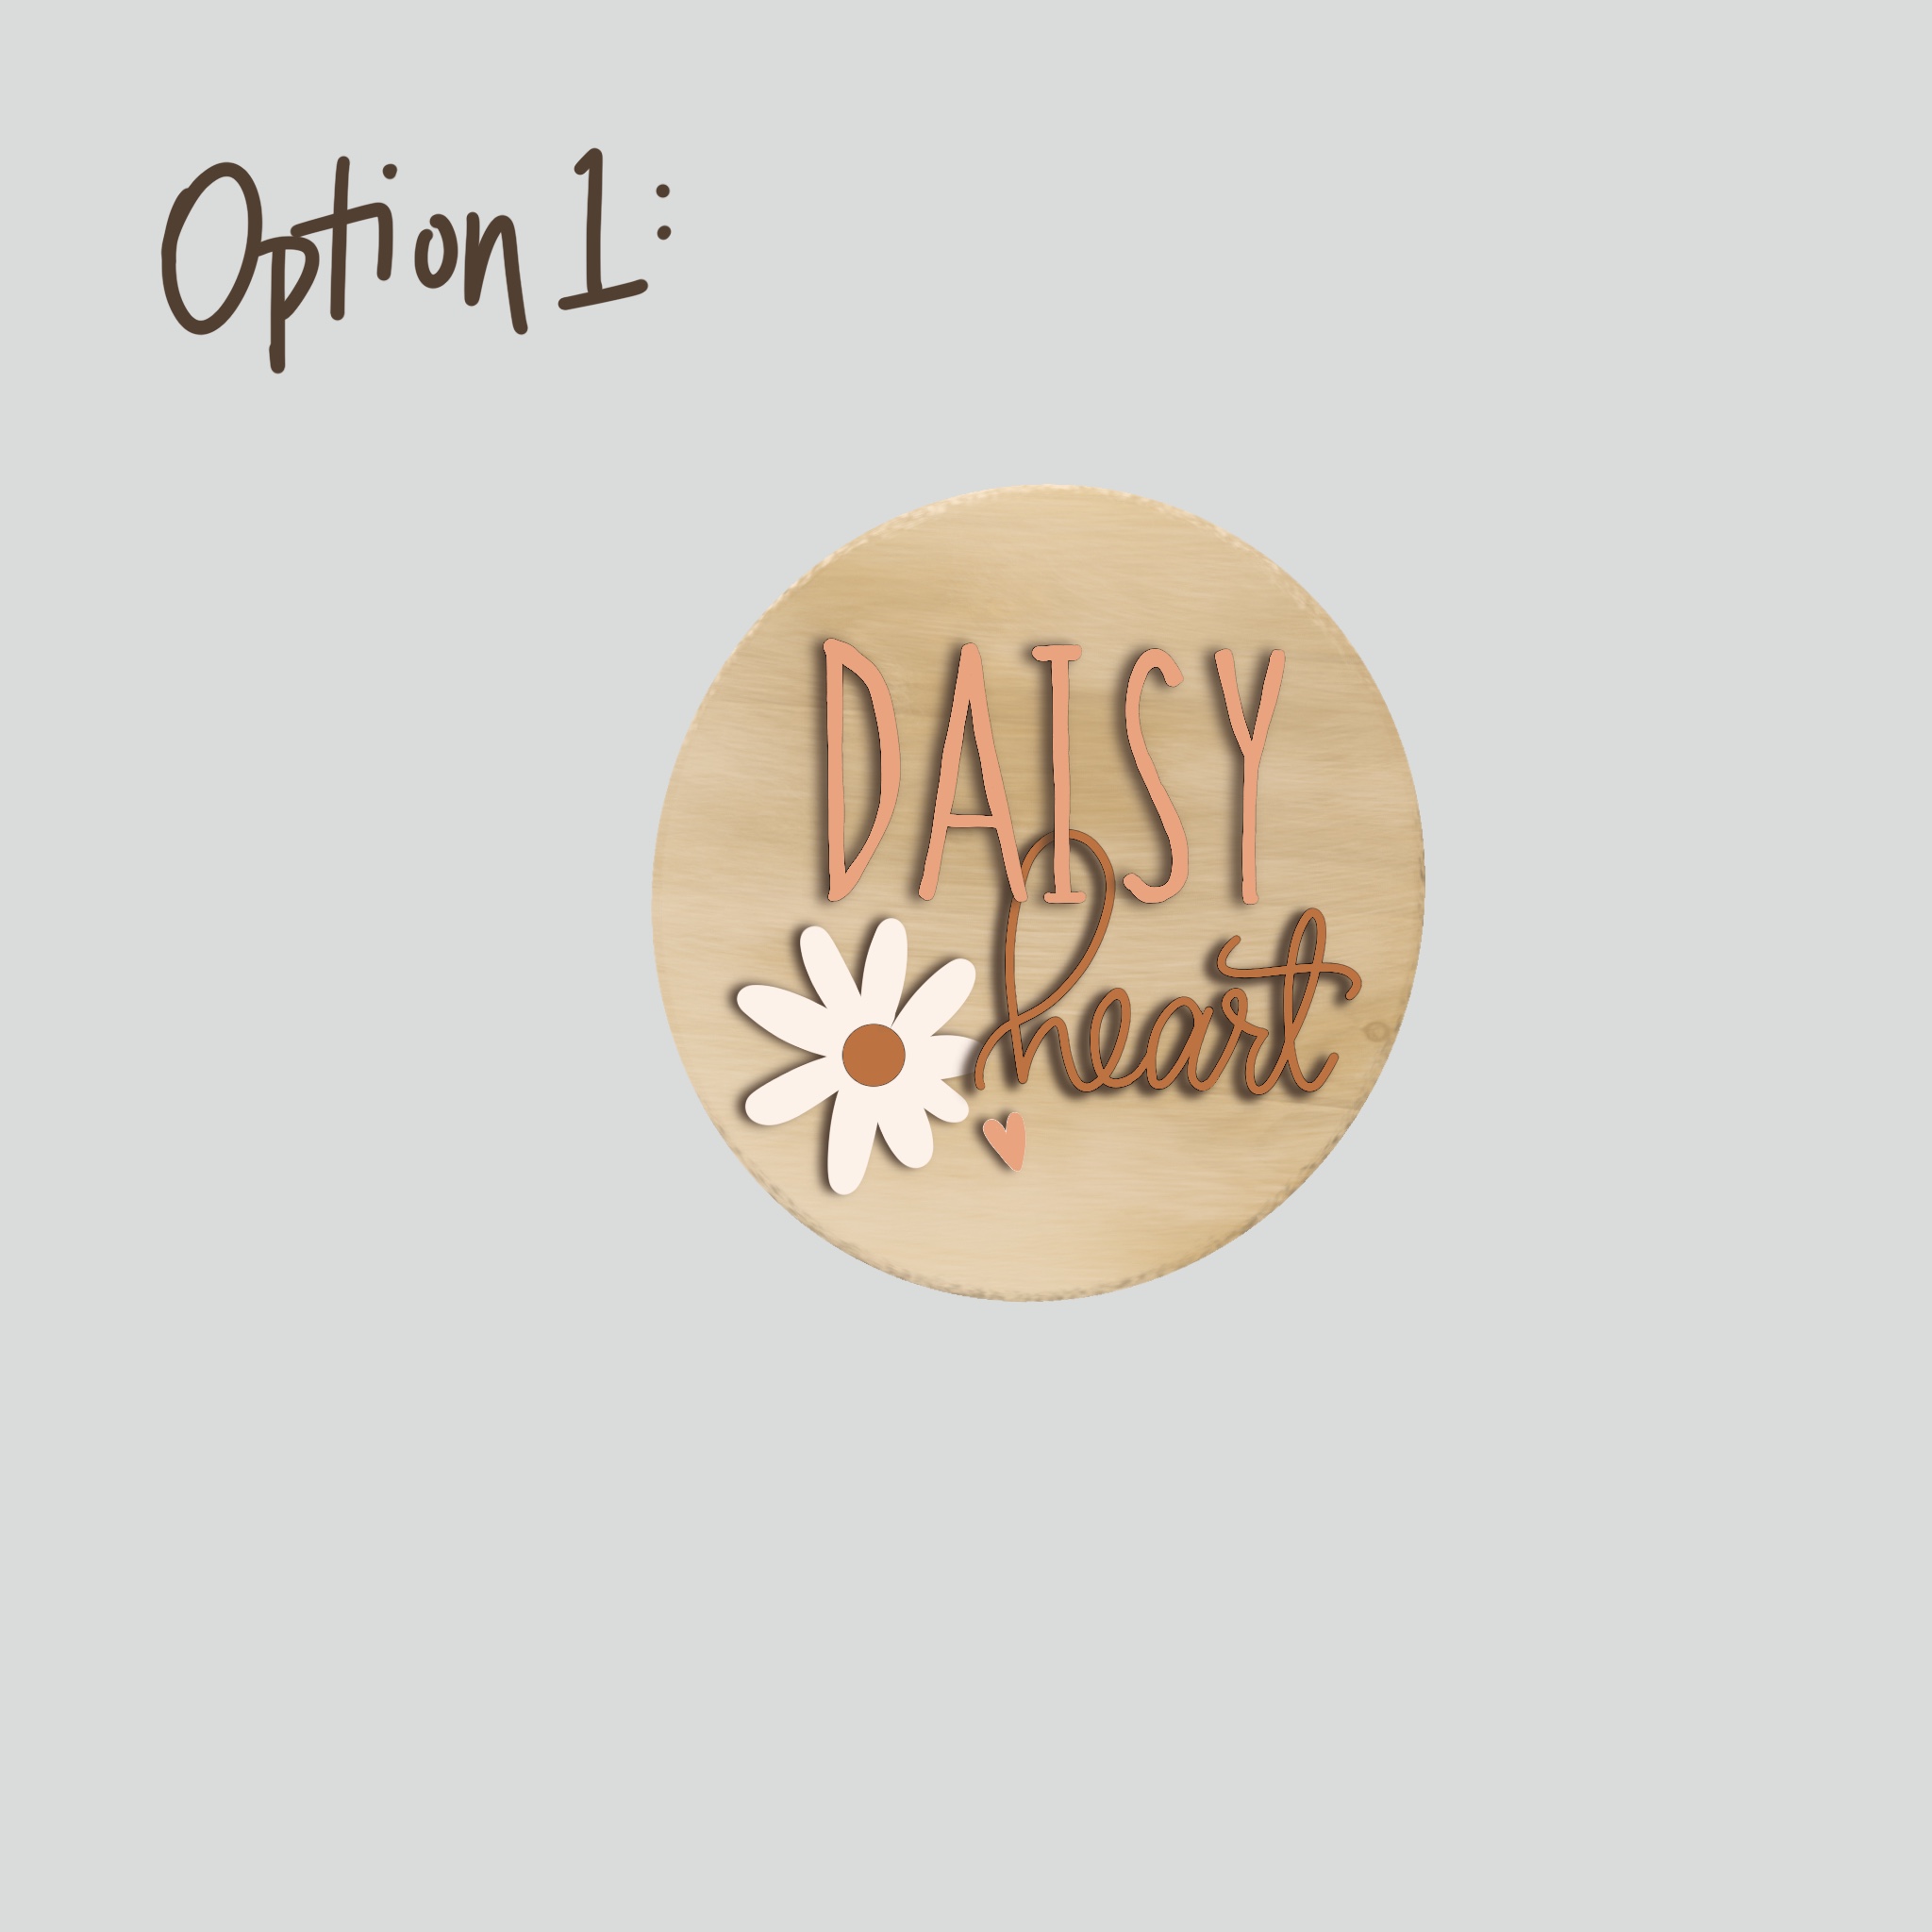
Daisy Heart…
Our sweet girl will be named be Daisy Heart. I announced it on Instagram a couple of weeks ago and since then, a few have asked the story behind her name. I love a good name story, so here we are. Funny enough, her name just kind of came to us one day. There wasn’t a huge eloquent or profound reason behind it when it was chosen. It wasn’t until later that I realized the meaning. In fact, up until we knew she was actually a girl, we had only picked out boy names. Those came easy for us. I was almost certain that it would be a boy just because of the names, even though I really wanted a girl. Those names had the amazing stories, however we still LOVE hers none the less. We think it is perfect. We still have those names on the back burner. You never know what the future holds.
Her first name was initially going to be Heart. I had come up with that name several years ago. I filed it on my baby names note on my phone and have gravitated towards it ever since. I was pretty certain from the moment we found out that she was a girl, that we would use it in her name. Little side note: Hearts have always been special to me. I have always signed my name with a heart. I have always used hearts in my art pieces. It is just special for so many reasons. Plus, it is a symbol for love. I loved the idea of that being in her name because what could we love more than this precious baby. I have never heard of that being used as a name before, and I like that. Jereme loved the uniqueness of it too. The problem was that we just could not find a middle name that we liked with Heart.
We were sitting in our living room one afternoon and the name Daisy just came to me. I asked for Jereme’s opinion, and he loved it. We debated the order of the two names for awhile, finally settling on Daisy Heart. I kept imagining myself calling her name and Daisy just fit. It was right and Jereme felt the same. I don’t know about J, but I really wanted her to have a sweet name. I wanted her name to match the way I feel about her and this time of life. I don’t think anything could better suit.
After I have had time to really think about her name, I came to realize that it signifies something so huge and grand after all. It signifies the change that has taken place within my heart. For her to even be here, is a miracle. There was a time when that wasn’t even a possibility, because I wouldn’t allow it. My heart was so hardened to the idea of children, but the Lord really changed me from the inside out. What happens when the Lord breaks up hard ground? (In this case my HEART.) New life springs forth from it. The new life in this case just so happens to be a DAISY. I think it represents my journey into motherhood. First he had to transform or till up my heart so that a Daisy could spring forth. DAISY + HEART.
DIY Name Board:
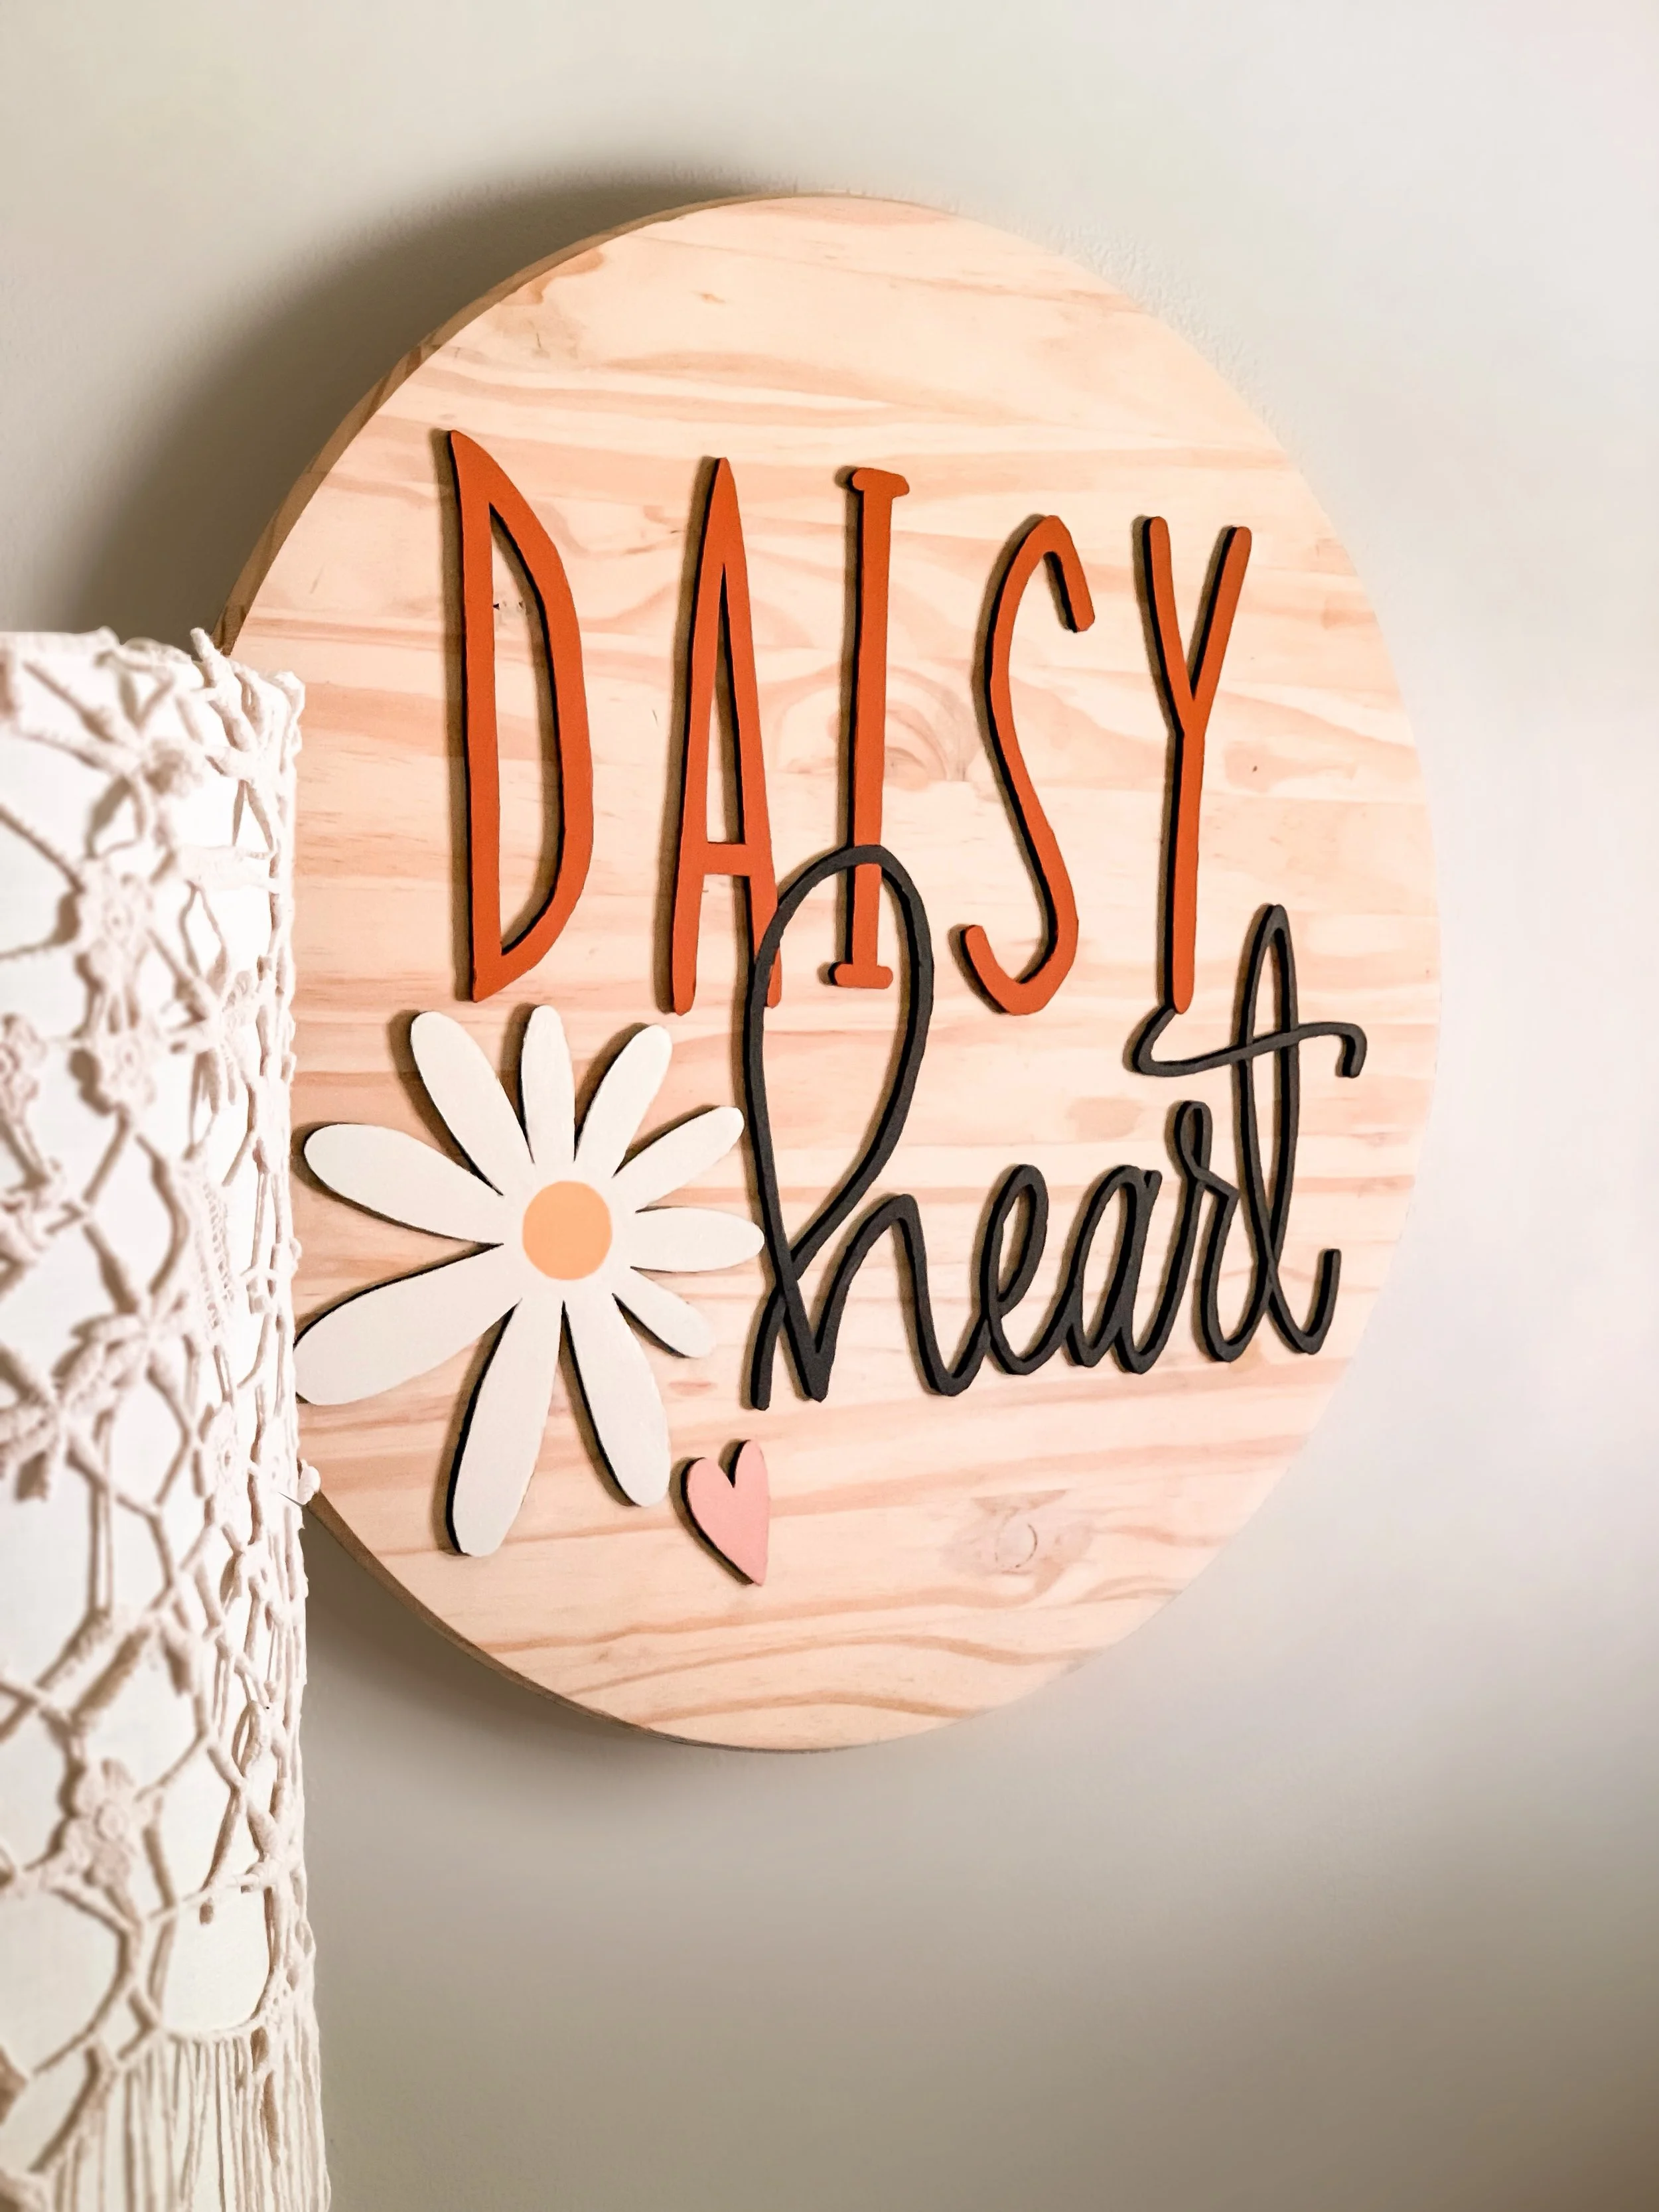
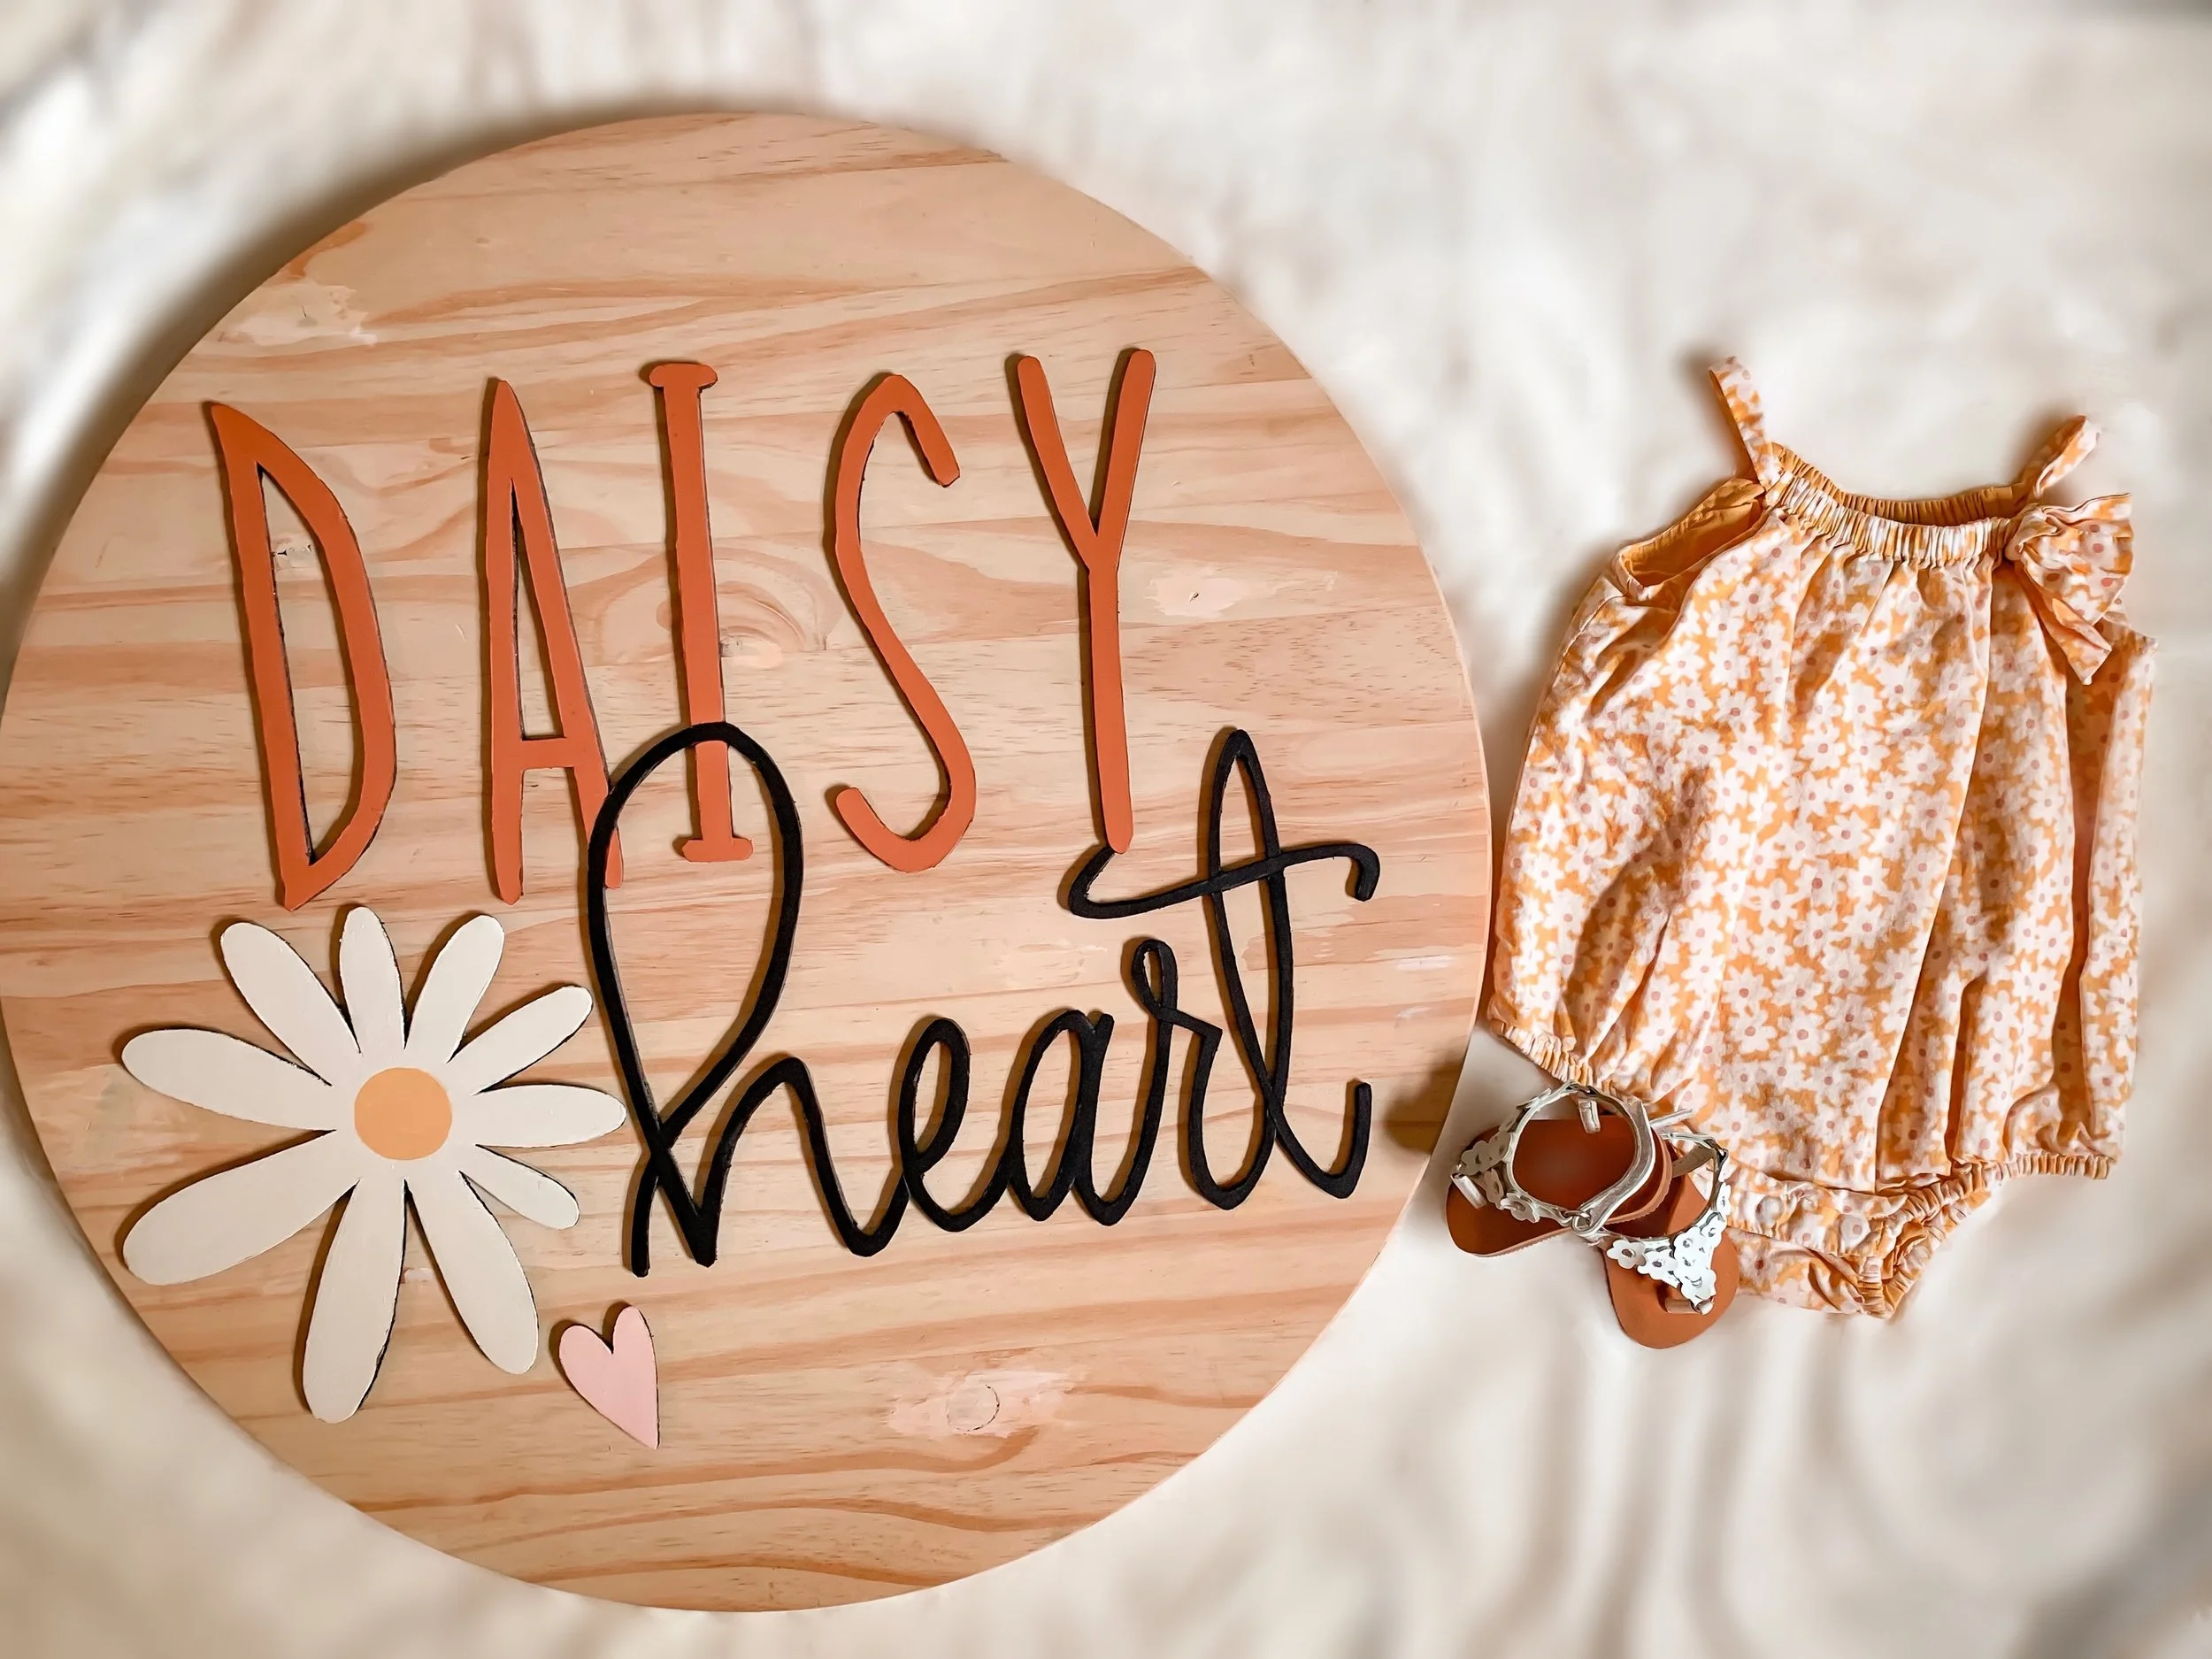
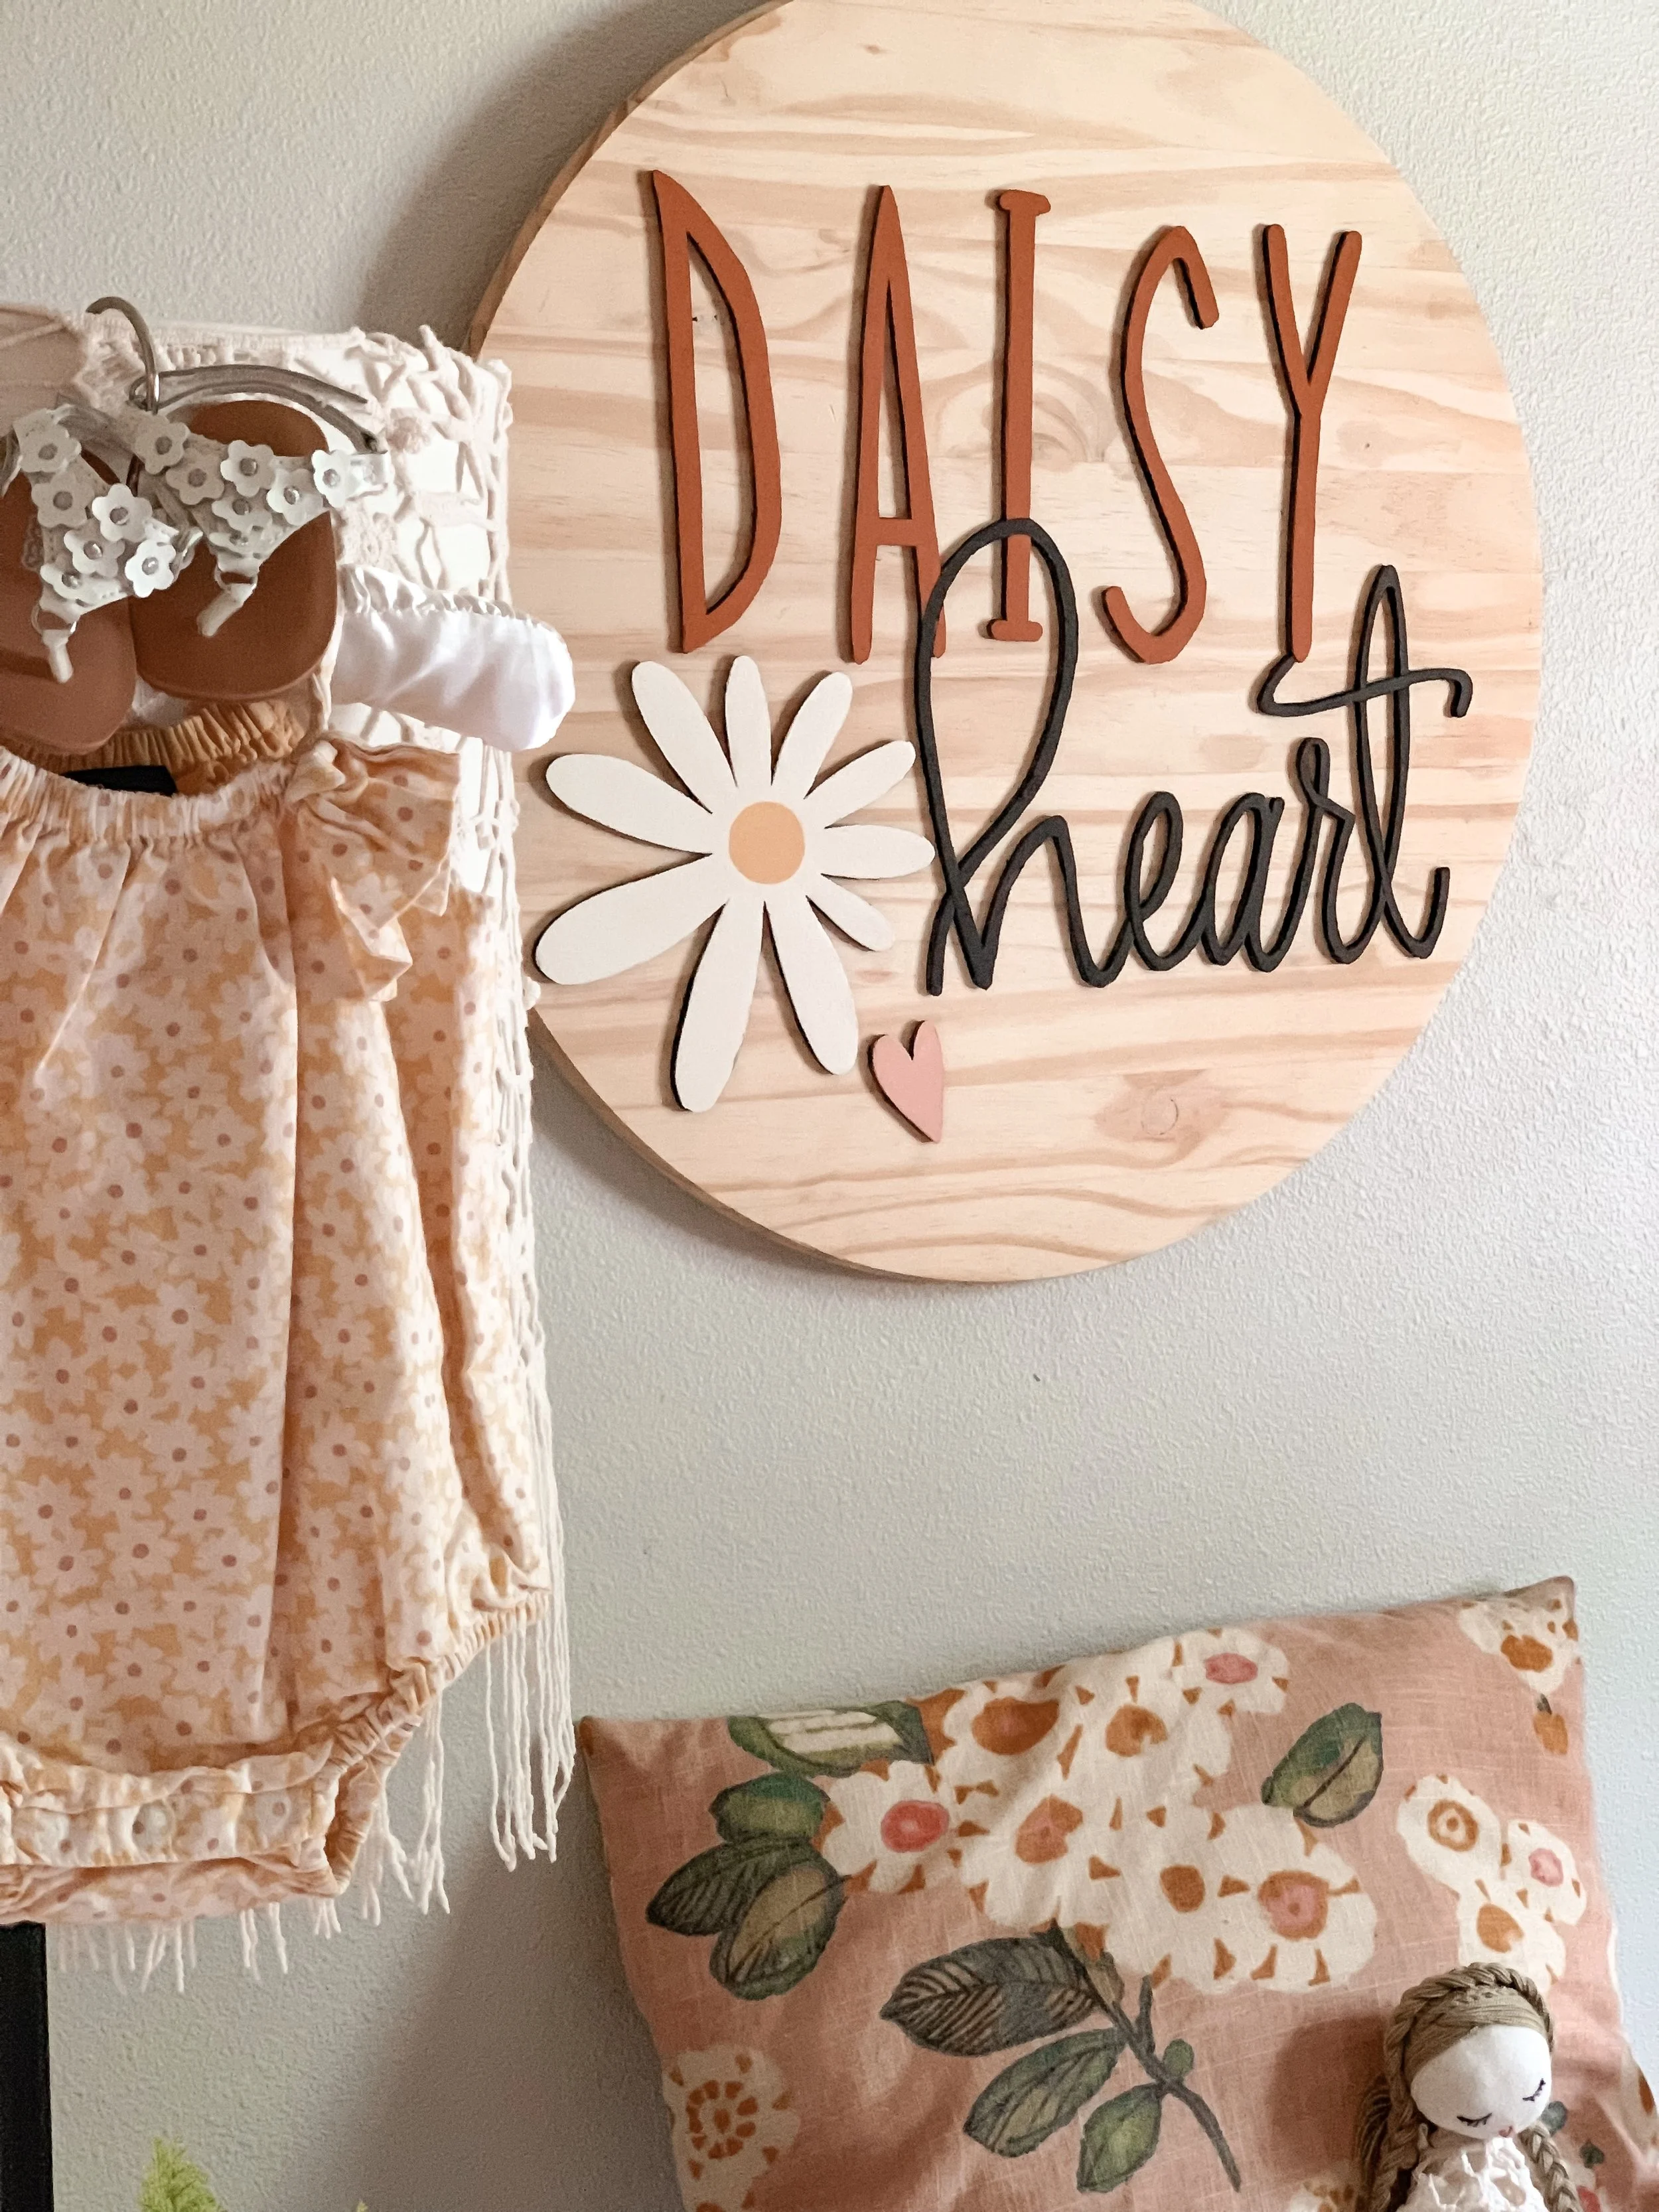
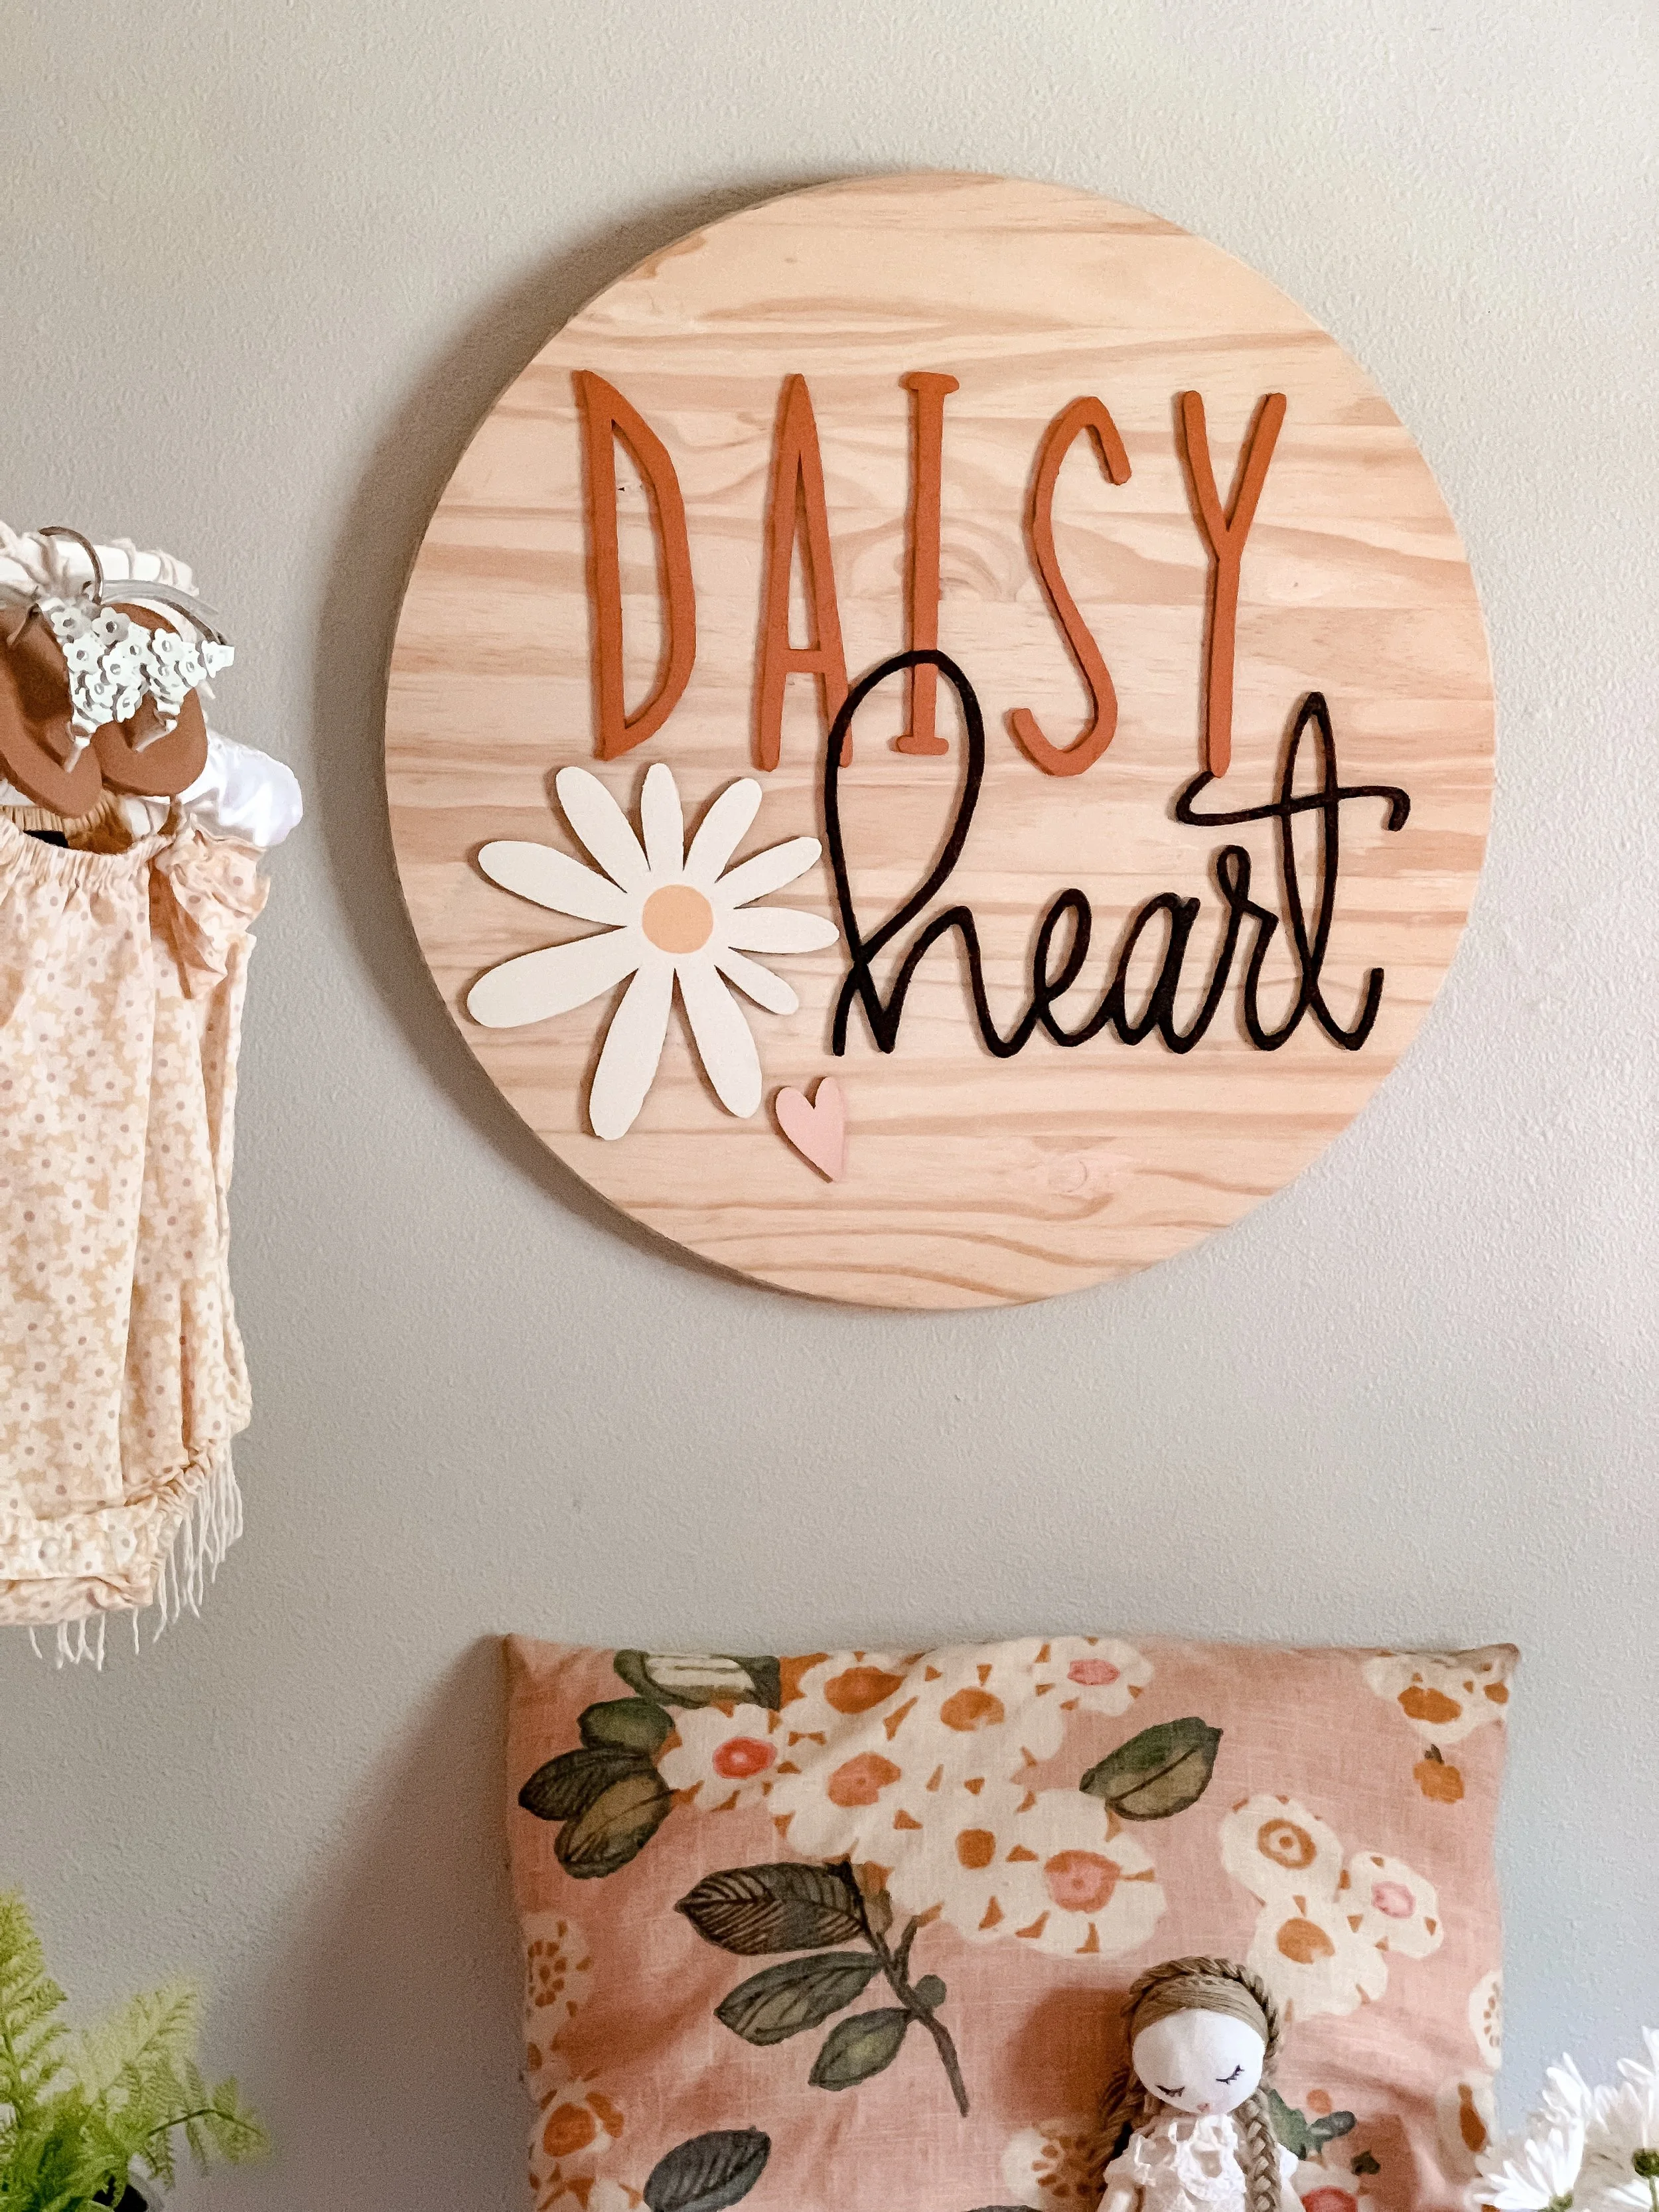
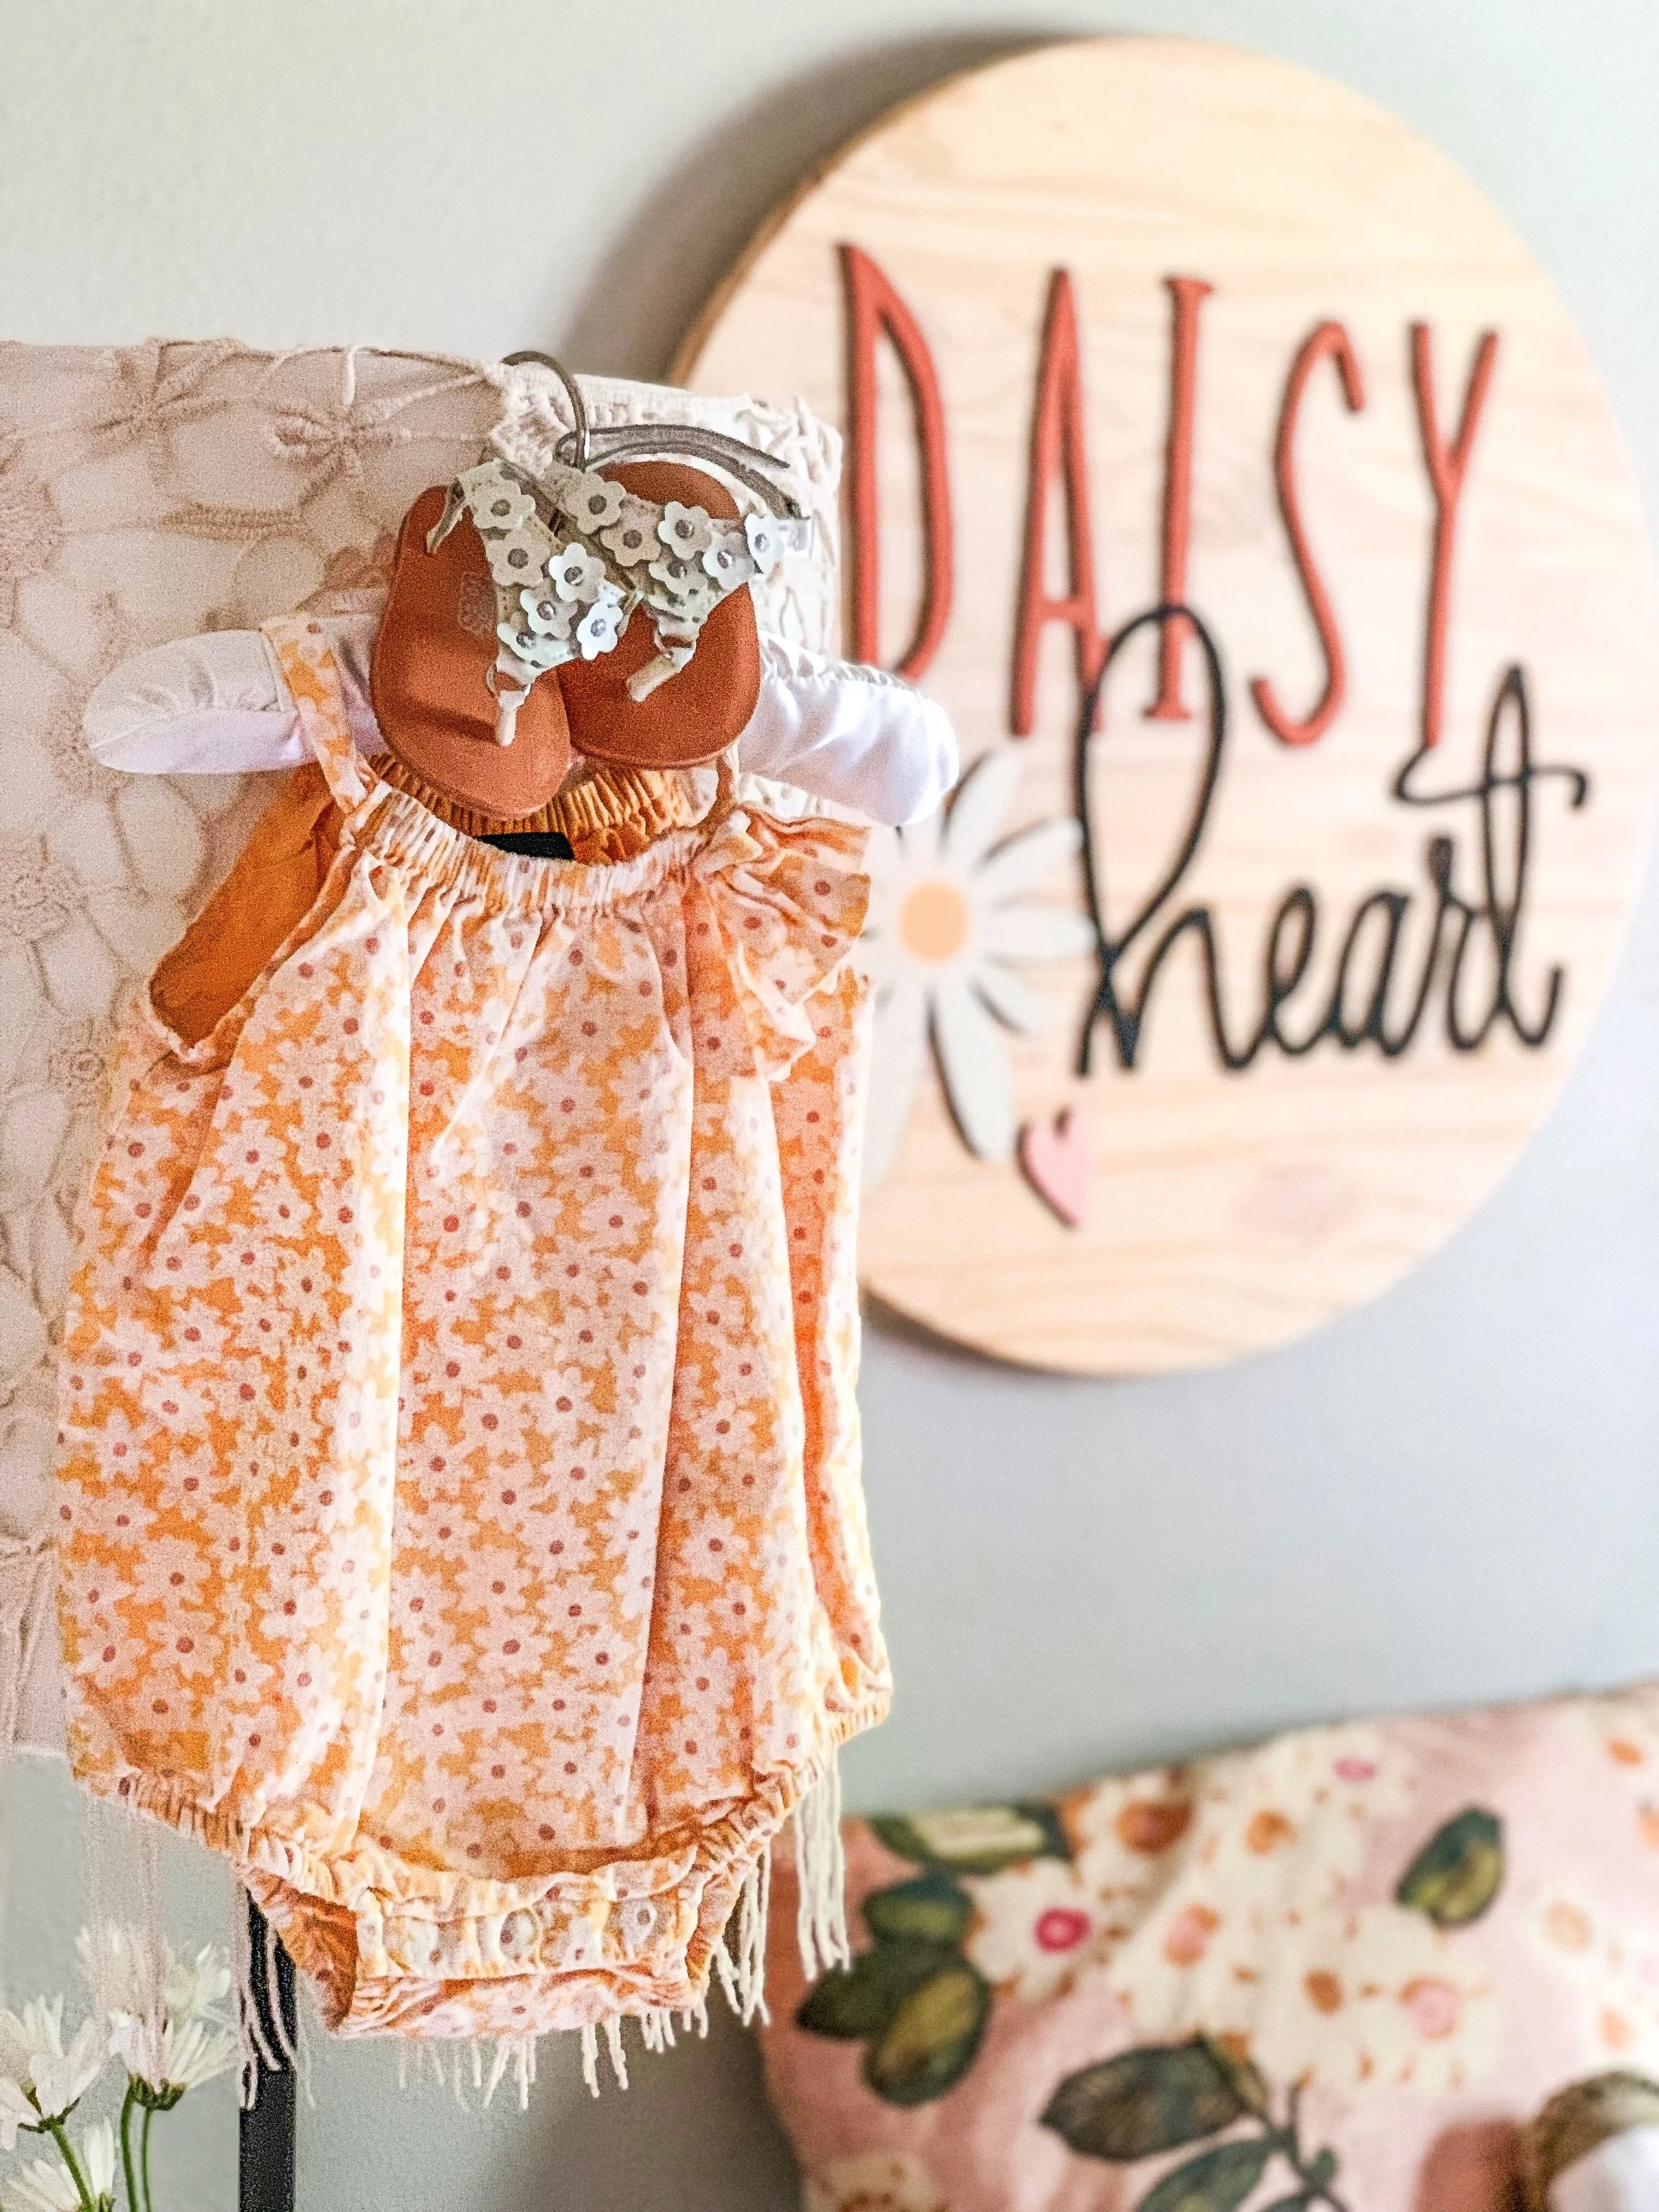
I wanted to also include how I made her name board, because I got a few questions on that as well. I kept seeing these boards pop up all over the Gram and I wanted one so bad. I have had some saved to my baby board on Instagram for over a year now. Obviously, we are trying to be budget cautious right now to get all of the essentials first, however I REALLY wanted one of these signs. I also didn’t want to wait to have one made. Then someone from Jereme’s work gave us the large round wood piece and I thought it would be prefect to use to try and DIY it. I love doing things like that anyways. I love a good DIY. It wasn’t the easiest project I have ever done, but definitely not the hardest. It was a labor of love, so it’s all good.
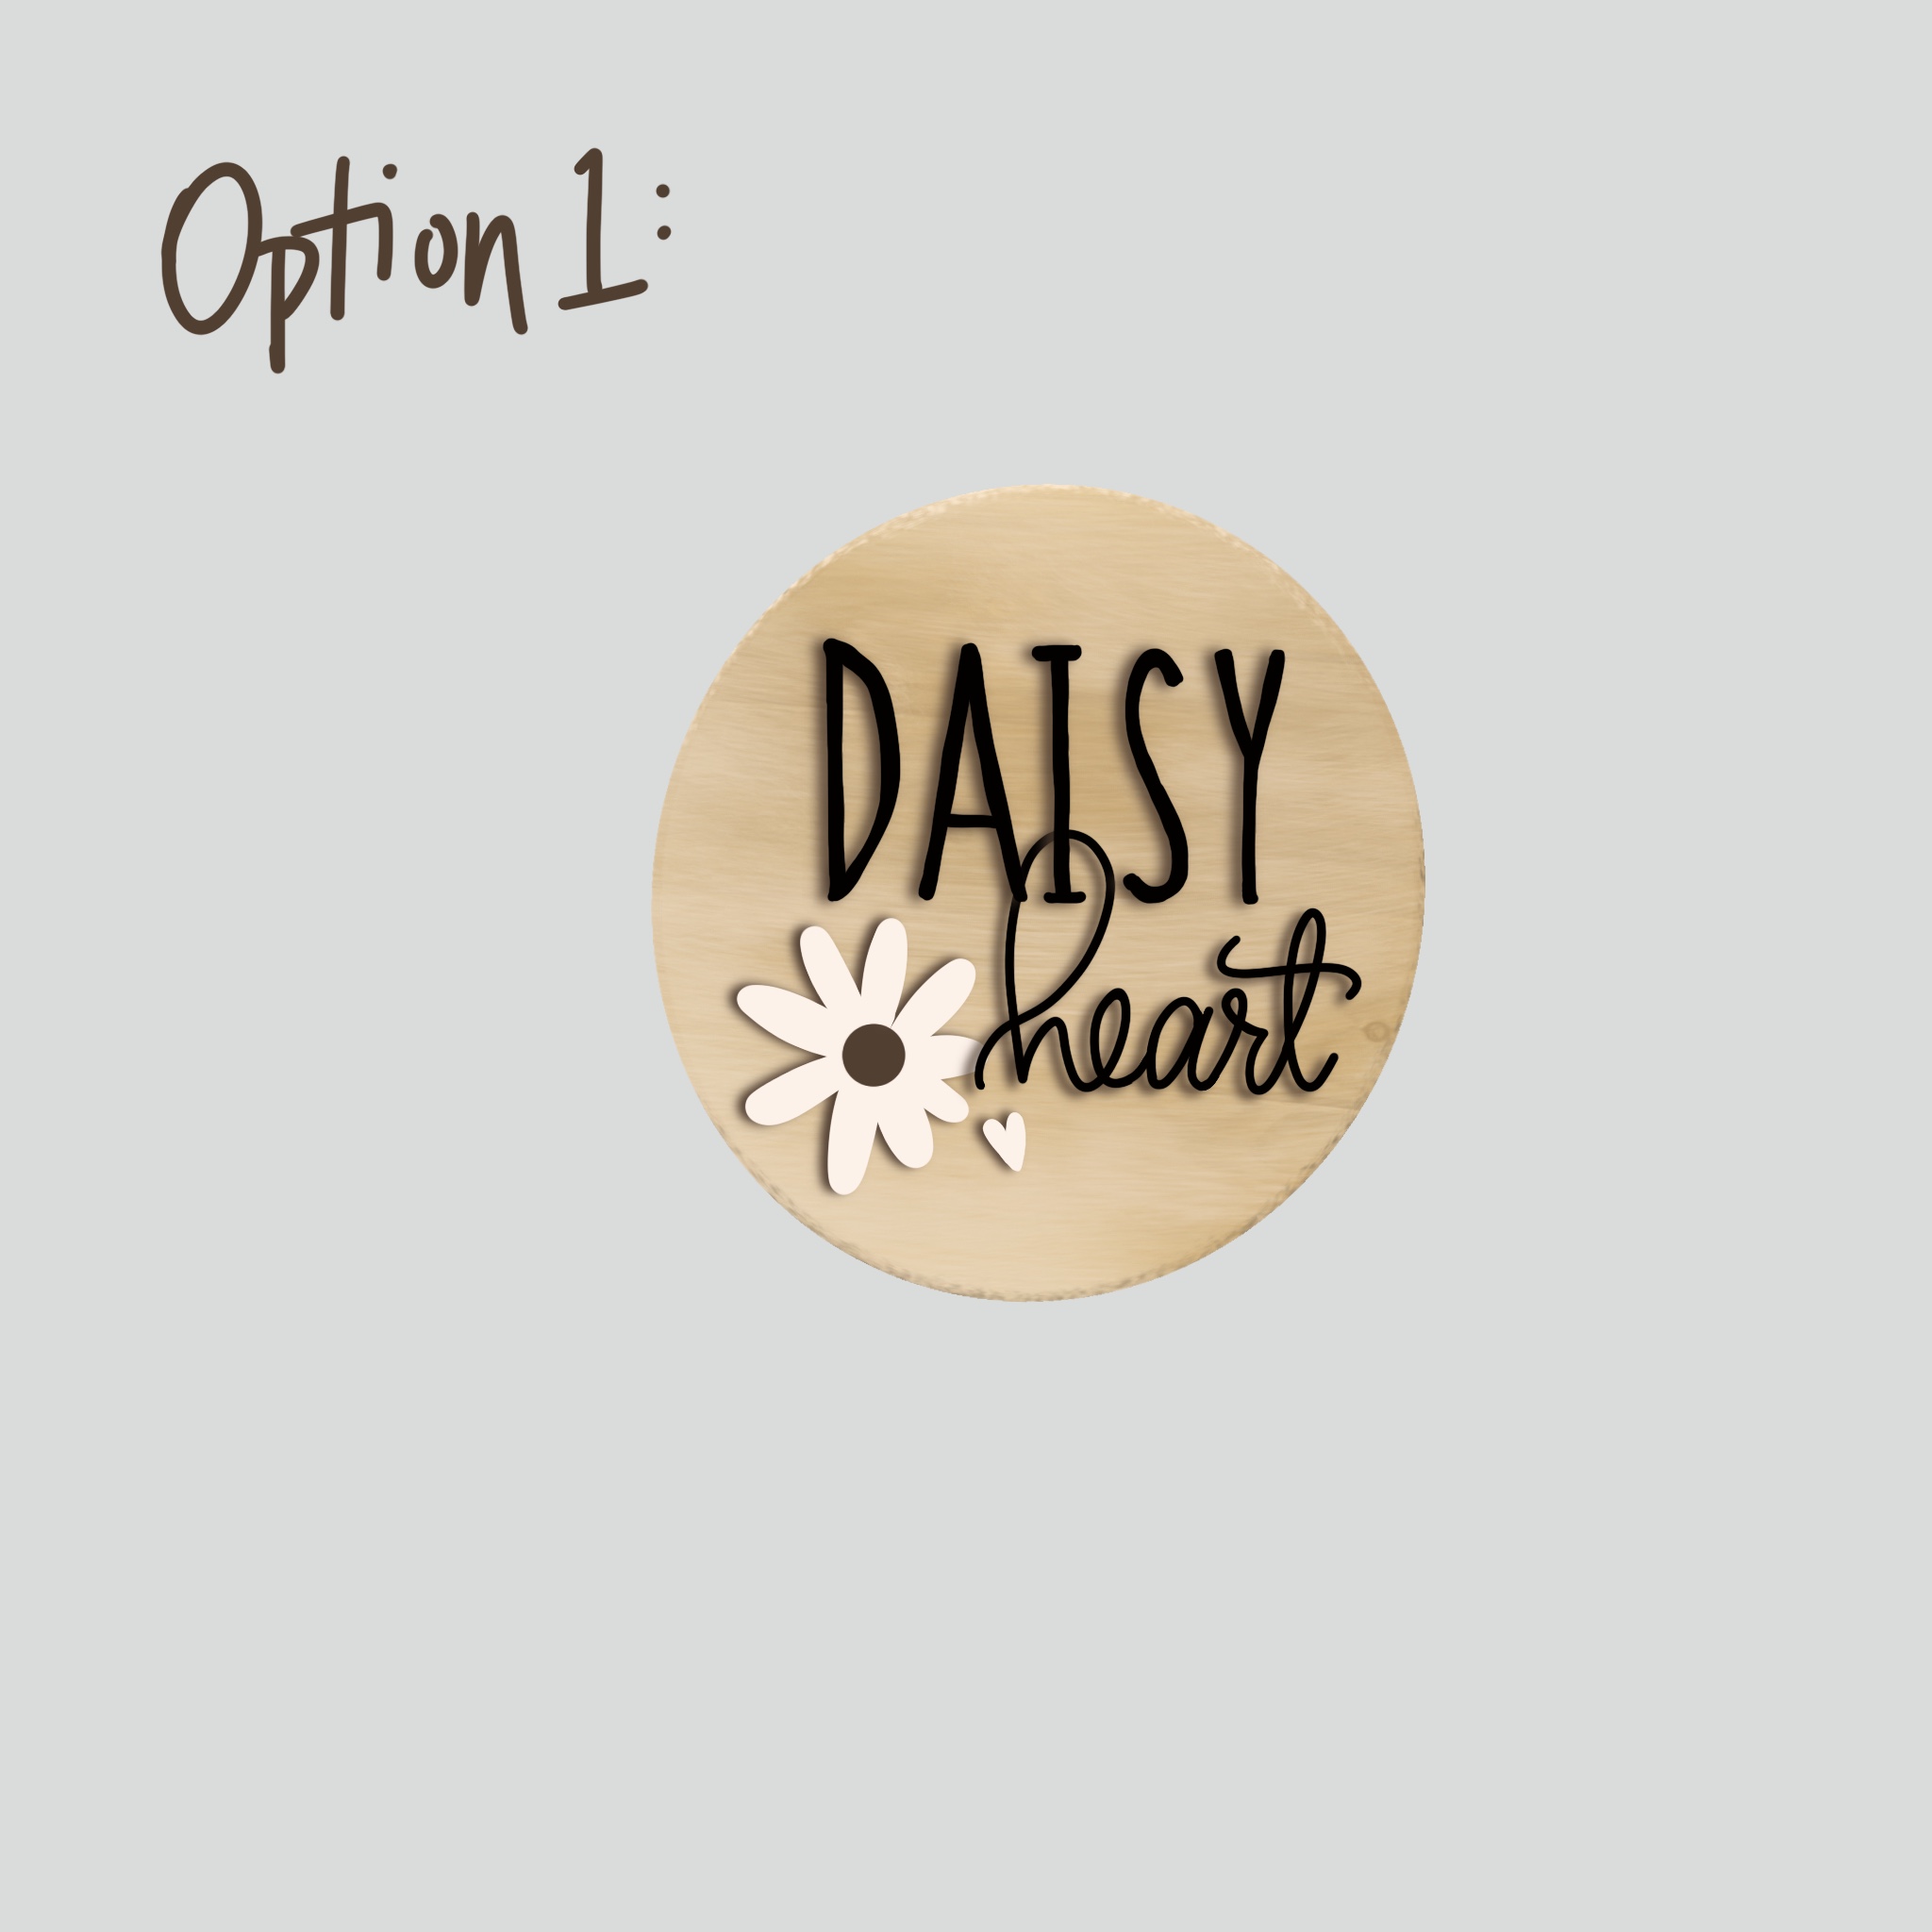
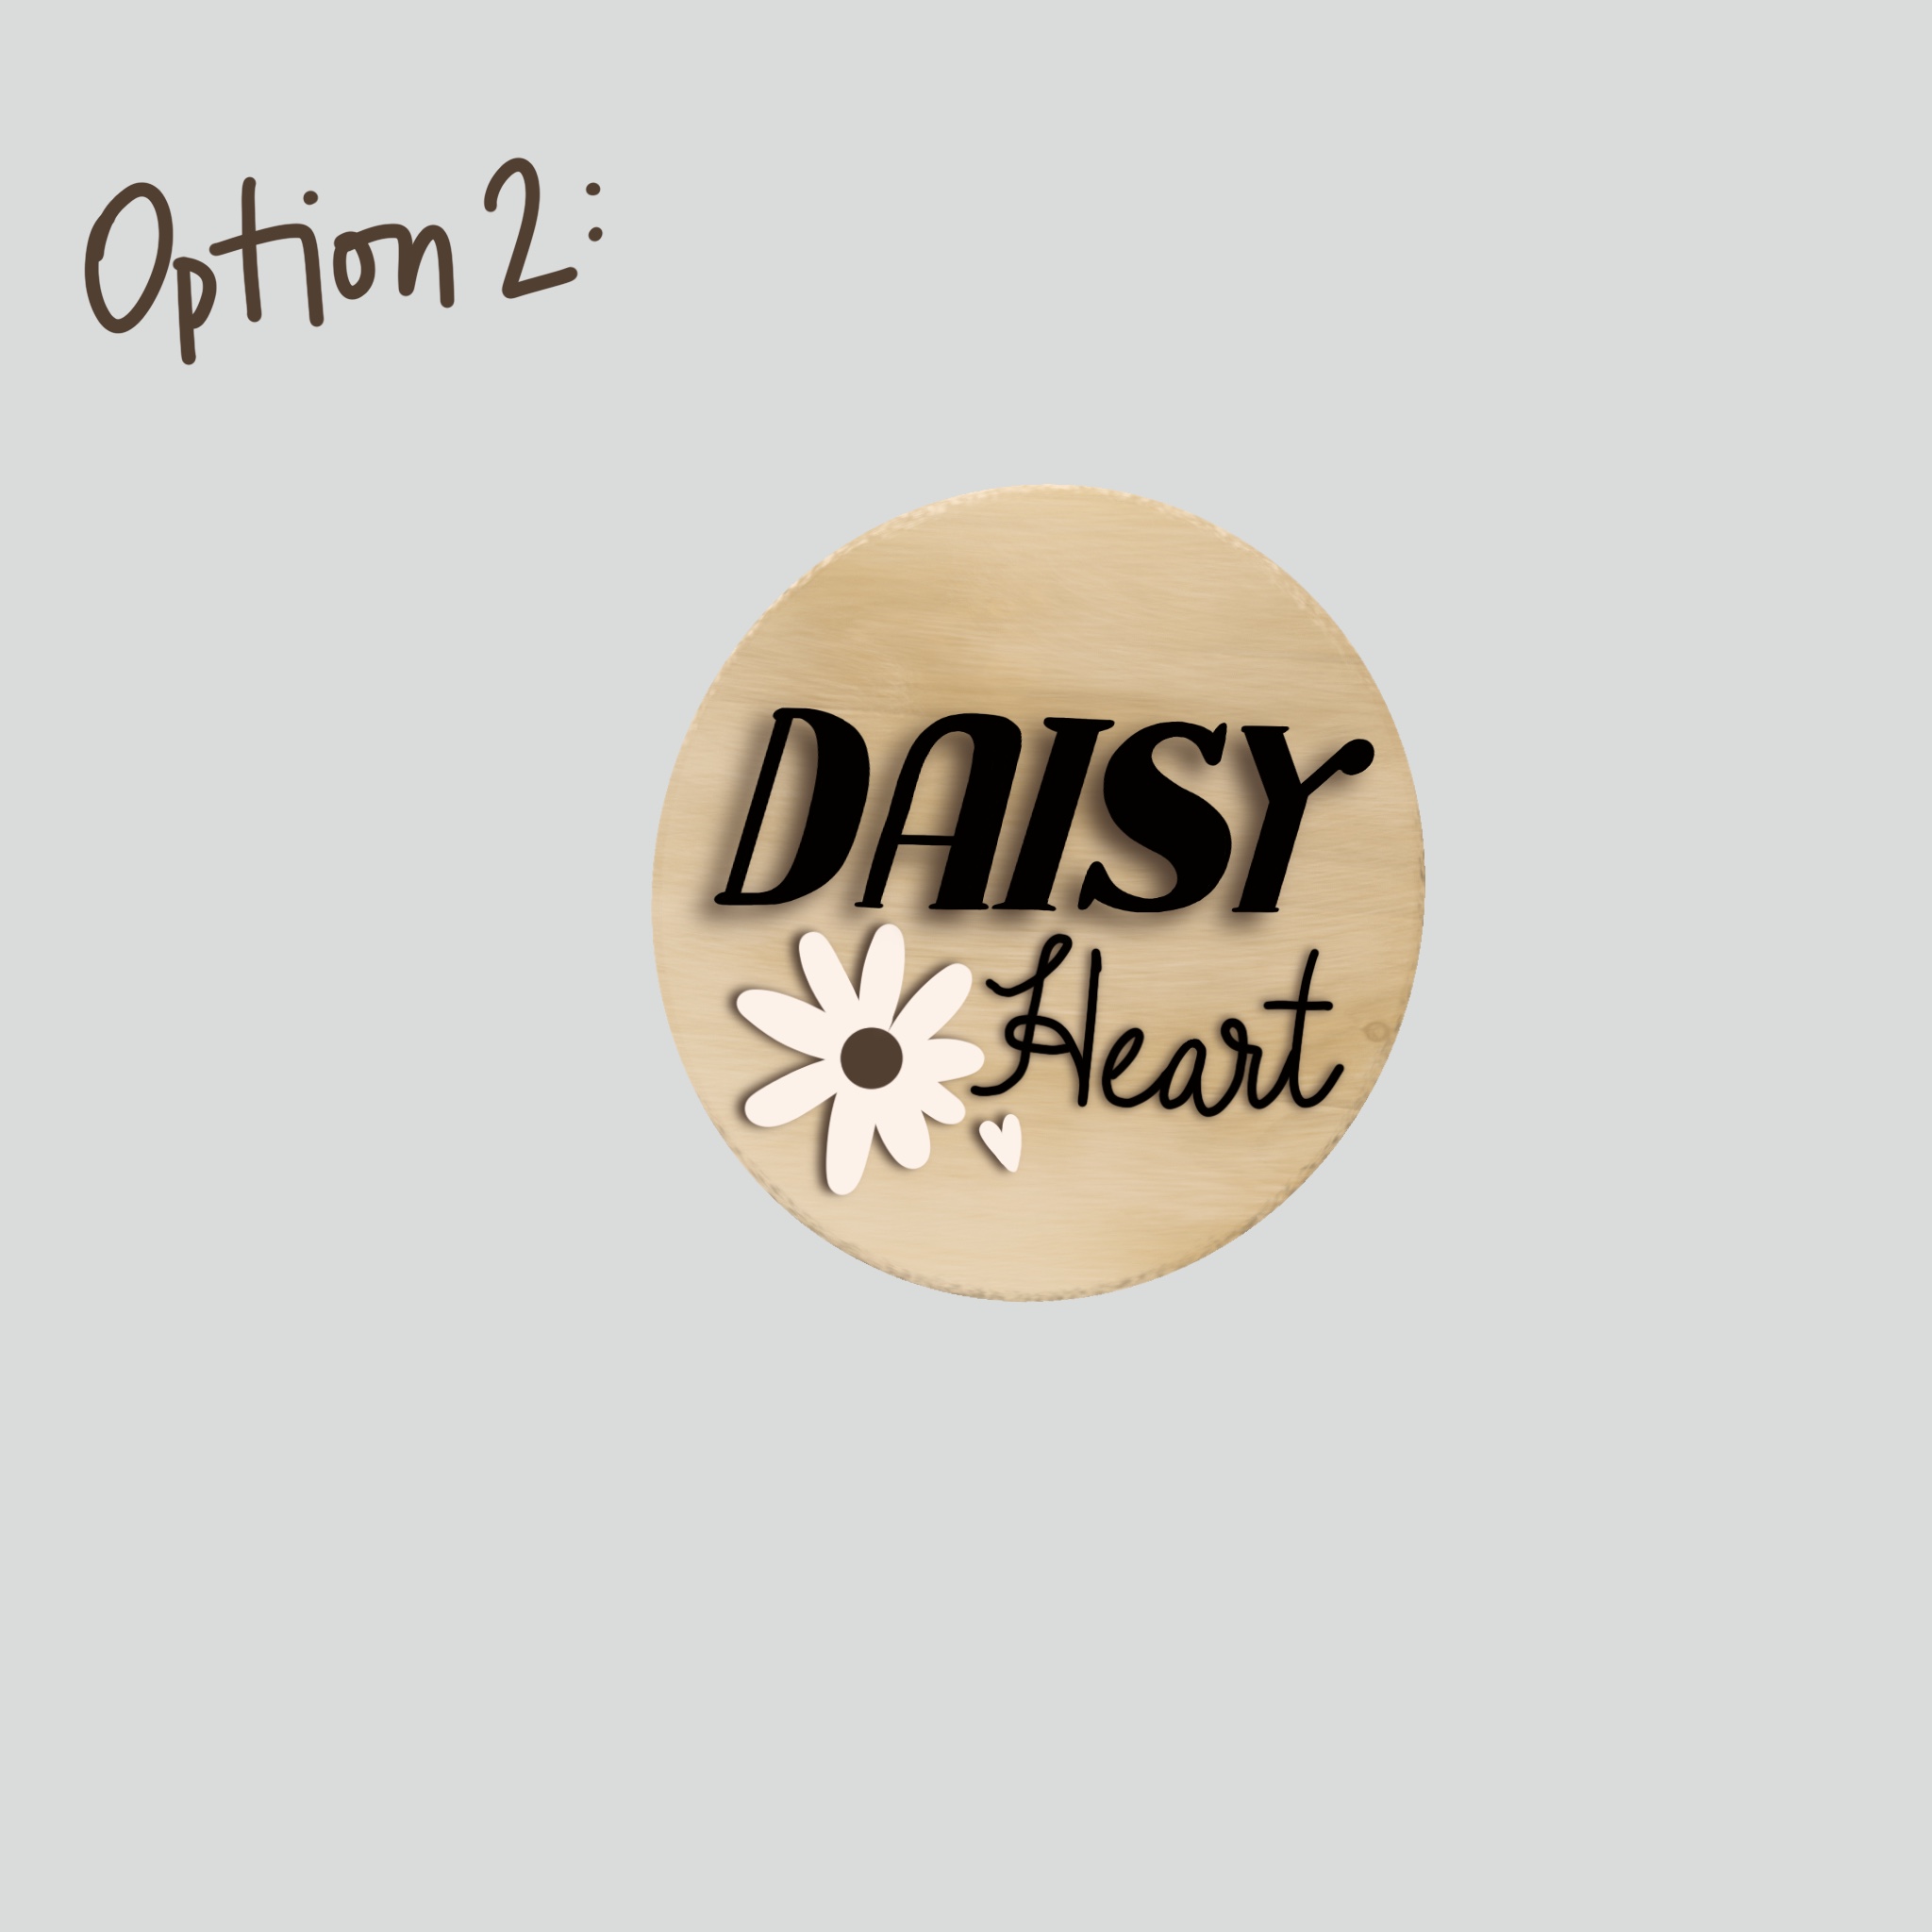
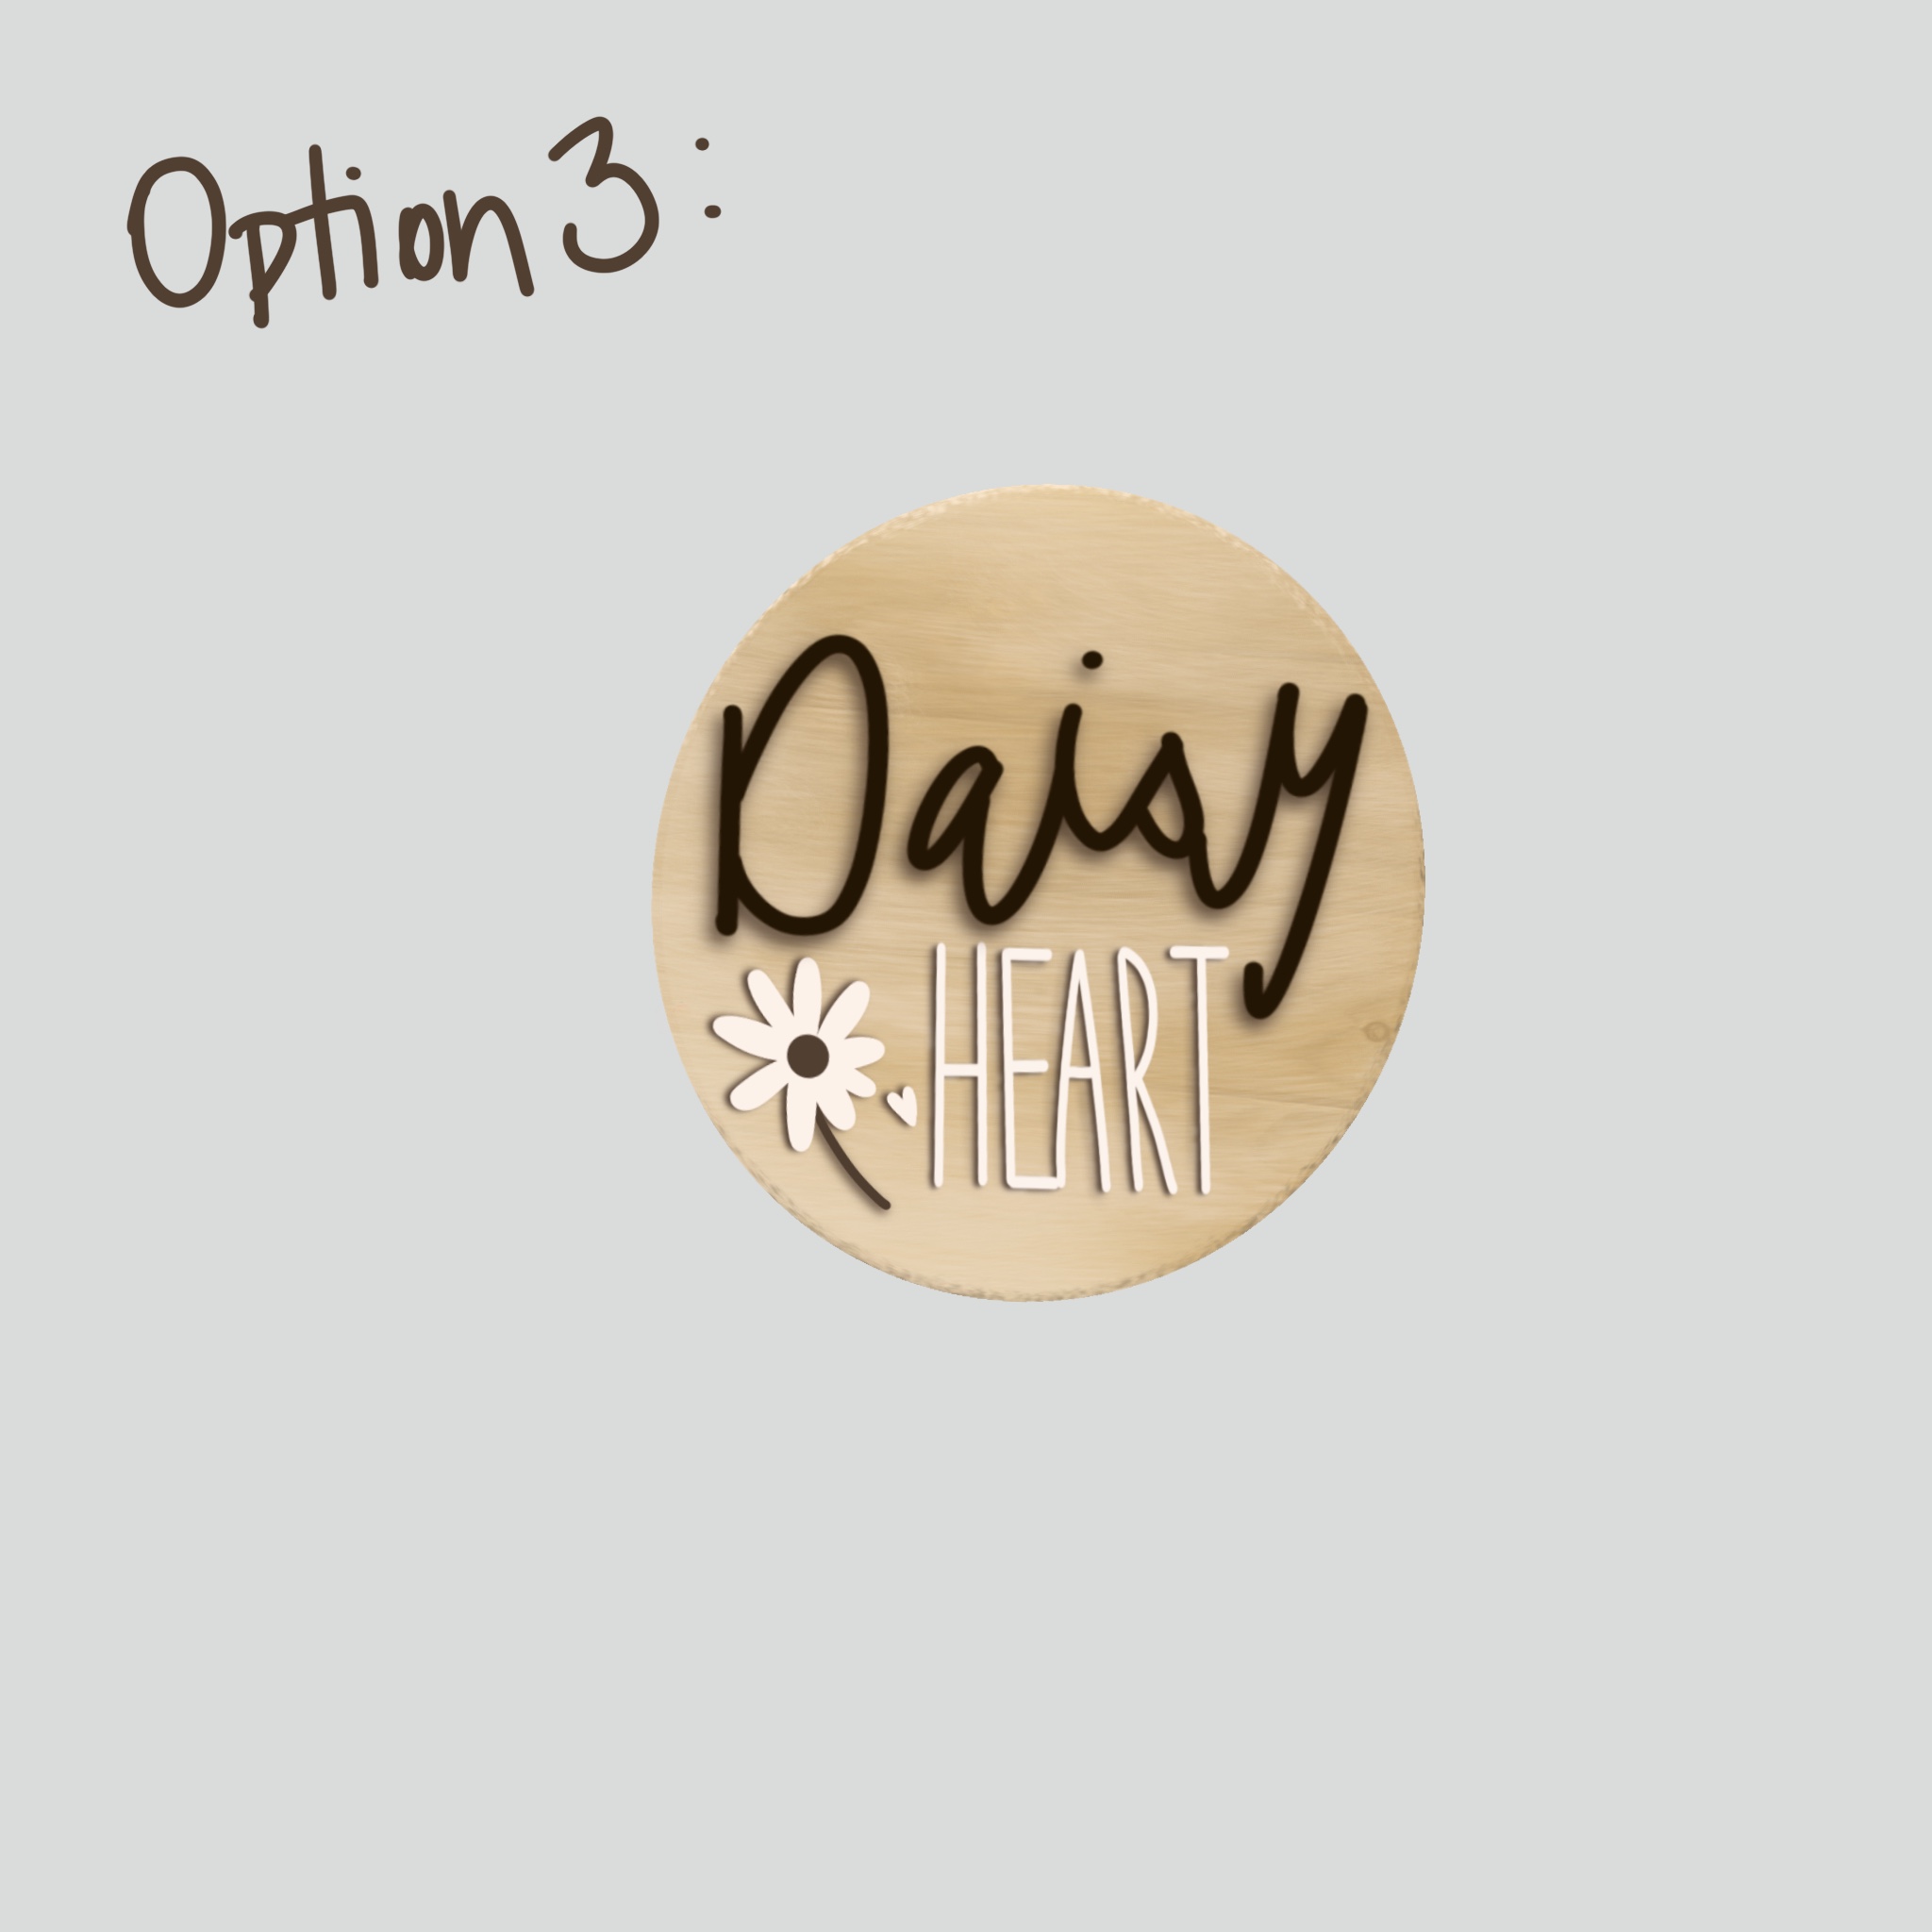
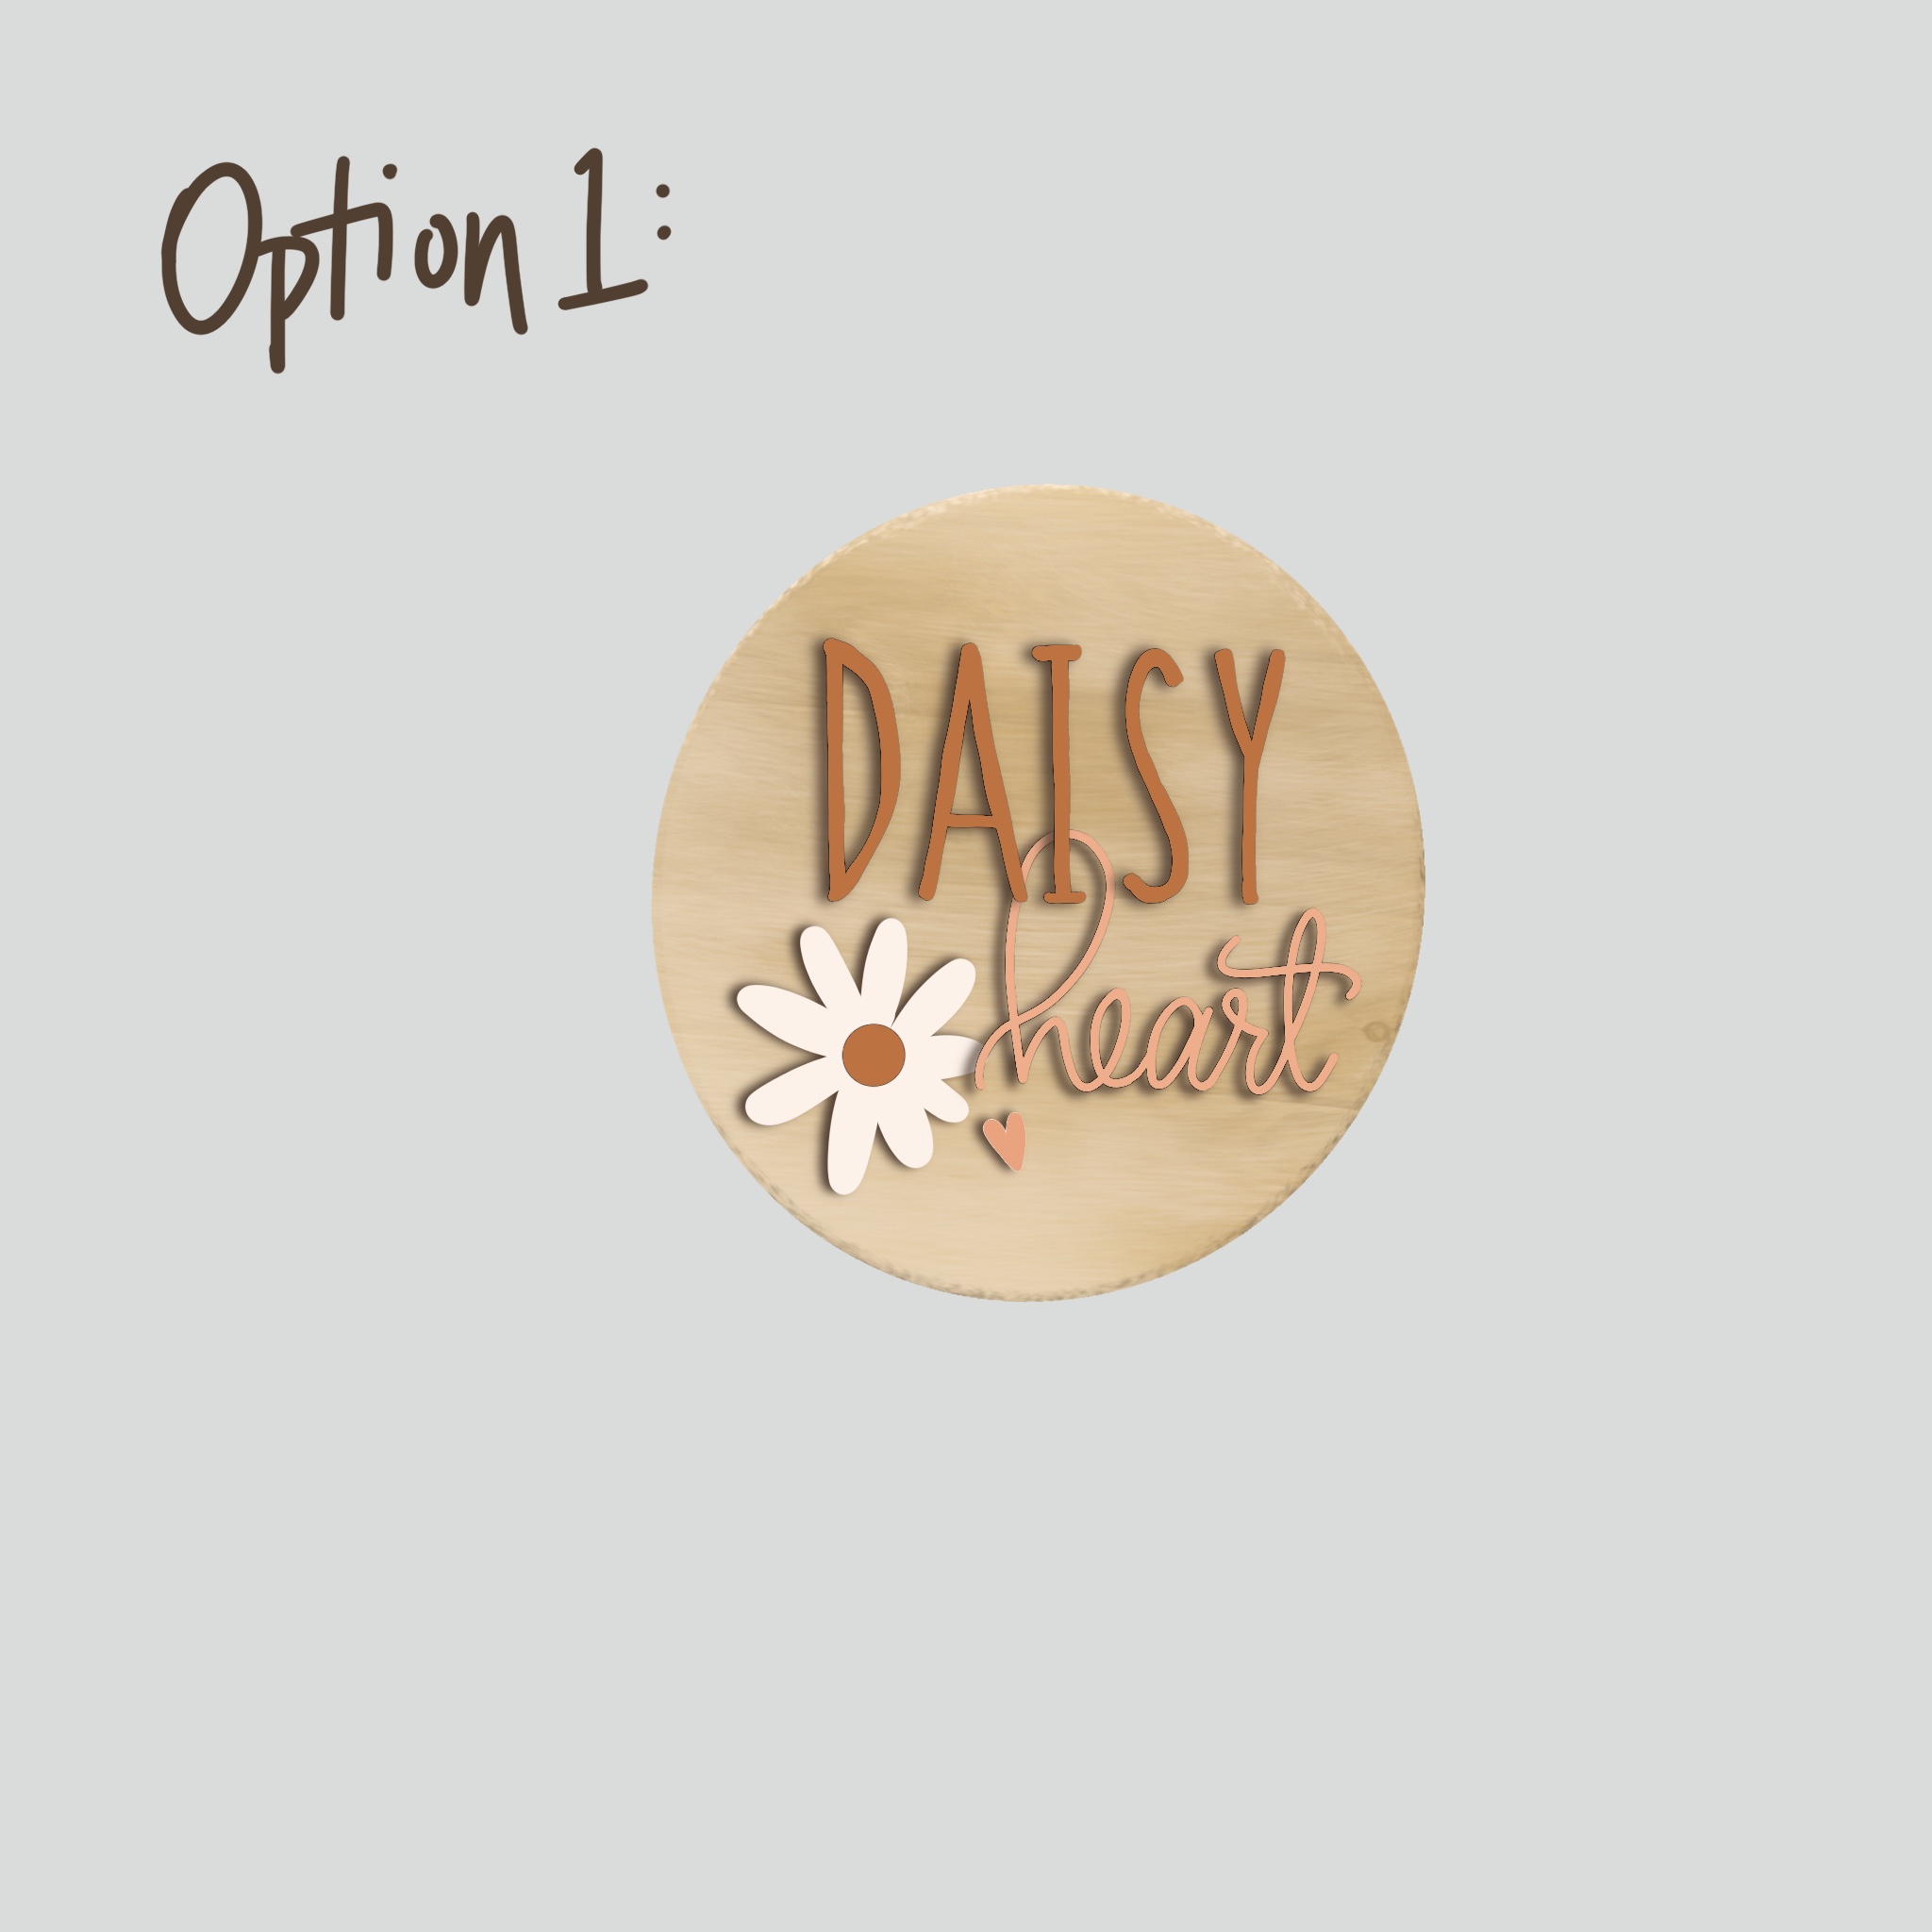
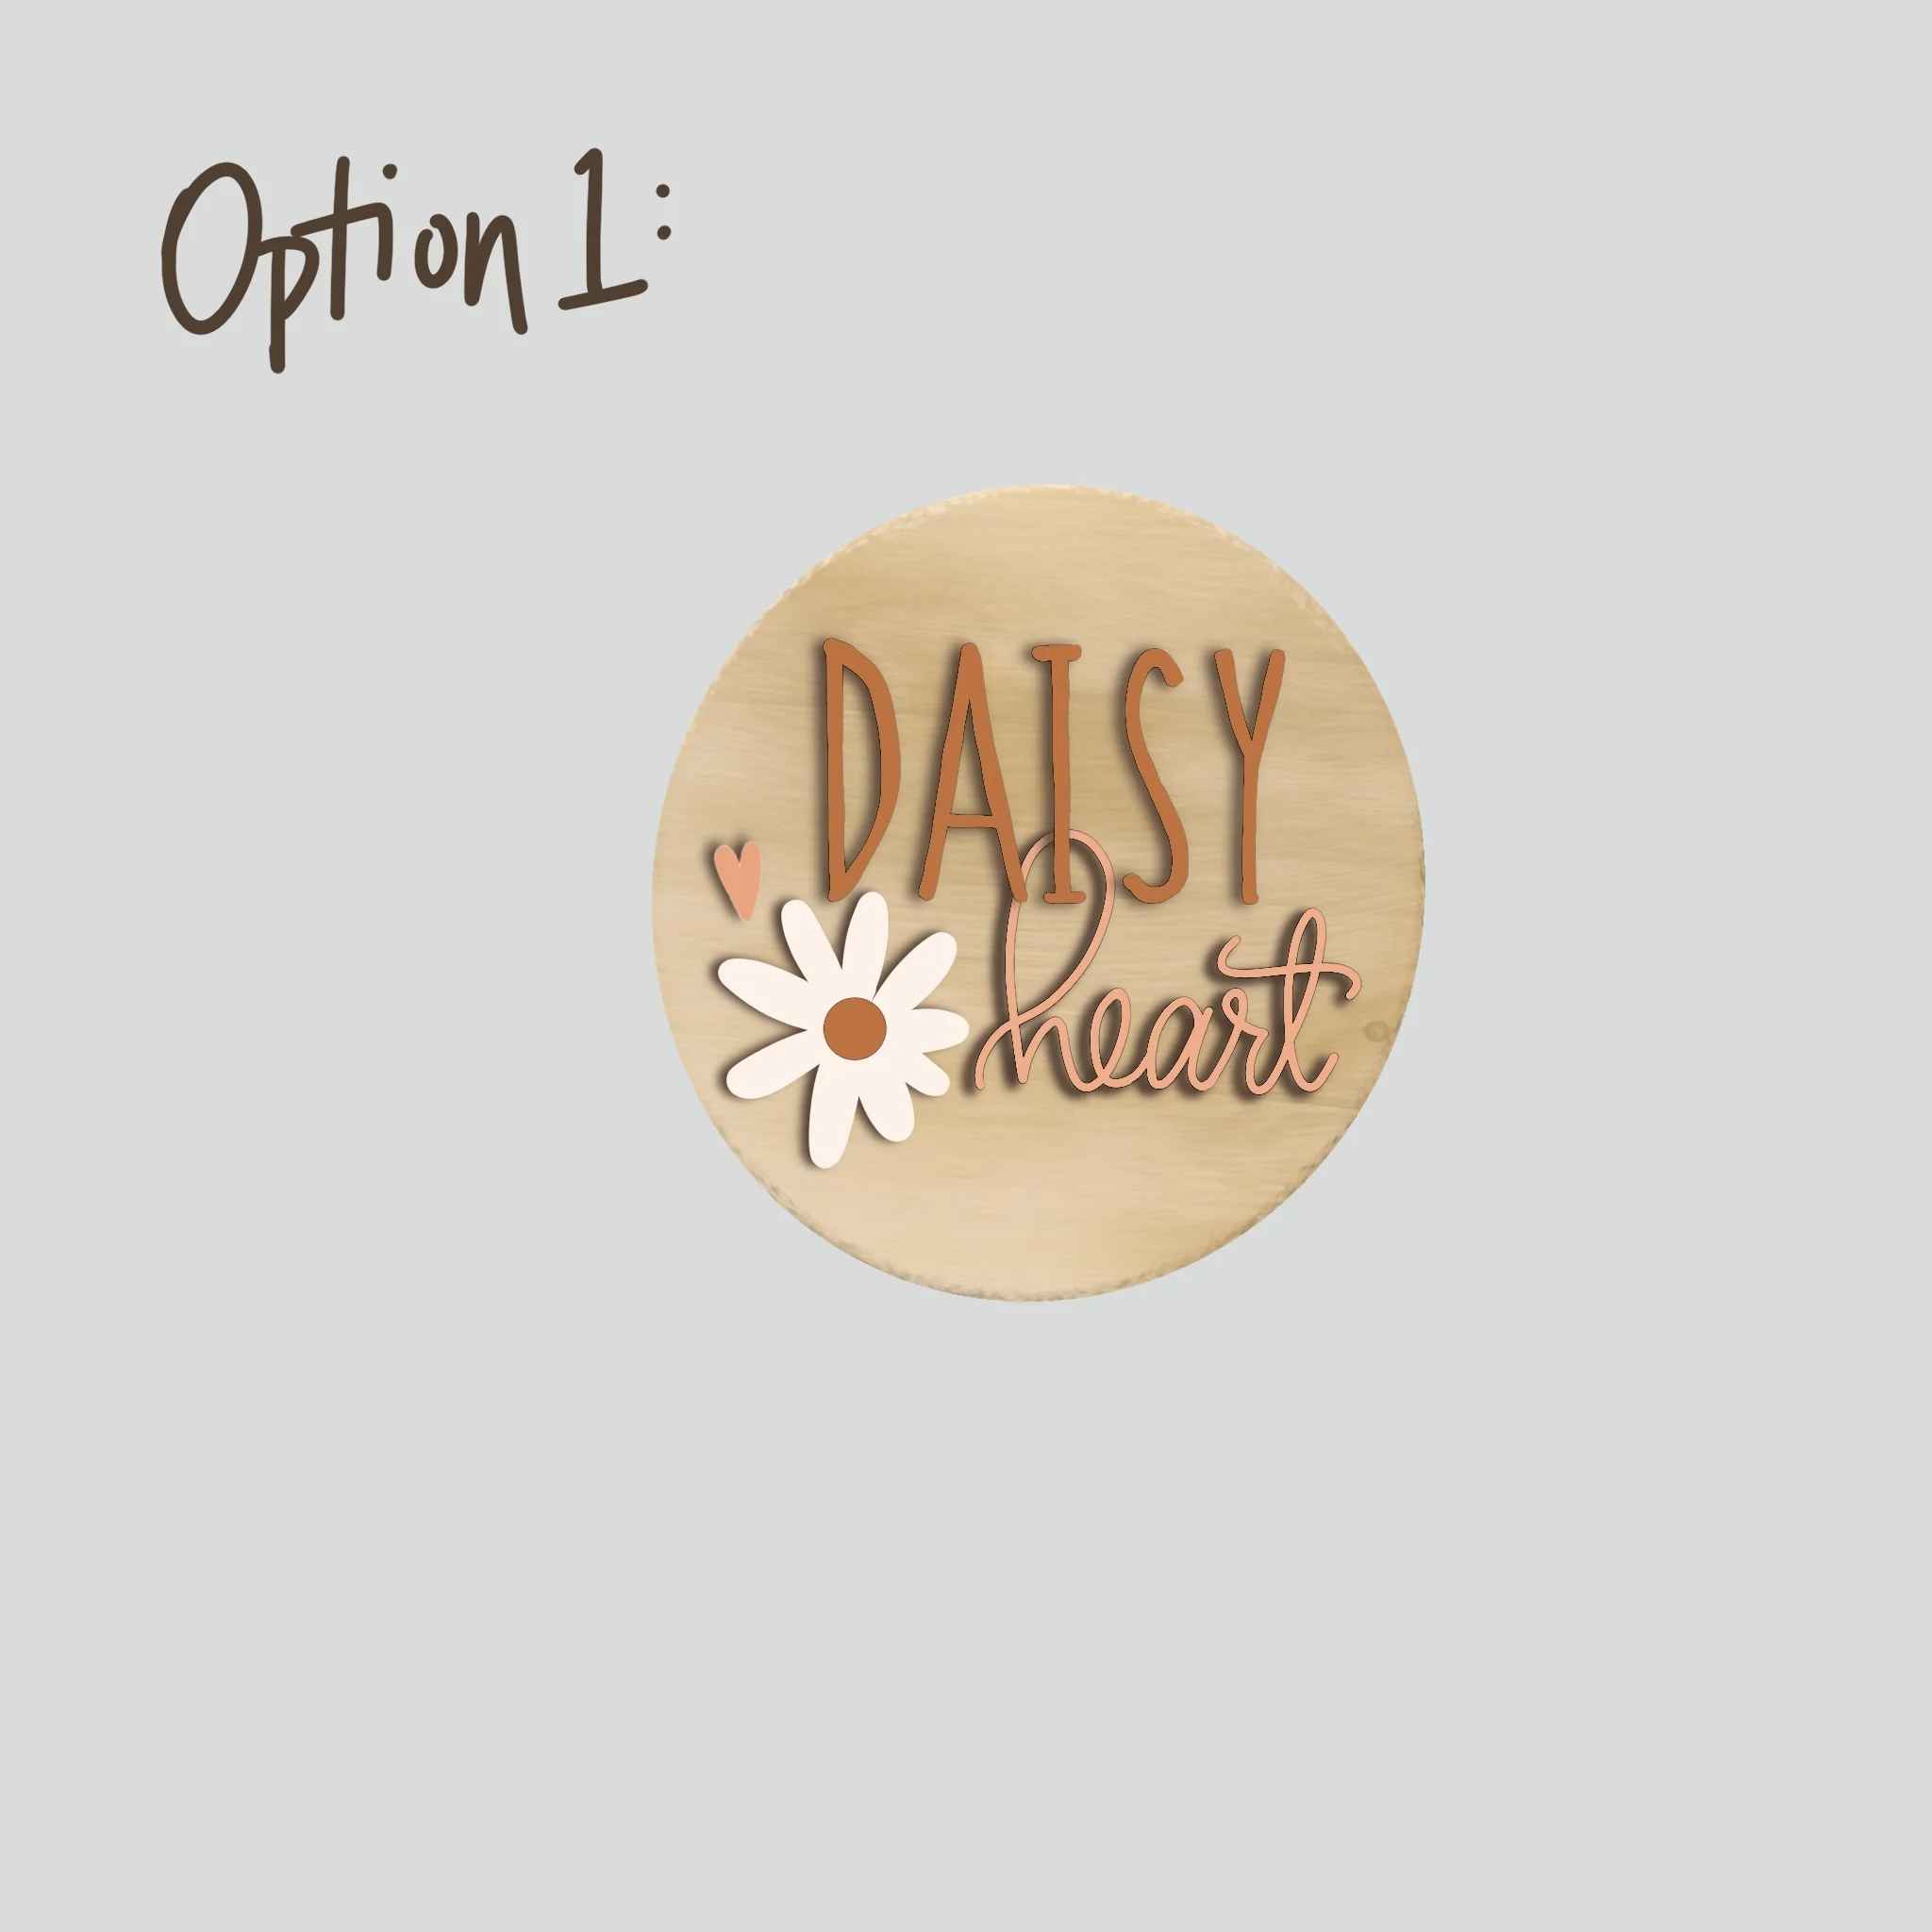
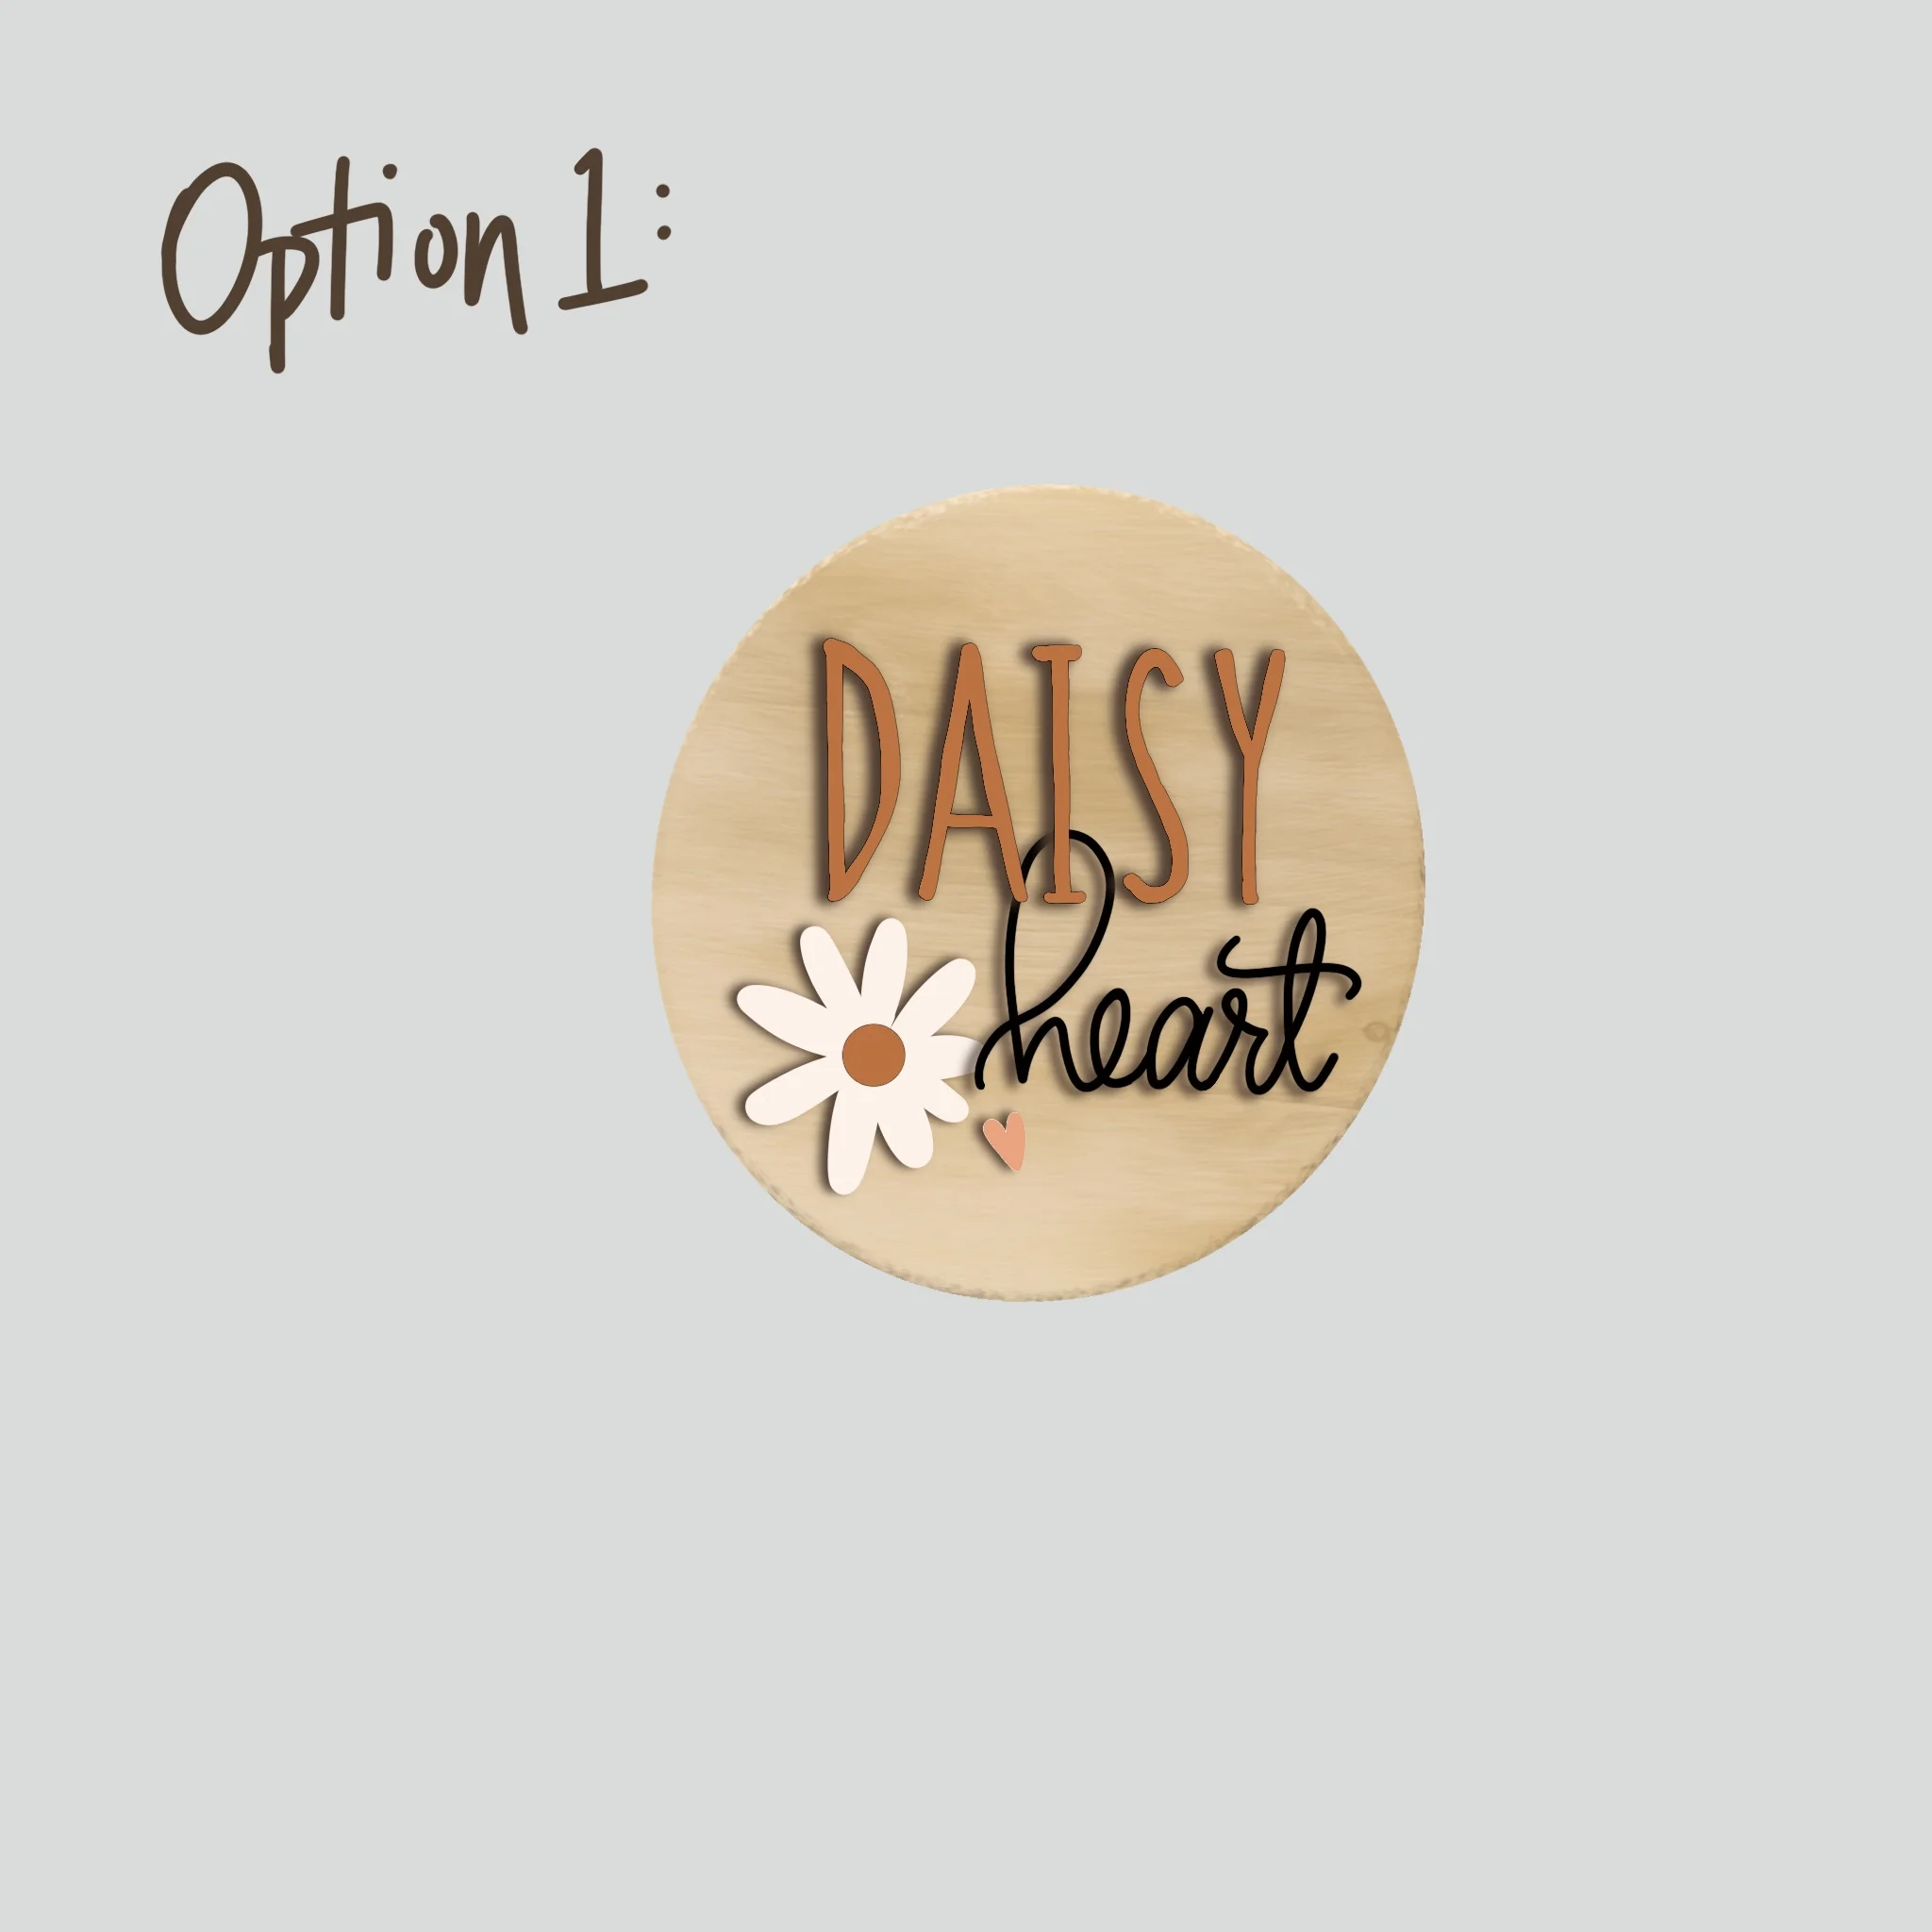
First I used the Ipad and the app Procreate ( I LOVE that app.) to design the board. I made a few different designs and it was hard to choose. Ultimately, the decision came when I realized that a handwritten font would be more forgiving when it was time to cut is out. Yes, I cut the letters out by hand. I measured out how big I needed the letters to be. Then I drew them on a black foam. I cut the letters out with a box cutter and an Exacto knife. Then I used sand paper and a surform shaver (This one) to smooth the edges. That was the hardest part. I had to be very careful not to break the fragile foam pieces.
Once I had everything cut out, I painted each piece with acrylic paint. I only paint the top of the foam board. I found that painting the sides made it look messy and less polished. Not matter how much paint I used, the middle foam part of the board just soaked up the paint. Afterwards, I laid all of the pieces out the way I had designed it (I tweaked it a little) and simply glued each piece to the board with Elmers glue. It worked perfectly. Then I enlisted the help of my sweet Jereme to put a D-Ring picture hanger on the back and viola! We have a sign.
The board doesn’t look quite as professional as some of the signs I have seen, but I am very pleased with how it turned out. I especially love that the only thing I had to buy was the foam board. It was a fun project for me. If you decide to try it out please tag me. I would love to see yours.
Thank you so much for stopping by the blog and for being so sweet about Daisy’s name when I initially announced it. Also, thank you for sending so much love my way about this name board. All of the sweet comments and texts made me feel so loved. This whole new chapter of life is so fun to me and I am so embracing every second of it. The only thing missing now is actually being able to hold this sweet girl in my arms. Oh, I can’t wait.
Love always,
Sarah <3
“Create in me a clean heart, O God, and renew a right spirit within me.”
“And I will give you a new heart, and a new spirit I will put within you. And I will remove the heart of stone from your flesh and give you a heart of flesh.”
